4-13
4
Radiator
REMOVING
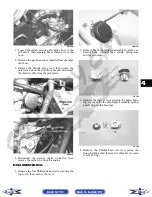
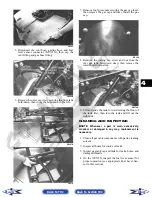
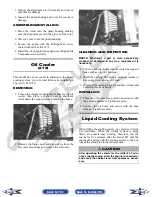
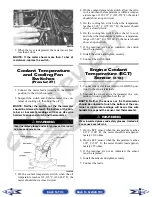
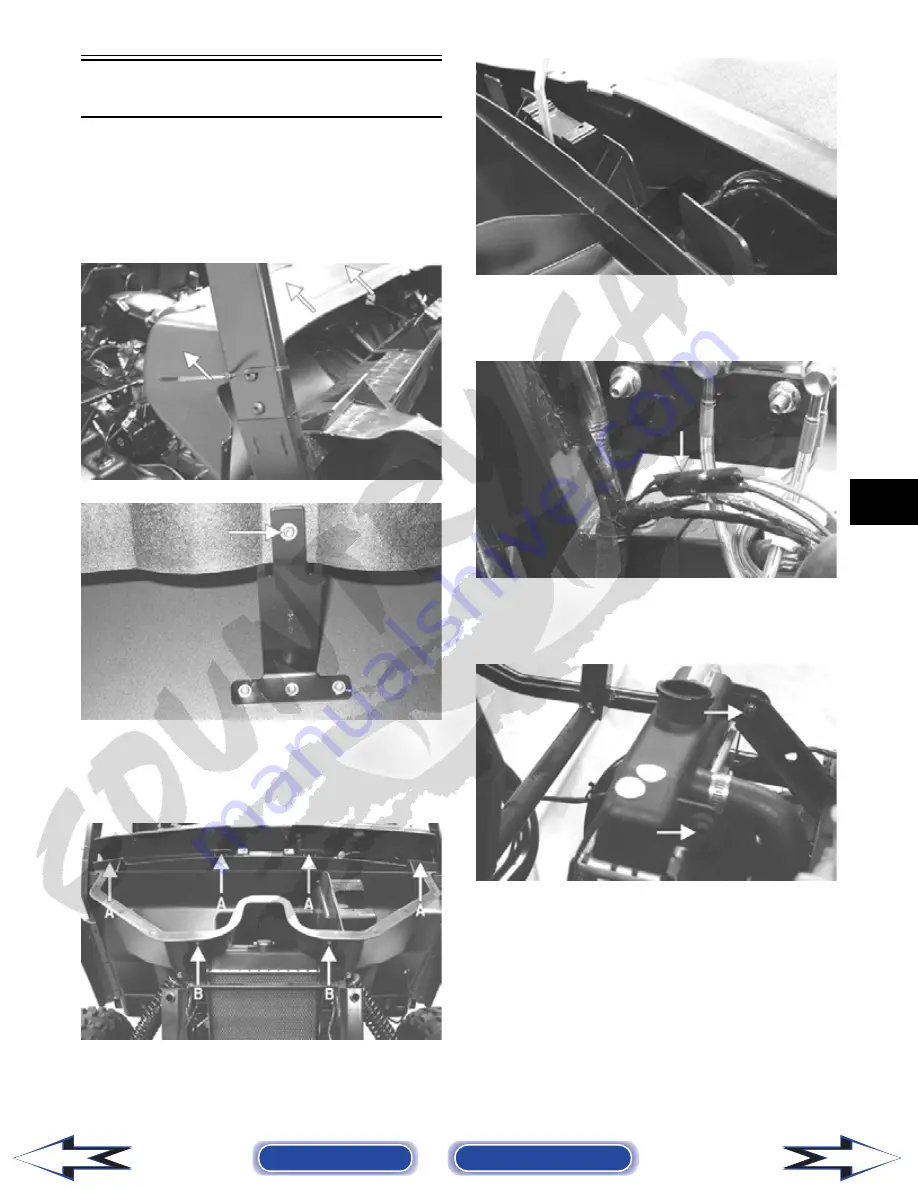
1. Remove the cap screws securing the dash assem-
bly to the frame and one cap screw and nut from
the center support. Slide the dash rearward approx-
imately four inches.
PR181A
PR475A
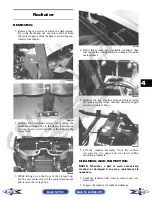
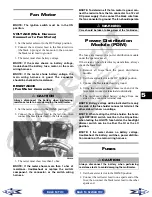
2. Remove four torx-head screws (A) securing the
under-hood storage box to the frame; then remove
two cap screws with nuts (B) at the front of the
storage box.
PR182A
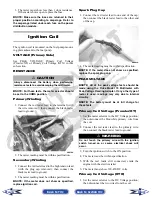
3. While lifting up on the front of the storage box,
pry the rear center clear of the center dash mount
and remove the storage box.
PR186
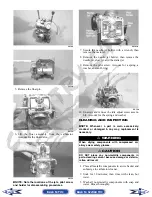
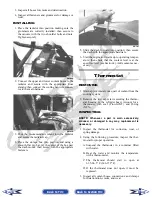
4. Drain the coolant into a suitable container; then
disconnect the cooling fan wire connector from the
main harness.
PR183A
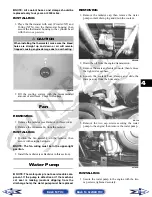
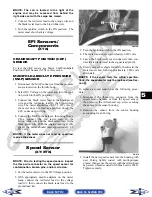
5. Remove the two shoulder bolts and nuts securing
the radiator to the frame; then disconnect the upper
and lower coolant hoses.
PR184A
6. Lift the radiator assembly from the vehicle.
Account for two upper and two lower rubber
mounting grommets.
CLEANING AND INSPECTING
NOTE: Whenever a part is worn excessively,
cracked, or damaged in any way, replacement is
necessary.
1. Flush the radiator with water to remove any con-
taminants.
2. Inspect the radiator for leaks and damage.
Back to TOC
Back to Section TOC
Next
Back

