5-12
2. Connect the power supply (positive) to one bulb
contact; then connect the power supply (negative)
to the remaining bulb contact.
3. The bulb should illuminate.
4. If the bulb fails to illuminate, it must be replaced.
VOLTAGE
NOTE: Perform this test in turn on the main har-
ness side of all four connectors. Also, the ignition
switch must be in the LIGHTS position.
NOTE: The LO beam is the outside bulb, and the
HI beam is the inside bulb.
1. Set the meter selector to the DC Voltage position.
2. Connect the red tester lead to one wire; then con-
nect the black tester lead to the other wire.
3. With the dimmer switch in the LO position, test
the two outside connectors (LO beam). The meter
must show battery voltage.
4. With the dimmer switch in the HI position, test the
two inside connectors (HI beam). The meter must
show battery voltage.
NOTE: If battery voltage is not shown in any test,
inspect the fuses, battery, main wiring harness,
connectors, or the left handlebar switch.
Taillight - Brakelight
The connector is the 3-prong one located under the
rear fender assembly.
VOLTAGE (Taillight)
NOTE: Perform this test on the main harness side
of the connector. Also, the ignition switch should
be in the LIGHTS position.
1. Set the meter selector to the DC Voltage position.
2. Connect the red tester lead to the white wire; then
connect the black tester lead to the black wire.
3. With the ignition key in the LIGHTS position, the
meter must show battery voltage.
NOTE: If the meter shows no voltage, inspect
fuses, wiring harness, connectors, and switches.
VOLTAGE (Brakelight)
NOTE: Perform this test on the main harness side
of the connector. Also, the ignition switch should
be in the ON position and the brake (either foot
pedal or hand lever) must be applied.
NOTE: Make sure the brake lever (hand) and
brake pedal (auxiliary) are properly adjusted for
this procedure.
1. Set the meter selector to the DC Voltage position.
2. Connect the red tester lead to the red/blue wire;
then connect the black tester lead to the black
wire.
3. With either brake applied, the meter must show
battery voltage.
NOTE: If the meter shows no voltage, inspect
bulb, fuses, wiring harness, connectors, and
switches.
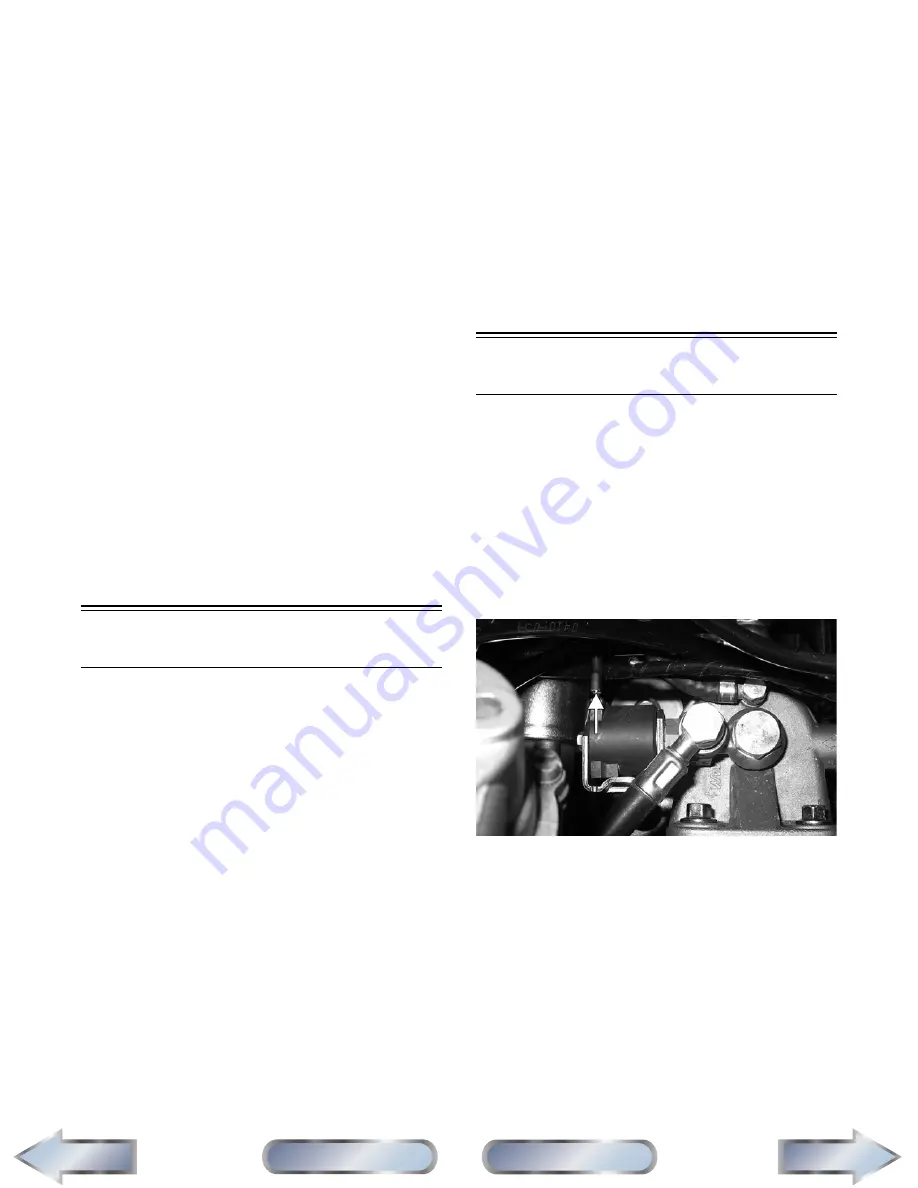
Fuel Solenoid
The fuel solenoid is used in conjunction with the igni-
tion switch to control fuel flow from the lift pump to
the unit injectors. This enables the operator to shut off
the engine quickly using the emergency stop switch or
the ignition switch. To test the fuel solenoid, use the
following procedure.
1. On the multimeter, place the switch in the DC
Volts position; then connect the black tester lead to
a suitable ground and the red tester lead to the fuel
solenoid terminal.
DE647B
2. With the engine stop switch in the RUN position,
turn the ignition switch to the ON position. The
meter should read battery voltage and an audible
“click” should be heard from the fuel solenoid.
3. If no voltage is present, check the 15 amp ignition
fuse, the ignition switch, or system wiring. If volt-
age is present, replace the fuel solenoid (see Sec-
tion 4).
Next
Back
Section
Table of Contents
Manual
Table of Contents
FOR ARCTIC CAT ATV DISCOUNT PARTS CALL 606-678-9623 OR 606-561-4983
www.mymowerparts.com


