38
5. After the oil has drained completely,
install the oil strainer, drain plugs,
and washers and tighten to 16 ft-lb.
NOTE: Always install a new Oil
Pan Drain Plug Gasket (p/n 3402-011)
and a new Reservoir Drain Plug O-
Ring (p/n 1670-926) when changing
the oil.
6. Install a new belly pan plug.
7. Using Oil Filter Wrench (p/n 0644-
389), loosen (but do not remove) the
oil filter and allow the oil to drain
from the filter; then remove the fil-
ter.
8. Apply a light coat of fresh engine oil
to the seal of the new oil filter.
9. Install the new oil filter by turning
the oil filter by hand until the seal
has contacted the oil filter mounting
surface; then tighten the oil filter to
15 ft-lb.
10. Pour 2.9 l (3 U.S. qt) of the recom-
mended engine oil into the oil reser-
voir.
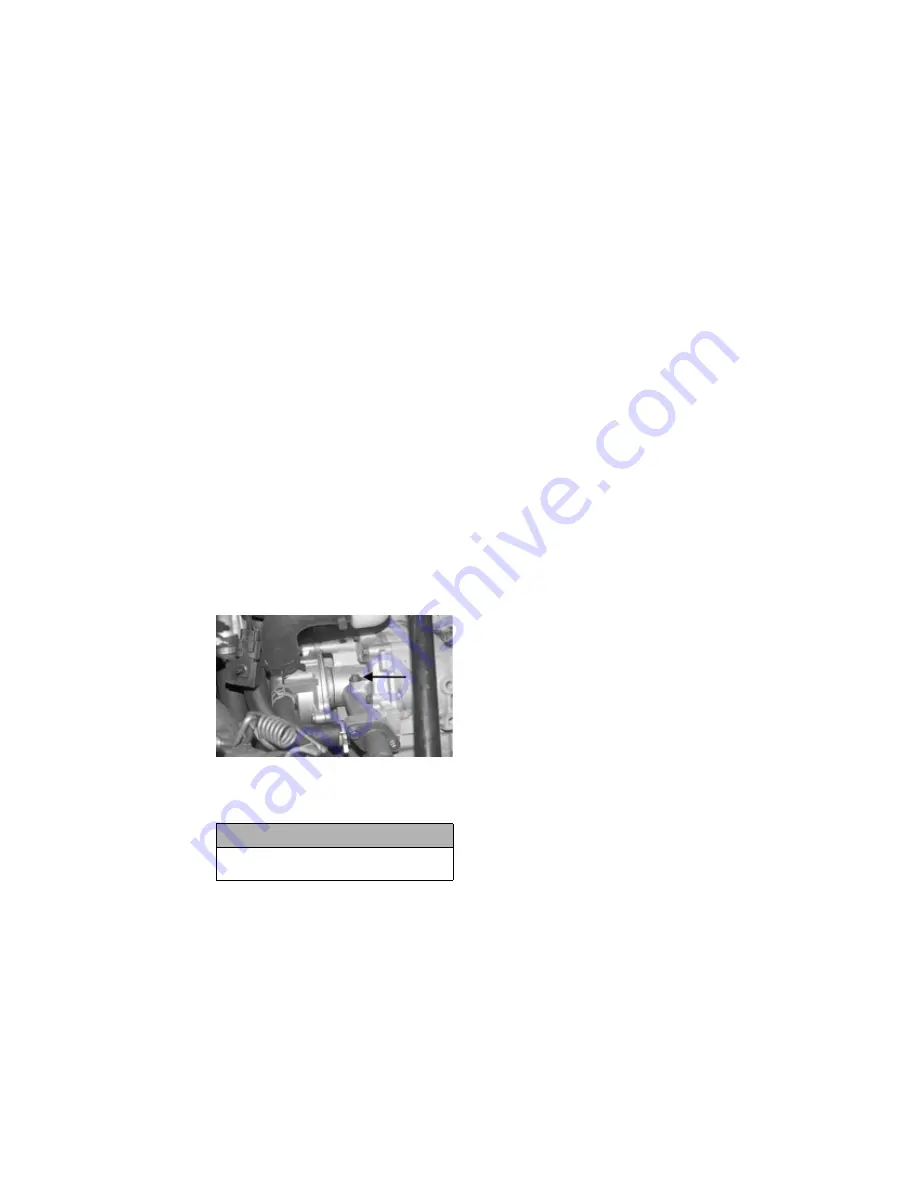
11. Open the air bleed bolt located on
the oil pump (beneath the coolant
tank) to purge air from the oil hose.
ZJ004A
NOTE: When air can no longer be
heard purging from oil pump bleed,
tighten the bleed bolt to 7.5 ft-lb.
12. Without starting the engine, place
the handlebar emergency stop
switch to the RUN position and the
ignition switch to the ON position.
The Oil Pressure Warning Icon
should illuminate.
NOTE: If the warning icon does not
illuminate, take the snowmobile to
an authorized Arctic Cat Snowmo-
bile dealer for service. If not under
warranty, this service is at the dis-
cretion and expense of the snowmo-
bile owner.
13. If the warning icon illuminates
(from step 12), start the engine. The
warning icon should go out within
five seconds. If it does, proceed to
step 14.
NOTE: If the warning icon does not
go out, shut the engine off immedi-
ately and repeat step 11; then place
the ignition switch to the ON posi-
tion and repeat step 13. If the warn-
ing icon does not go out, take the
snowmobile to an authorized Arctic
Cat Snowmobile dealer for service. If
not under warranty, this service is at
the discretion and expense of the
snowmobile owner.
14. Shut the engine off and pour the
remaining amount (0.9 l or 1 U.S.
qt) of recommended oil into the oil
reservoir; then proceed to the
Checking Engine Oil Level sub-sec-
tion in this section to verify and
finalize the procedure.
Coolant Level
NOTE: Use a good quality, ethyl-
ene glycol-based, automotive-type
coolant.
CFR/F5/F6/F8 Models
NOTE: Always check the coolant
level with the engine cold.
Locate the appropriate FULL mark on
the coolant reservoir. If coolant is below
the FULL mark, add coolant to the FULL
mark.
On the F-Series models if adding coolant,
the console must be removed. For remov-
ing/installing the console, use the follow-
ing procedure.
1. Remove the two torx-head screws
securing the console to the chassis;
then lift up the rearward end of the
console and disconnect the console
harness plug-in.
CAUTION
Do not attempt to start the engine
with the bleed bolt open.


