4-12
INSTALLING
1. Place the thermostat and O-ring into the thermostat
housing; then secure the thermostat housing together
with the four machine screws.
2. Fill the cooling system with the recommended
amount of antifreeze. Check for leakage.
Fan
REMOVING
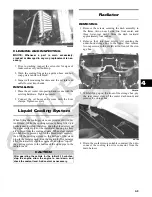
1. Remove the radiator (see Radiator in this section).
2. Remove the fan assembly from the radiator.
INSTALLING
1. Position the fan assembly on the radiator; then secure
with existing hardware.
NOTE: The fan wiring must be in the upper-right
position.
2. Install the radiator (see Radiator in this section).
Water Pump (XT/XTX)
NOTE: The water pump is not a serviceable compo-
nent. If the pump is defective or if the mechanical
seal is leaking (coolant dripping from the discharge
hole), the water pump must be replaced.
REMOVING
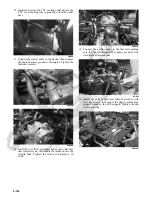
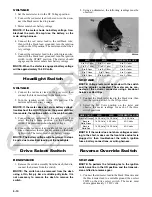
1. Remove the radiator cap; then remove the water
pump coolant drain plug and drain the coolant.
PR122A
NOTE: Always use a large container and have suffi-
cient floor drying material available when draining
the coolant in case of coolant spillage.
2. Drain the oil from the engine/transmission.
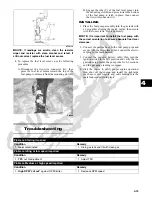
3. Remove the seats and center console; then remove
the right-side seat-base.
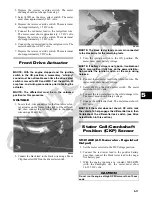
4. Loosen the coolant hose clamps and slide the clamps
away from the hose ends.
PR132
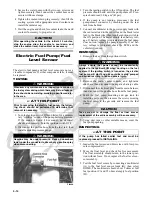
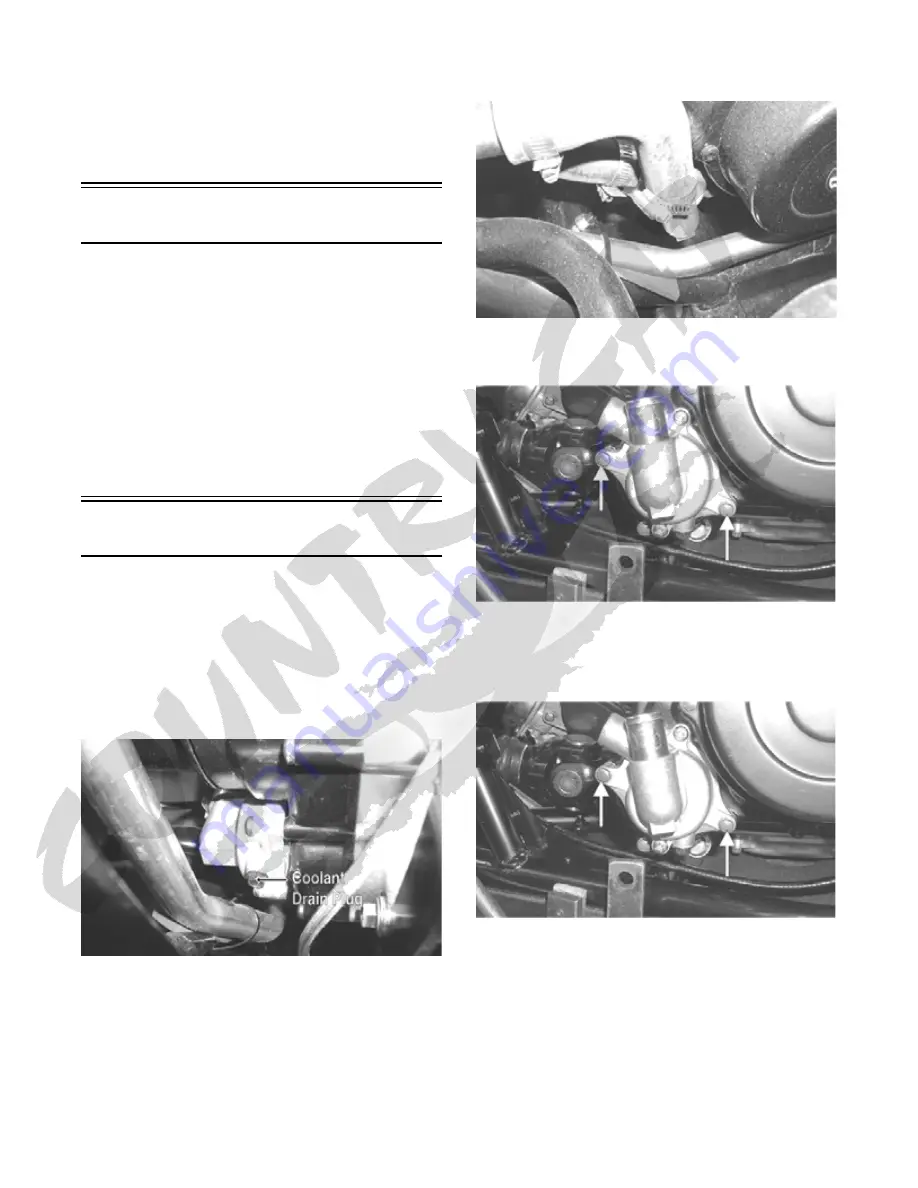
5. Remove the two cap screws securing the water pump
to the engine; then remove the water pump.
CC786A
INSTALLING
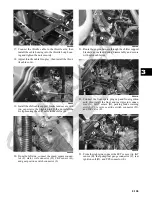
1. Secure the water pump to the engine with the two
cap screws tightened securely.
CC786A
2. Connect the two coolant hoses to the water pump and
secure with the clamps; then install the water pump
coolant drain plug.
Summary of Contents for 2013 Prowler XT
Page 1: ...Prowler XT XTX XTZ ...
Page 3: ......
Page 5: ......
Page 149: ...4 16 NOTES ...
Page 211: ...7 8 NOTES ...
Page 232: ...8 21 8 NOTES ...
Page 233: ... Printed in U S A Trademarks of Arctic Cat Inc Thief River Falls MN 56701 p n 2259 530 ...

