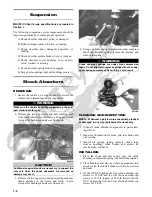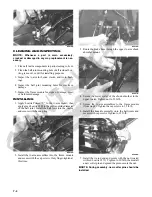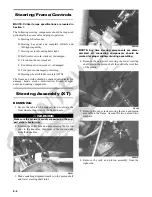
8-7
8
PR780
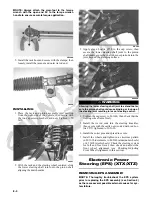
4. Using an appropriate crow-foot and backing wrench,
remove the tie rod assembly.
NOTE: Tie rods come as a complete assembly. No
further disassembly is required.
5. Remove and discard the lock washer.
INSTALLING TIE RODS
1. Remove the tie rod end and lock nut from the tie rod;
then install the tie rod boot onto the tie rod.
2. Install the tie rod lock nut and tie rod end.
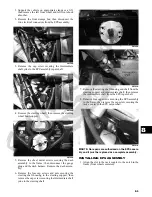
3. Coat the tie rod joint threads with red Loctite #271;
then with a new lock washer, thread the tie rod into
the rack.
PR784
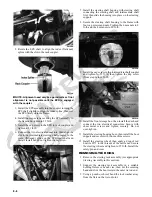
4. While holding the rack shaft with a wrench, tighten
the tie rod joint to 37 ft-lb using an appropriate
crow-foot.
PR781
NOTE: Always attach the crow-foot to the torque
wrench with the open end 90° to the torque wrench
handle to ensure accurate torque application.
PR528A
5. Install the boot onto the rack and secure with the
nylon tie.
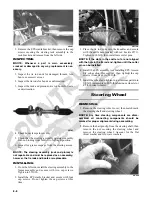
6. Center the rack in the steering rack assembly and
align the white paint line on the pinion with the mark
on the rack housing.
PR785A
Steering Assembly
(XTX/XTZ)
REMOVING
NOTE: The EPS assembly must be removed prior to
removing the steering assembly (see Electronic
Power Steering (EPS) in this section).
1. Remove the EPS assembly; then remove the right
front wheel.
2. Remove the cotter pins and nuts securing the tie rod
ends to the knuckles; then remove the tie rod ends
from the knuckles.
Summary of Contents for 2013 Prowler XT
Page 1: ...Prowler XT XTX XTZ ...
Page 3: ......
Page 5: ......
Page 149: ...4 16 NOTES ...
Page 211: ...7 8 NOTES ...
Page 232: ...8 21 8 NOTES ...
Page 233: ... Printed in U S A Trademarks of Arctic Cat Inc Thief River Falls MN 56701 p n 2259 530 ...


