8-8
PR301
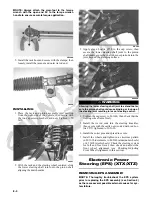
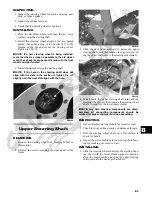
3. Remove the EPS cradle bracket; then remove the cap
screws securing the steering rack assembly to the
rack bracket and remove from the left side.
INSPECTING
NOTE: Whenever a part is worn excessively,
cracked, or damaged in any way, replacement is nec-
essary.
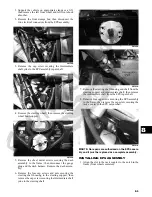
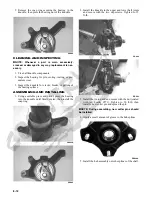
1. Inspect the tie rod ends for damaged threads, torn
boots, or excessive wear.
2. Inspect the tie rods for bends or deformation.
3. Inspect the rack and pinion-to-tie rod boots for tears
or deterioration.
PR785
4. Check boot clamps for security.
5. Check that the steering assembly operates smoothly
with no binding from full-left to full-right position.
6. Inspect for grease seepage from the steering assem-
bly.
NOTE: The steering assembly (rack and pinion) is
not repairable and must be replaced as an assembly;
however, the tie rods and boots are replaceable.
INSTALLING
1. From the left side, install the steering assembly to the
frame assembly and secure with two cap screws.
Tighten to 35 ft-lb.
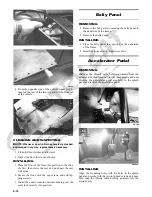
2. Install the EPS cradle bracket and secure with four
cap screws. Do not tighten the cap screws at this
time.
PR773A
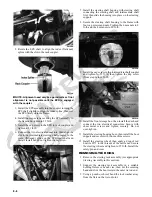
3. Place the tie rod ends into the knuckles and secure
with the castle nuts (coated with red Loctite #271).
Tighten to 30 ft-lb; then install new cotter pins.
NOTE: If the slots in the castle nut are not aligned
with the hole in the tie rod end, tighten until the cotter
pin can be installed.
4. Install the EPS assembly (see Installing EPS Assem-
bly sub-section this section); then tighten the cap
screws (from step 2) to 20 ft-lb.
5. Install the wheel and tighten in a crisscross pattern in
20 ft-lb increments to 80 ft-lb (aluminum wheels) or
45 ft-lb (steel wheels).
Steering Wheel
REMOVING
1. Remove the steering wheel cover; then match mark
the steering shaft and steering wheel.
NOTE: Any time steering components are disas-
sembled, all connecting components should be
marked for proper alignment during assembling.
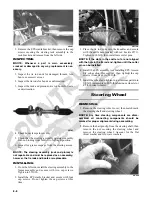
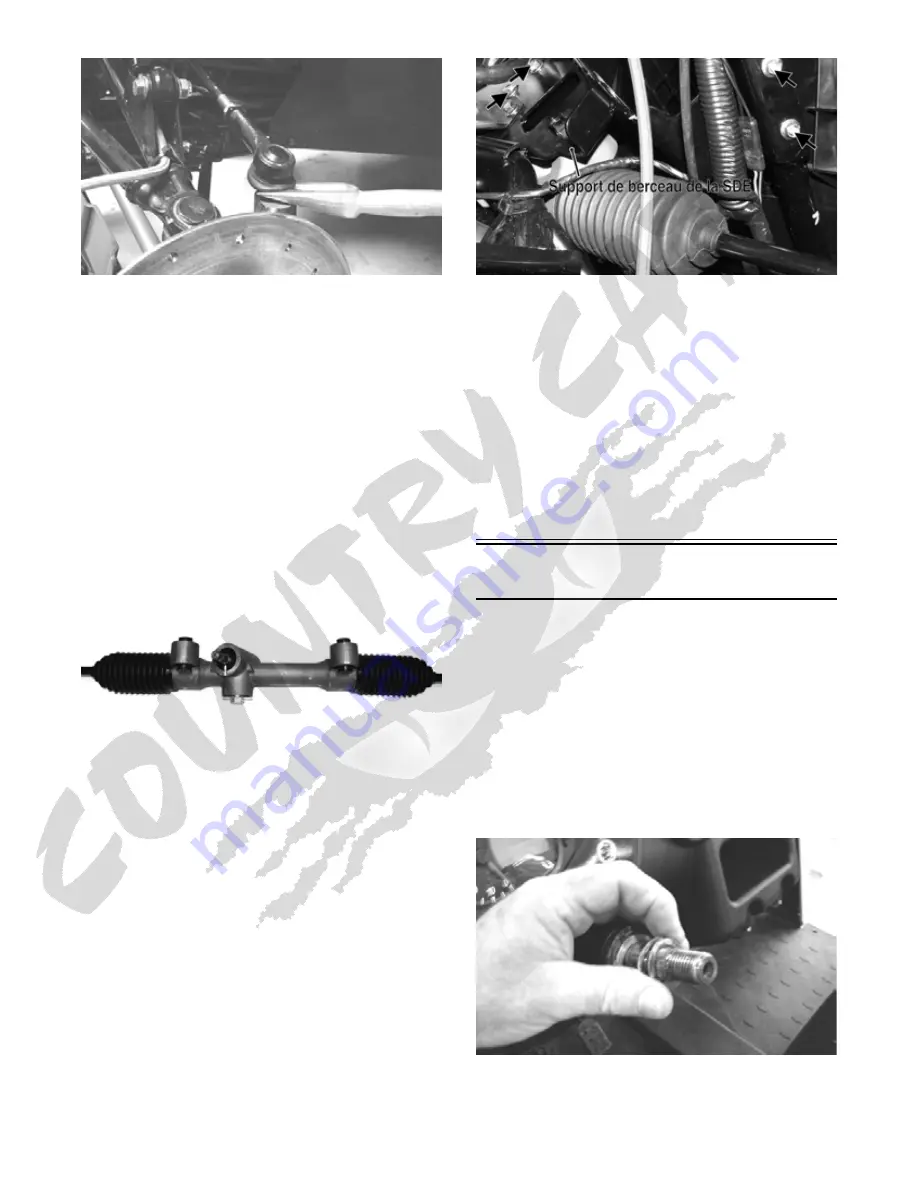
2. Remove the hairpin clip from the steering shaft; then
remove the nut securing the steering wheel and
remove the steering wheel. Account for the flat
thrust washer and two wave washers.
PR226
Summary of Contents for 2013 Prowler XT
Page 1: ...Prowler XT XTX XTZ ...
Page 3: ......
Page 5: ......
Page 149: ...4 16 NOTES ...
Page 211: ...7 8 NOTES ...
Page 232: ...8 21 8 NOTES ...
Page 233: ... Printed in U S A Trademarks of Arctic Cat Inc Thief River Falls MN 56701 p n 2259 530 ...

