8-12
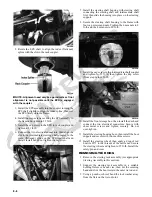
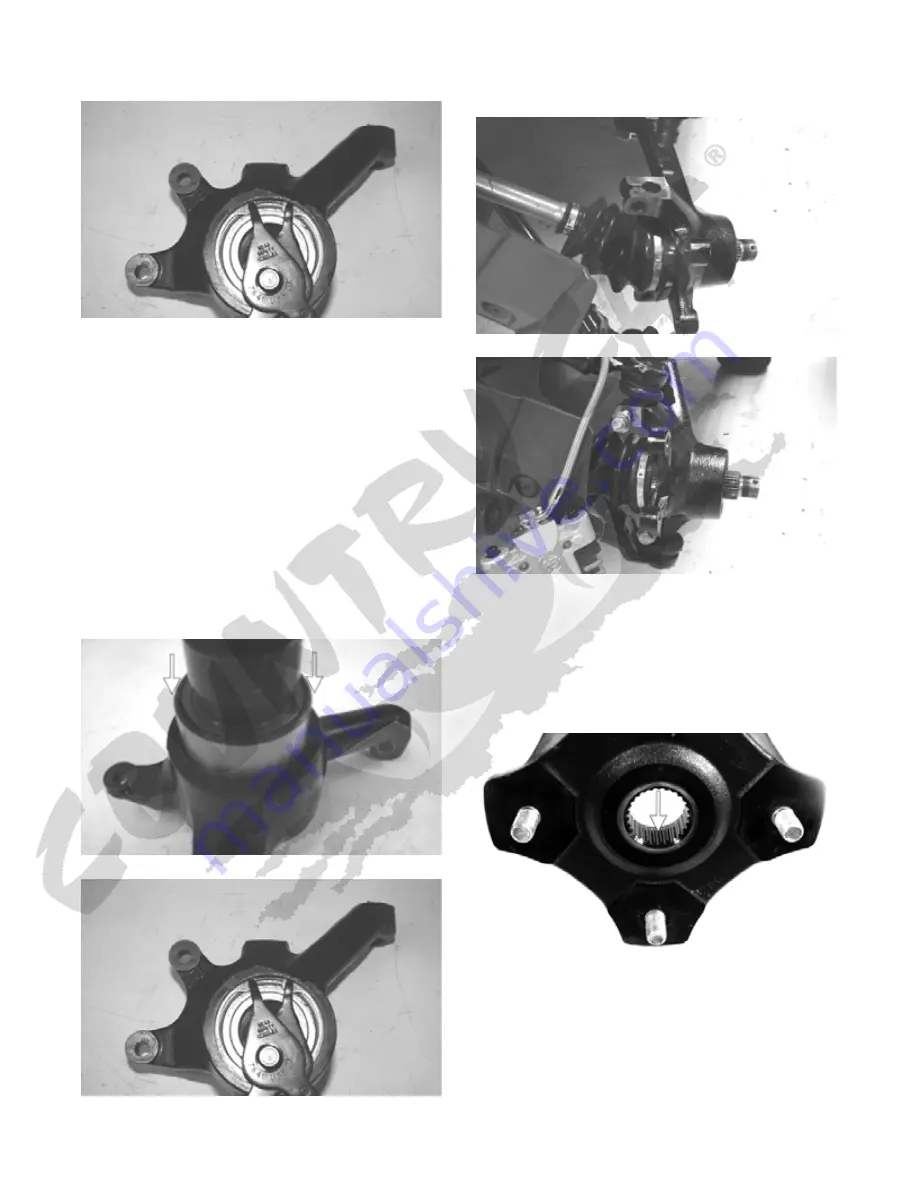
9. Remove the snap ring securing the bearing in the
knuckle; then press the bearing out of the knuckle.
PR289
CLEANING AND INSPECTING
NOTE: Whenever a part is worn excessively,
cracked, or damaged in any way, replacement is nec-
essary.
1. Clean all knuckle components.
2. Inspect the bearing for pits, scoring, rusting, or pre-
mature wear.
3. Inspect the knuckle for cracks, breaks, or galling of
the bearing surface.
ASSEMBLING AND INSTALLING
1. Using a suitable press and driver, press the bearing
into the knuckle until firmly seated; then install the
snap ring.
PR292A
PR289
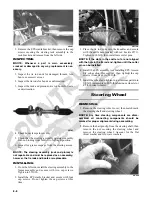
2. Install the knuckle to the upper and lower ball joints
and secure with the two cap screws. Tighten to 35
ft-lb.
PR202
PR203
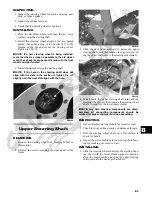
3. Install the tie rod end and secure with the nut (coated
with red Loctite #271). Tighten to 30 ft-lb; then
install a new cotter pin and spread the pin.
NOTE: During assembling, new cotter pins should
be installed.
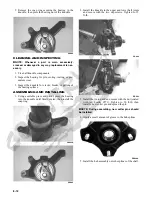
4. Apply a small amount of grease to the hub splines.
PR290A
5. Install the hub assembly onto the splines of the shaft.
Summary of Contents for 2013 Prowler XT
Page 1: ...Prowler XT XTX XTZ ...
Page 3: ......
Page 5: ......
Page 149: ...4 16 NOTES ...
Page 211: ...7 8 NOTES ...
Page 232: ...8 21 8 NOTES ...
Page 233: ... Printed in U S A Trademarks of Arctic Cat Inc Thief River Falls MN 56701 p n 2259 530 ...


