8-17
8
Shift Lever (XT/XTZ)
REMOVING
1. Remove the seats and center console.
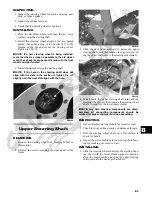
2. Remove the flange nut and shoulder screw from the
shift lever pivot; then remove the shift lever.
Account for the shifter spring.
PR340
INSTALLING
1. With the shifter spring in place on the shift lever,
install the shift lever onto the shift axle.
2. Install the shoulder screw and secure with the flange
nut (threads coated with blue Loctite #243). Tighten
to 20 ft-lb.
Shift Lever (XTX)
REMOVING
1. Remove the seats and center console; then remove
the shift lever grip.
2. Remove the flange nut securing the shift cable to the
shift arm.
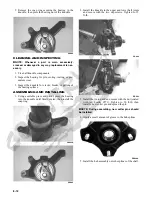
3. Remove the cap screws securing the shift axle to the
frame and remove the shift assembly. Account for
two shift axle retainer plates.
PR819B
INSTALLING
1. Place the shift assembly into position and secure
with two shift axle retainer plates and four cap
screws. Tighten securely.
2. Connect the shift cable to the shift arm and secure
with the flange nut. Tighten securely.
3. Install the jam nut and shift lever grip and tighten
securely; then check for proper shifter operation (see
Section 2).
LCD Gauge/Indicator
Lights
REPLACING
1. Remove the six screws securing the dash panel to the
frame; then remove the parking brake handle and
jam nut.
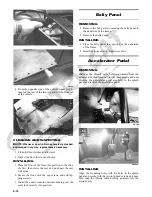
2. Slide the dash panel to the rear sufficiently to access
the components.
PR181A
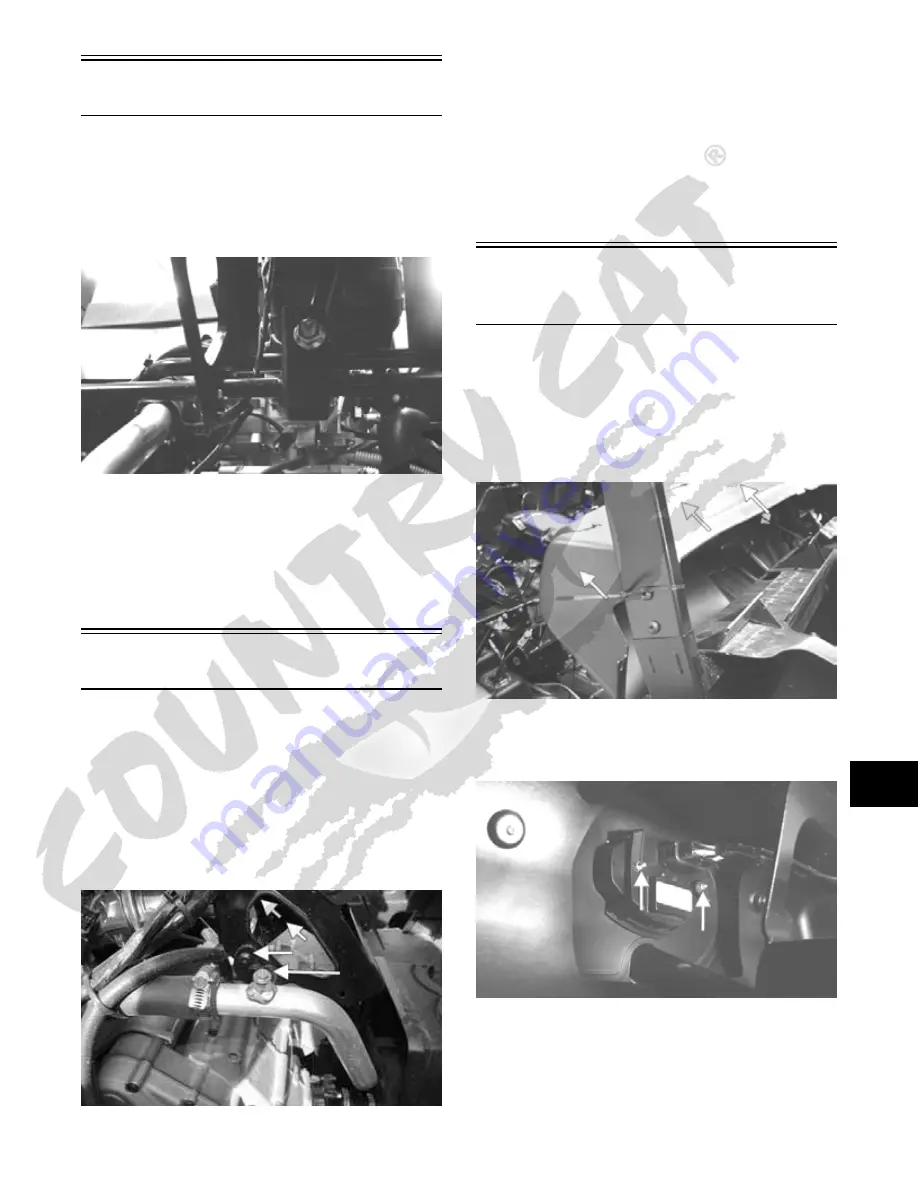
3. Remove the nuts securing the gauge assembly to the
dash; then unplug the multi-pin connector and
remove the gauge from the vehicle.
PR284A
4. Place the new gauge into the dash panel opening;
then place the gauge holder over the mounting
screws and secure with the nuts.
5. Plug the multi-pin connector into the gauge; then
turn the ignition switch to the ON position and check
gauge functions.
Summary of Contents for 2013 Prowler XT
Page 1: ...Prowler XT XTX XTZ ...
Page 3: ......
Page 5: ......
Page 149: ...4 16 NOTES ...
Page 211: ...7 8 NOTES ...
Page 232: ...8 21 8 NOTES ...
Page 233: ... Printed in U S A Trademarks of Arctic Cat Inc Thief River Falls MN 56701 p n 2259 530 ...


