8-18
6. Slide the dash into position and secure with the six
screws.
7. Install the parking brake handle and jam nut.
Exhaust System
REMOVING MUFFLER
1. Remove the two exhaust springs at the muf-
fler/exhaust pipe juncture.
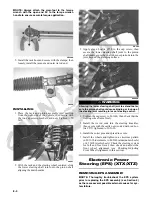
PR131
2. Slide the muffler assembly clear of the holder pins.
INSPECTING MUFFLER
NOTE: Whenever a part is worn excessively, cracked,
or damaged in any way, replacement is necessary.
1. Inspect muffler externally for cracks, holes, and dents.
2. Inspect the muffler internally by shaking the muffler
back and forth and listening for rattles or loose debris
inside the muffler.
NOTE: For additional details on cleaning the muf-
fler/spark arrester, see Section 2.
INSTALLING MUFFLER
1. Place the muffler onto the holder pins and slide into
position.
2. Secure the muffler to the exhaust pipe with the two
exhaust springs.
Cargo Box
REMOVING
1. Raise the cargo box; then remove the cap screw and
nut securing the lower lift support to the frame.
Account for the washer. The cargo box will tilt fully
rearward.
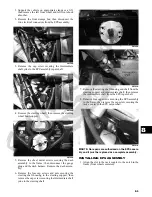
PR473A
2. Loosen but do not remove the four shoulder cap
screws securing the pivot housings to the cargo box.
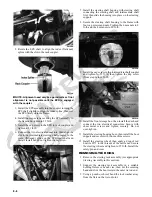
PR793A
3. Lower the cargo box; then remove the four cap
screws (from step 2).
4. With the help of an assistant or an adequate lift,
remove the cargo box from the vehicle. Account for
four pivot housings.
CLEANING AND INSPECTING
NOTE: Whenever a part is worn excessively, cracked,
or damaged in any way, replacement is necessary.
1. Clean all cargo box components with soap and water.
2. Inspect the cargo box for cracks, tears, and loose
hardware.
3. Inspect the welds of the cargo box frame for cracking
or bending.
4. Inspect the cargo box gate latches for smooth operation.
INSTALLING
1. With the help of an assistant or an adequate lift, set
the cargo box into position on the frame; then posi-
tion the two upper pivot housings between the cargo
box and frame. Lightly grease the pivot housings.
2. Align the holes in the upper pivot housings with the
holes in the cargo box; then install the lower pivot
housings and secure with the four shoulder cap
screws. Tighten to 20 ft-lb.
3. Raise the cargo box; then connect the lift support to
the frame, install the cap screw and nut, and tighten
the nut securely.
Summary of Contents for 2013 Prowler XT
Page 1: ...Prowler XT XTX XTZ ...
Page 3: ......
Page 5: ......
Page 149: ...4 16 NOTES ...
Page 211: ...7 8 NOTES ...
Page 232: ...8 21 8 NOTES ...
Page 233: ... Printed in U S A Trademarks of Arctic Cat Inc Thief River Falls MN 56701 p n 2259 530 ...

