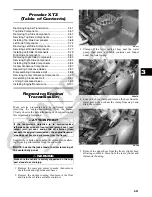
3-37
3
CF086
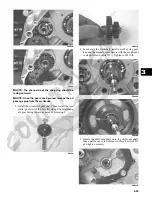
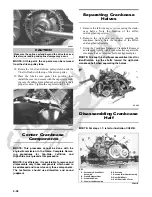
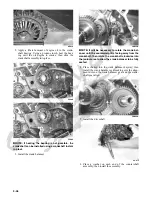
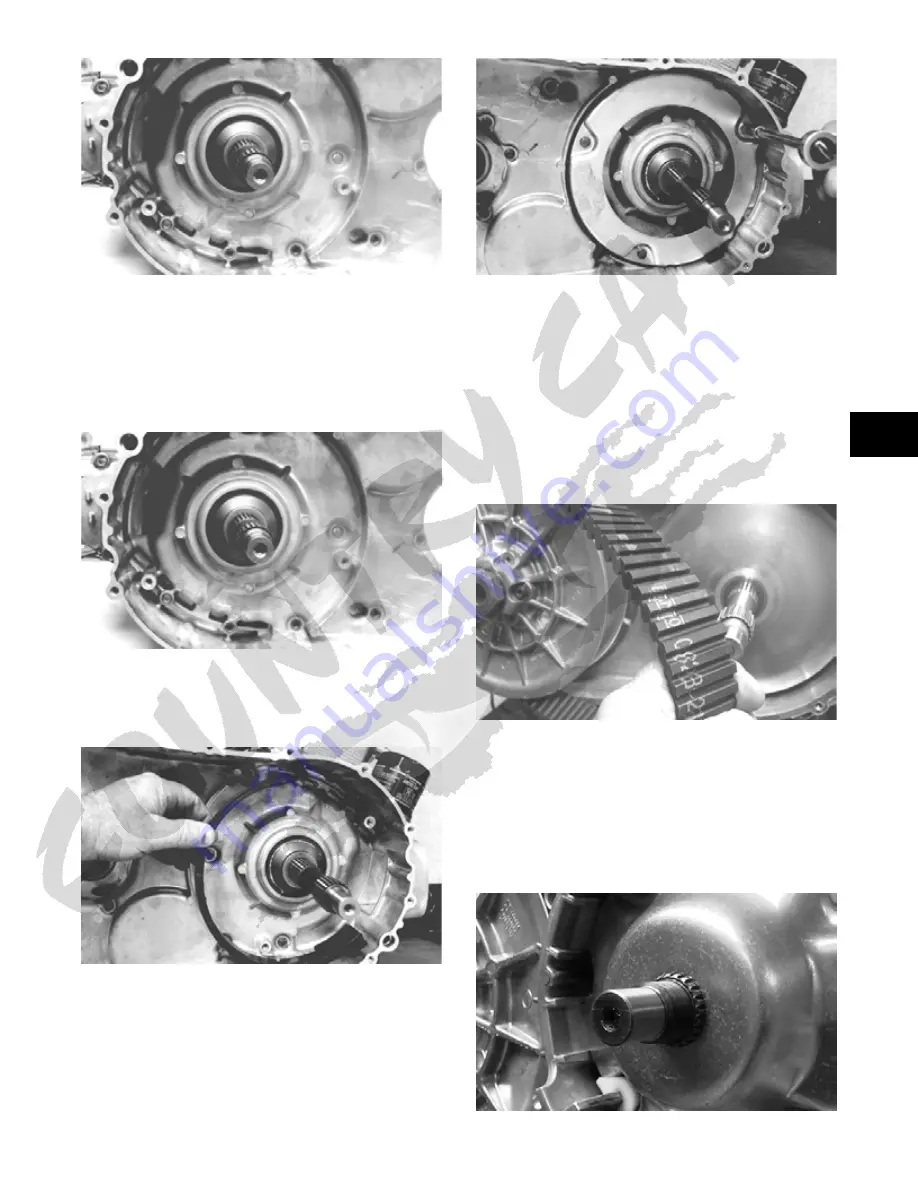
10. Apply grease to the outer edges of the clutch hous-
ing; then from inside the clutch cover, install the
clutch housing into the cover using a rubber mallet.
11. Place the clutch cover/clutch housing assembly into
position on the crankcase; then secure with the cap
screws making sure the different-lengthed cap
screws are in their proper location. Tighten to 8 ft-lb.
CF086
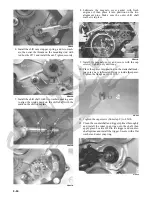
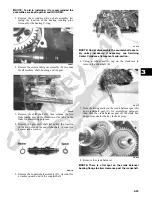
12. Place the air intake plate cushion into position; then
install the air intake plate. Tighten the cap screws
(threads treated with a small amount of red Loctite
#271) securely.
CD971
CD970
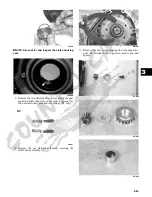
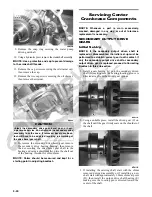
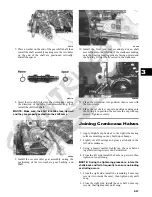
13. Place the driven pulley assembly into position and
secure with the nut. Using Spanner Wrench, tighten
to 80 ft-lb.
14. Slide the fixed drive face onto the shaft.
15. Spread the faces of the driven pulley by threading a 6
mm cap screw into the threaded boss; then turn
clockwise until pulley faces are opened approxi-
mately 1/2 in.
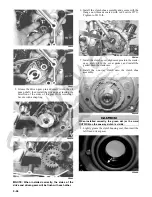
16. Place the V-belt into position on the driven pulley
and over the front shaft.
GZ085
NOTE: The arrows on the V-belt should point in the
direction of rotation.
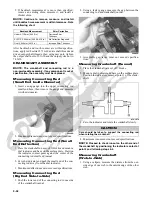
17. Pinch the V-belt together near its center and slide the
spacer and movable drive face onto the driveshaft.
Secure the drive face with a washer and nut (coated
with red Loctite #271). Using Spanner Wrench,
tighten the nut to 165 ft-lb.
GZ485
Summary of Contents for 2013 Prowler XT
Page 1: ...Prowler XT XTX XTZ ...
Page 3: ......
Page 5: ......
Page 149: ...4 16 NOTES ...
Page 211: ...7 8 NOTES ...
Page 232: ...8 21 8 NOTES ...
Page 233: ... Printed in U S A Trademarks of Arctic Cat Inc Thief River Falls MN 56701 p n 2259 530 ...


