49
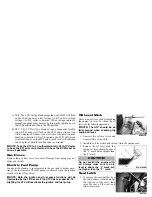
NOTE: Before attempting to adjust suspension, clean dirt
and debris from sleeve and remove load from the suspension;
then use the spanner wrench to adjust sleeve to desired posi-
tion (clockwise for stiffer; counterclockwise for softer).
General Lubrication
Cables
None of the cables require lubrication; however, it is advisable to lubri-
cate the ends of the cables periodically with a good cable lubricant.
Engine/Transmission Oil and Filter
NOTE: Refer to the recommended oil viscosity chart (on
page 45) in this manual for the proper engine oil.
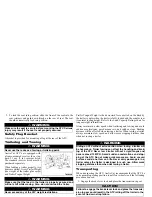
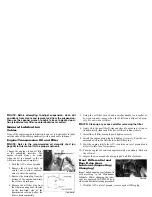
Change the engine oil and oil filter
at the scheduled intervals. The
engine should always be warm
when the oil is changed so the oil
will drain easily and completely.
1. Park the ATV on level ground.
2. Remove the oil level stick. Be
careful not to allow contami-
nates to enter the opening.
3. Remove the drain plug from the
bottom of the engine and drain
the oil into a drain pan.
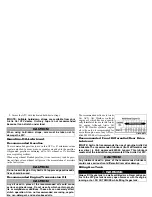
4. Remove the oil filter plug from
the filter mounting boss (located
on the front-right side of the
transmission case) and allow the
filter to drain completely.
5. Using the oil filter wrench and a ratchet handle (or a socket or
box-end wrench), remove the old oil filter and dispose of prop-
erly. Do not re-use oil filter.
NOTE: Clean up any excess oil after removing the filter.
6. Apply oil to the new filter O-ring and check to make sure it is posi-
tioned correctly; then install the new oil filter. Tighten securely.
7. Install the oil filter drain plug and tighten securely.
8. Install the engine drain plug and tighten it securely. Pour the rec-
ommended oil in the filler hole. Install filler plug.
9. Start the engine (while the ATV is outside on level ground) and
allow it to idle for a few minutes.
10. Turn the engine off and wait approximately one minute. Recheck
the oil level.
11. Inspect the area around the drain plug and oil filter for leaks.
Front Differential and
Rear Drive Gear
Lubricant (Inspecting/
Changing)
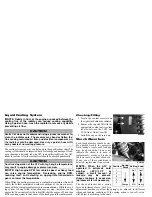
Inspect and change the gear lubricant in
each according to the Maintenance
Schedule. When changing the lubri-
cant, use approved SAE 80W-90 hyp-
oid oil and use the following procedure.
1. With the ATV on level ground, remove each oil filler plug.
KC0051A
733-441A
CF113A
Summary of Contents for 2014 XC 450
Page 71: ...Maintenance Record DATE MILEAGE SERVICE PERFORMED NOTES ...
Page 72: ...NOTES ...
Page 73: ...NOTES ...

