79
CLEANING AND INSPECTING
1. Clean all gas tank components with parts-cleaning
solvent.
2. Inspect all hoses for cracks or leaks.
3. Inspect tank cap and tank for leaks, holes, and dam-
aged threads.
INSTALLING
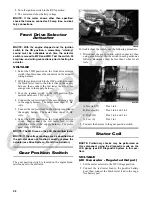
1. Using straps to hold the front plastic open, place the
gas tank into position in the frame making sure the
heat shield is in position.
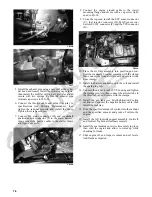
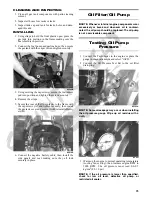
2. Connect the fuel pump and gasline hose; then secure
the gas tank with the cap screw and tighten securely.
KC509B
3. Using existing the cap screws, secure the instrument
pod into position and tighten the screws securely.
4. Remove the straps.
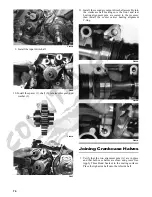
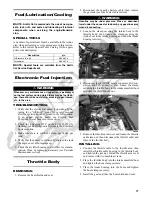
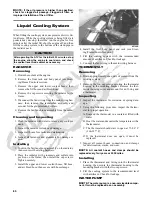
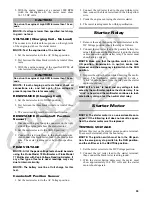
5. Secure the rear of the front plastic to the frame with
the cap screws (A) and tighten securely; then install
the gas tank cover and secure it with reinstallable riv-
ets (B).
KC219A
6. Connect the negative battery cable; then install the
side panels and seat making sure they all lock
securely in place.
Oil Filter/Oil Pump
NOTE: Whenever internal engine components wear
excessively or break and whenever oil is contami-
nated, the oil pump should be replaced. The oil pump
is not a serviceable component.
Testing Oil Pump
Pressure
1. Connect the Tachometer to the engine or place the
gauge in diagnostic mode and select “tACH.”
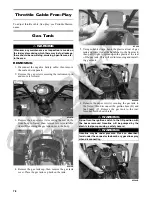
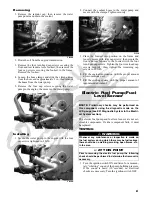
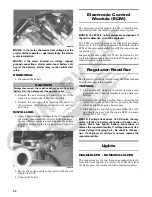
2. Connect the Oil Pressure Test Kit to the oil filter
drain plug.
KC195A
NOTE: Some oil seepage may occur when installing
the oil pressure gauge. Wipe up oil residue with a
cloth.
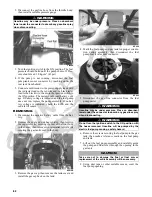
KC267
3. Warm up the engine to normal operating temperature
(cooling fan cycling); then increase engine RPM to
3000 RPM. The oil pressure must read 0.6-0.7
kg/cm
2
(8.5-10 psi).
NOTE: If the oil pressure is lower than specified,
check for low oil level, defective oil pump, or
restricted oil cooler.

