124
Drive Axles
REMOVING REAR DRIVE AXLE
1. Secure the vehicle on a support stand to elevate the
wheels.
2. With the vehicle in park, remove the wheels.
3. Remove and discard the “patch lock” cap screws
securing the brake calipers.
WS071C
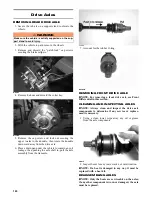
4. Remove hub nut and discard the cotter key.
WT328A
5. Remove the cap screw and lock nut securing the
upper A-arm to the knuckle; then rotate the knuckle
downward away from the drive axle.
6. Place a drain pan under the vehicle to contain any oil
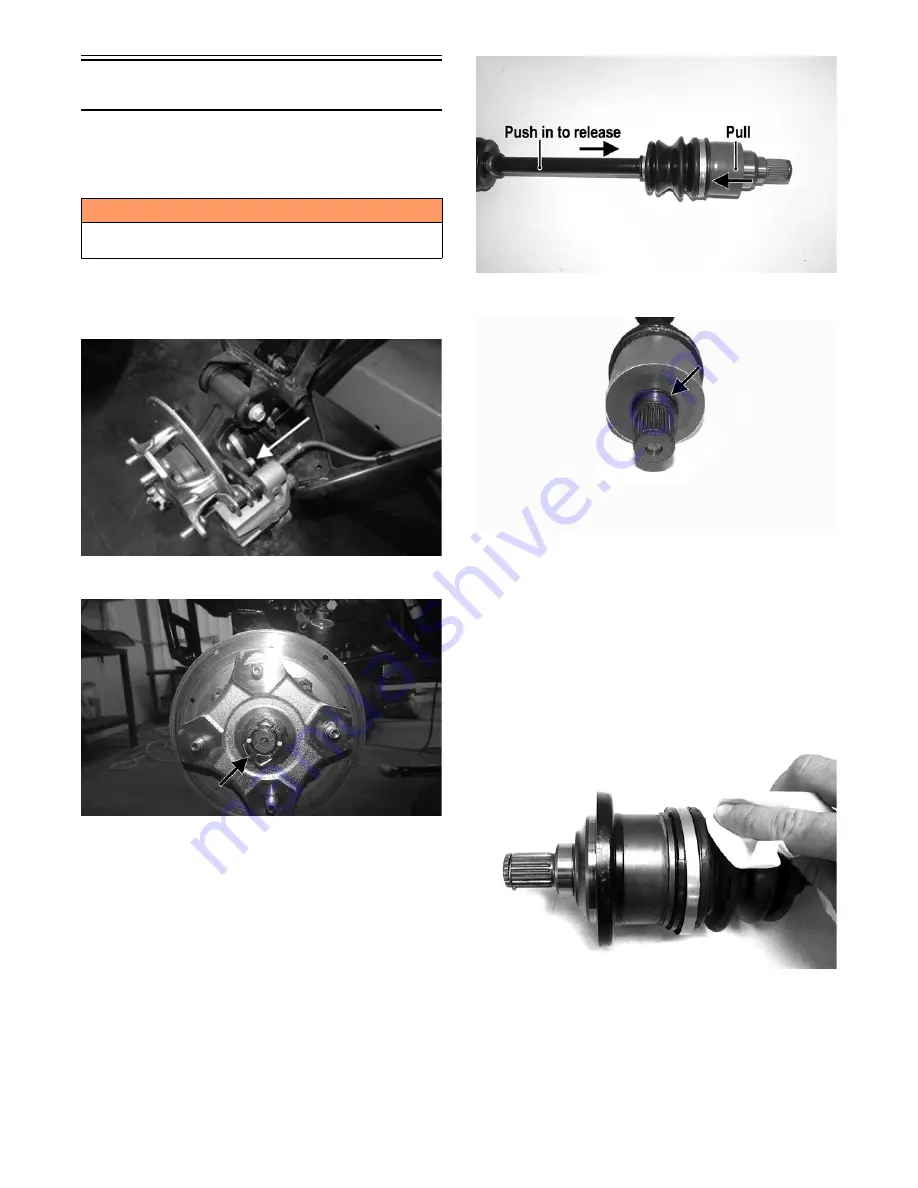
leakage; then pushing the axle shaft in, pull the axle
assembly from the transaxle.
CF633A
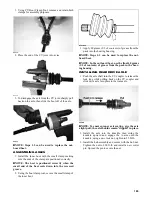
7. Account for the rubber O-ring.
WT509B
REMOVING FRONT DRIVE AXLE
NOTE: For removing a front drive axle, see Front
Differential in this section.
CLEANING AND INSPECTING AXLES
NOTE: Always clean and inspect the drive axle
components to determine if any service or replace-
ment is necessary.
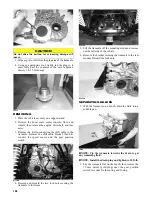
1. Using a clean towel, wipe away any oil or grease
from the axle components.
CD019
2. Inspect boots for any tears, cracks, or deterioration.
NOTE: If a boot is damaged in any way, it must be
replaced with a boot kit.
DISASSEMBLING AXLES
NOTE: Only the boots are serviceable on the axles;
if any other component is worn or damaged, the axle
must be replaced.
! WARNING
Make sure the vehicle is solidly supported on the sup-
port stand to avoid injury.


