126
WT328A
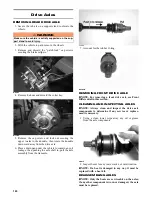
4. Using new “patch lock” cap screws, secure the brake
caliper to the knuckle. Tighten to 20 ft-lb.
5. Install the wheels and tighten the wheel nuts in 20
ft-lb increments to a final torque of 40 ft-lb (steel
wheel), 60 ft-lb (aluminum wheel w/black nuts), or
80 ft-lb (aluminum wheel w/chrome nuts).
6. Remove the vehicle from the stand.
INSTALLING FRONT DRIVE AXLE
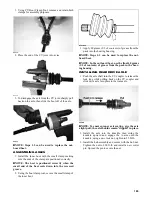
1. Push the axle shaft into the CV coupler to release the
lock ring; then position the drive axle in the gear case
and steering knuckle; then insert the ball joints into
the steering knuckles. Secure with cap screws tight-
ened to 35 ft-lb.
2. Secure the lower shock eyelet to the upper A-arm
with a new lock nut and existing cap screw. Tighten
to 35 ft-lb.
3. Slide the hub w/brake disc into position in the steer-
ing knuckle followed by an axle nut. Finger-tighten
at this time.
4. Install the brake caliper on the steering knuckle using
new “patch-lock” cap screws. Tighten to 35 ft-lb.
5. Set the parking brake; then turn the ignition switch to
the ON position, select LOCK on the drive select
switch. Turn the ignition switch to the OFF position.
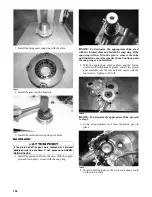
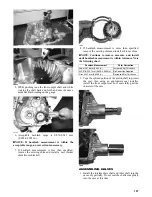
6. Tighten the axle nut (from step 3) to 200 ft-lb; then
install and spread a new cotter pin making sure each
side of the pin is flush to the hub nut.
WT328A
7. Install the wheel and tighten the wheel nuts in a
crisscross pattern in 20 ft-lb increments to a final
torque of 40 ft-lb (steel wheel), 60 ft-lb (aluminum
wheel w/black nuts), or 80 ft-lb (aluminum wheel
w/chrome nuts)
.
8. Remove the vehicle from the support stand.
9. Check the front differential lubricant level and add
lubricant as necessary (see Periodic Mainte-
nance/Tune-Up).
Transaxle
REPLACING SEALS
Output (Axle) Seals
NOTE: The transaxle does not need to be removed
for this procedure.
1. Support the vehicle on an appropriate stand; then
remove a rear wheel and axle.
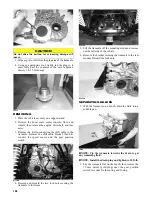
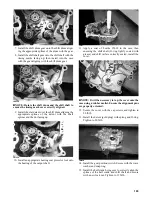
2. Using an awl and a mallet, pry the seal from the case
taking care not to damage the seal bore.
TA118
3. Wipe any oil or dirt from the seal area of the tran-
saxle.
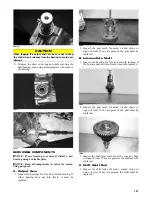
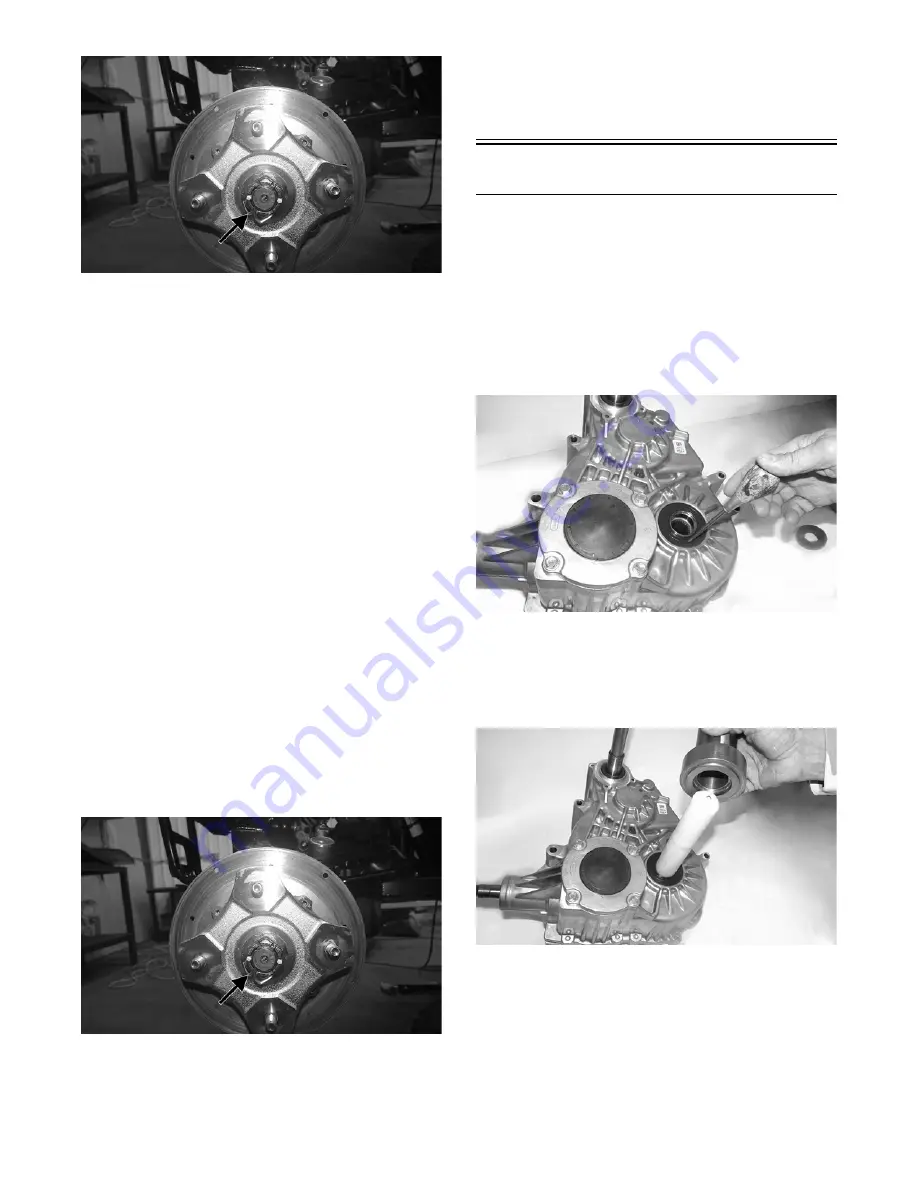
4. Using an appropriate seal installer and protector,
install a new seal so it seats fully past the chamfer of
the case (approximately 1.5-2.0 mm deep).
TA113


