140
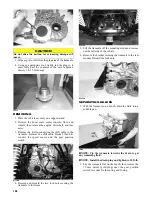
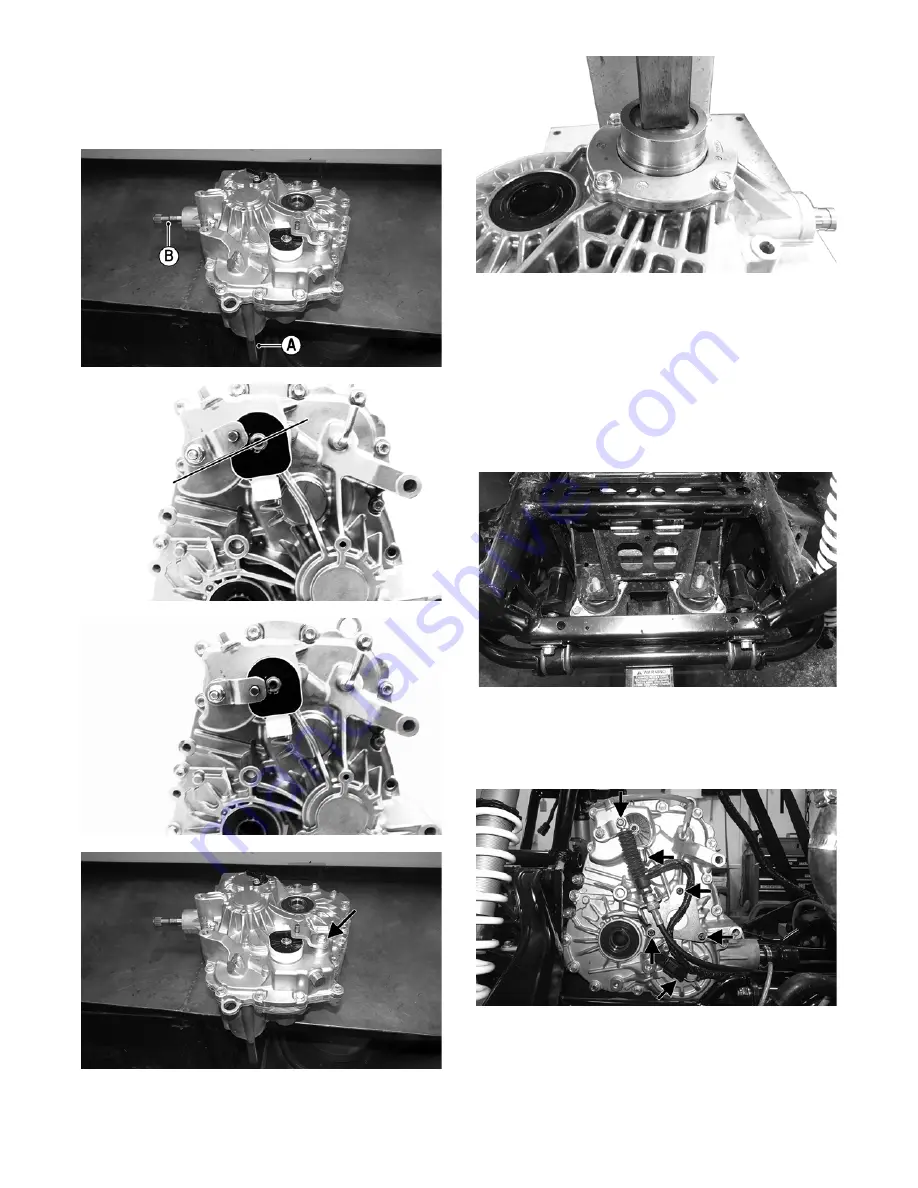
NOTE: Ensure the transaxle is in neutral by turning
the input shaft (A). It should turn freely and the front
output shaft (B) should not turn. If the front output
shaft turns with the input shaft, turn the bell crank to
the correct position.
TA012C
TA138A
TA137A
TA012B
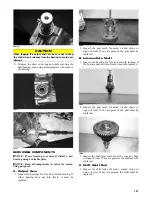
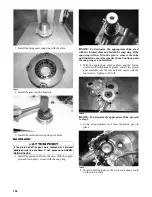
16. Using an appropriate seal installer, gently install a new
plug over the pinion gear assembly so it fully seats past
the chamfer (approximately 1.0-1.5 mm deep).
TA135A
17. Add the appropriate amount of Arctic Cat Synthetic
Transaxle Fluid to the transaxle; then install the fill
plug and tighten to 18 ft-lb.
INSTALLING
1. Using new lock nuts, secure the bracket to the rear of
the transaxle. Tighten to 38 ft-lb.
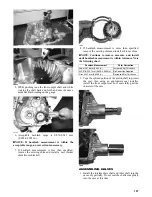
2. Place the transaxle into position on the rear mounting
studs and secure using new lock nuts. Tighten to 25
ft-lb.
WT430
3. Install the shift cable bracket and tighten to 7 ft-lb.
4. Connect the shift cable to the transaxle and secure
with the E-clip. Connect the speed sensor and gear
position switch.
WT439A
5. Install the driveshaft, axles, and engine; then install
the wheels, floor, center console, seats, and hood.
6. Remove from the vehicle from the support stand.
CORRECT
INCORRECT


