16
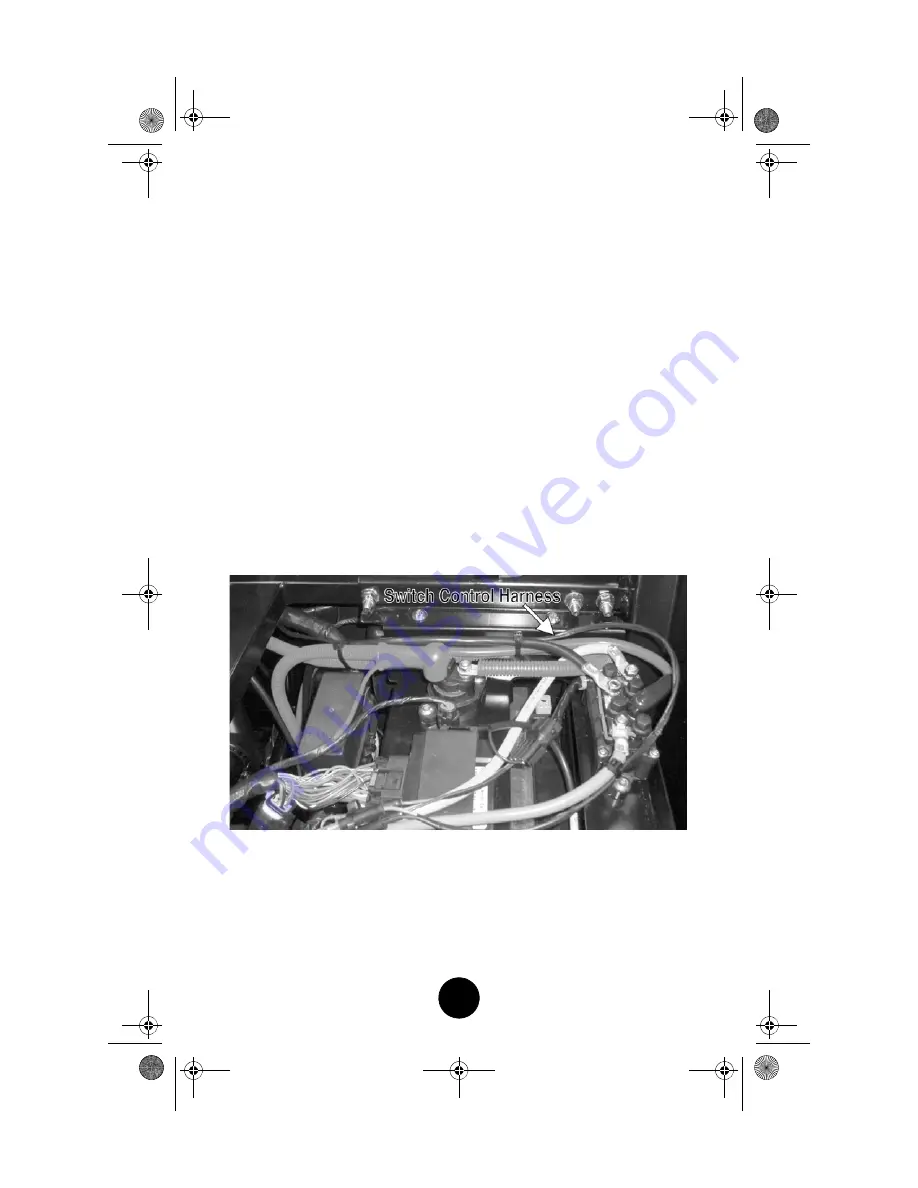
3. Connect the blue cable to the blue terminal and the yellow cable to the
green terminal on the solenoid. Tighten securely with M6 (nic.) Nuts
and Lock Washers. Secure the cables and wires with cable ties as
needed.
4. Connect the 36-in. Black Cable (battery-to-solenoid) to the black termi-
nal on the solenoid. Tighten securely with M6 (nic.) nut and lock
washer. Slide a terminal boot over one end of the 36-in. Red Cable and
connect that end to the red terminal on the solenoid. Tighten securely
with M6 (nic.) nut and lock washer; then slide the boot over the solenoid
terminal.
5. Route the red and the black cables over the top of the electrical panel
and follow the positive cable to the battery box.
6. Install the battery making sure to connect the battery vent tube to the
battery. Secure the positive battery cable and the 36-in. red lead to the
positive (+) battery post. Tighten securely.
7. Secure the negative battery cable, the 36-in. black cable, and the sole-
noid adapter harness ground to the negative (-) battery post. Tighten
securely. Secure the cables and wires with cable ties.
UTV-068A
8. Install the battery panel, battery box, rear splash panel, operator’s seat-
base, center console, two seats, dash, and parking brake handle if appli-
cable.
9. After completing the winch installation, review the System Check and
Stretching Wire Cable sub-sections. Also review the Operating Instruc-
tions section.
3000 lb winch eng.fm Page 16 Wednesday, August 27, 2014 2:59 PM


