38
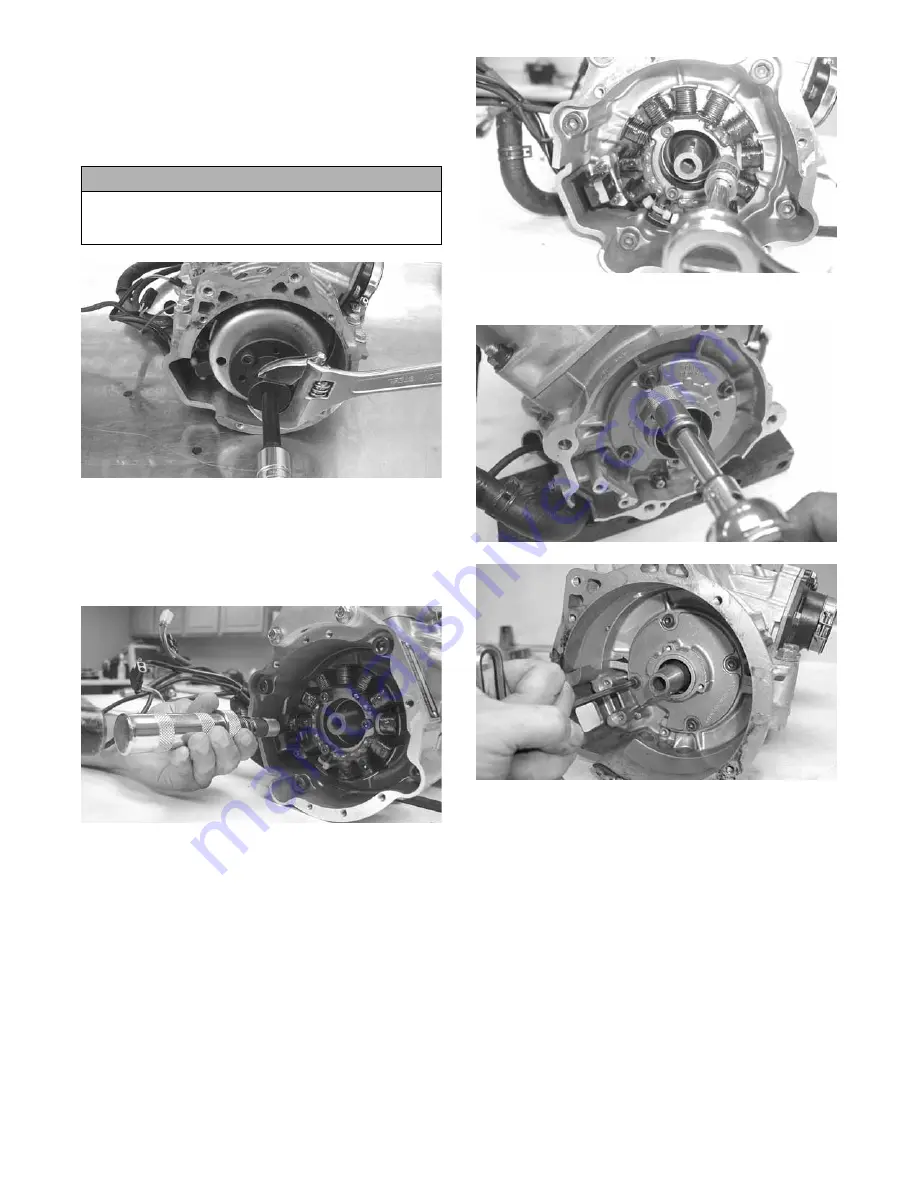
3. Using Flywheel Puller or suitable substitute,
remove the flywheel from the crankshaft by tight-
ening the puller bolt, striking the head of the puller
bolt with a hammer, and tightening again. Repeat
this procedure until the flywheel is free. Account
for the key.
CM013
NOTE: To ensure the cleanliness of the flywheel
magnets, place the flywheel (with the magnets fac-
ing upward) on a clean bench.
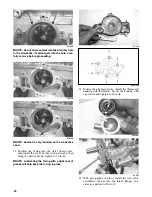
4. Remove the ignition timing sensor.
FC022
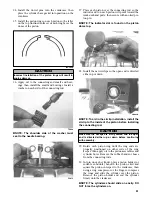
5. Remove the Allen-head cap screws securing the
stator to the stator plate. Move the stator to the
side to access the Phillips-head cap screw securing
the stator lead wire; then remove the cap screw.
FC018
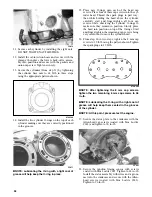
6. Remove the stator plate from the engine.
FC021
FC065
NOTE: The stator plate screws had Loctite
applied to the threads during assembly. Using an
impact driver, apply a sharp blow to the head of
each screw to break the Loctite loose before
removal.
7. Remove the spark plugs.
8. Remove the cap screws with O-rings securing the
cylinder head; then separate from the cylinders.
Account for the O-rings.
9. Remove the oil-injection hose from each flange
and the crankcase nozzle.
CAUTION
To prevent damage to the crankshaft, do not thread
puller bolts more than 12.7 mm (1/2 in.) into the fly-
wheel. Damage to the coils may result.
Summary of Contents for 500 Sno Pro
Page 1: ...TM SHARE OUR PASSION Operator s Performance Manual Performance Manual 500 Sno Pro...
Page 2: ......
Page 6: ...NOTES...
Page 22: ...16 NOTES...
Page 68: ...62 NOTES...
Page 92: ...86 NOTES...
Page 93: ...87 NOTES...
Page 94: ...88 NOTES...
Page 95: ...Printed in U S A Trademarks of Arctic Cat Inc Thief River Falls MN 56701 p n 2258 721...


