57
7. Route the taillight harness through
the bumper; then secure the taillight
to the bumper with the two self-tap-
ping screws.
8. Carefully route the harness beneath the
Speedrack mount and through the hole
in the storage compartment panel; then
connect the harness connector.
9. Tighten the three right-side mount
cap screws; then lower the front seat.
10. Place the rear seat into position on
the mount making sure the four pin
holes are properly aligned with the
mounting location on the mount.
11. Install the four pins making sure
they are properly seated.
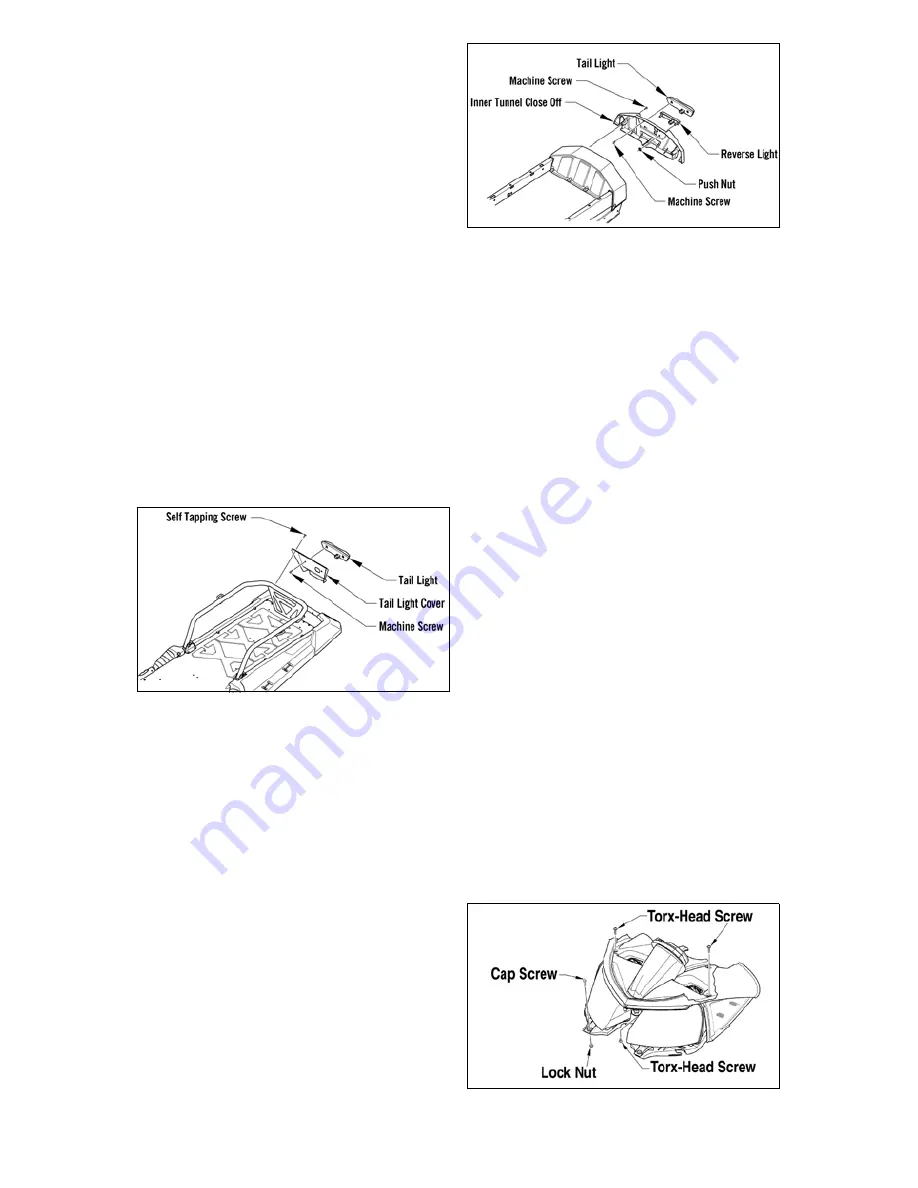
3000
These models are equipped with an LED
taillight/brakelight. If the LED fails, it
must be replaced. To remove and install
the LED, use the following procedure.
0749-426
1. Remove the self-tapping screws
securing the taillight cover.
2. Remove the machine screws secur-
ing the taillight; then disconnect the
harness.
3. Connect the taillight harness connec-
tor; then secure the taillight to the
bracket with the torx-head screws.
7000
These models are equipped with an LED
taillight/brakelight. If the LED fails, it
must be replaced.
0749-425
1. Remove the two screws on either
side of the taillight then carefully
pull back the taillight panel to access
the taillight connector.
2. Disconnect the taillight harness con-
nector.
3. Remove the two nuts securing the
taillight.
4. Connect the taillight harness connec-
tor; then secure the taillight to the
bracket with the two nuts.
5. Position the taillight panel and secure
using the two screws.
Removing/Installing
Headlight Bulb
2000
NOTE: The bulb portion of headlight
is fragile. HANDLE WITH CARE. When
replacing the headlight bulb, the bulb
assembly must first be removed from
the housing. Do not touch the glass
portion of the bulb. If the glass is
touched, it must be cleaned with a dry
cloth before installing.
1. Remove the two torx-head screws
located to the outside of the head-
light adjustment knobs; then remove
the single torx-head screw from
beneath the console (located
between the headlights).
743-439A


