39
YT164
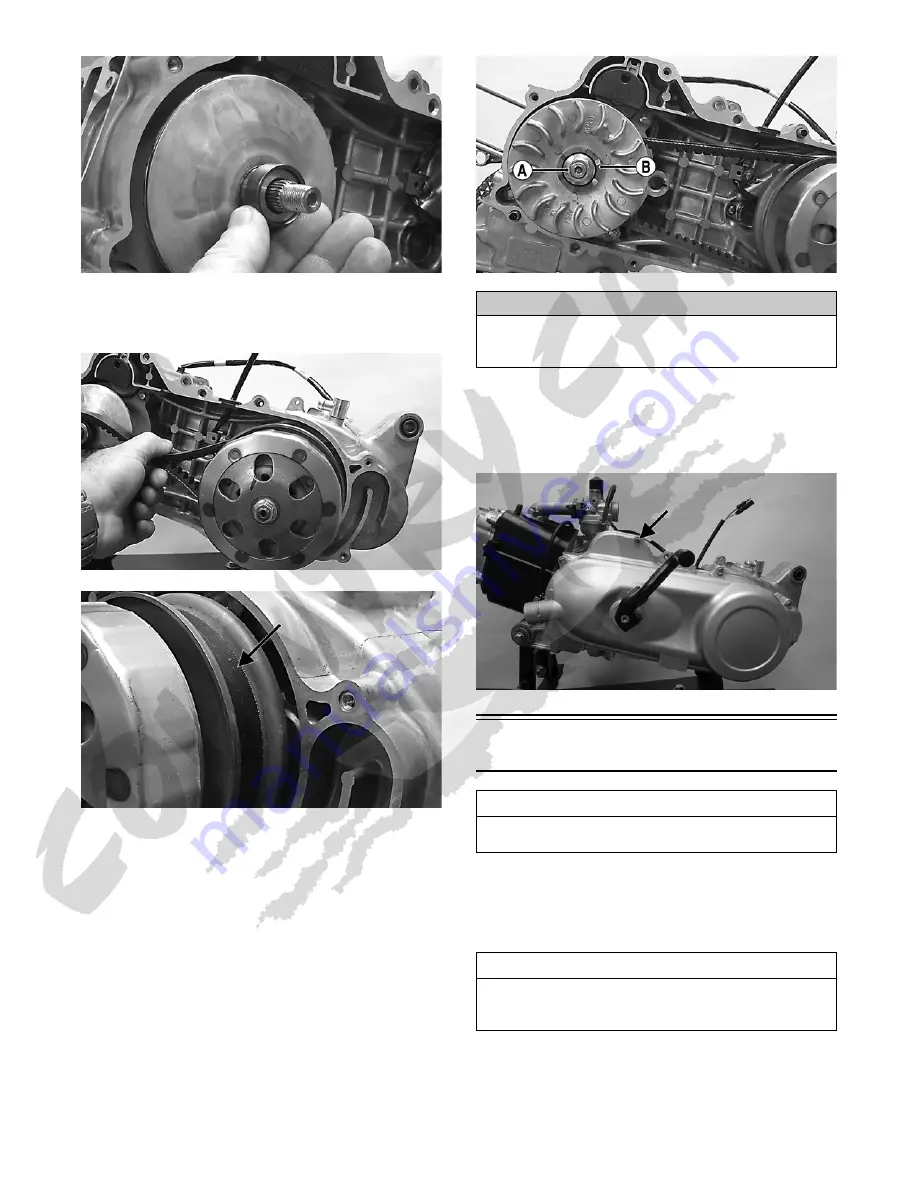
7. Place the V-belt over the driven pulley; then over the
bushing/spacer. Pinch the belt in the middle to draw
it down into the driven pulley approximately 1 inch.
YT157
YT163A
8. Install the fixed drive face onto the crankshaft and make
sure sufficient splines are protruding to allow the kick-
start ratchet to slide onto the splines; then install the
ratchet (B) and secure with the flange nut (A) coated
with red Loctite #271. Tighten to 27.5 ft-lb.
YT160B
9. Install two alignment pins and the gasket; then
secure the V-belt cover to the crankcase and tighten
the cap screws in a crisscross pattern to 7 ft-lb. Make
sure the different-lengthed cap screw is located as
illustrated.
YT099A
Right-Side Components
NOTE: For efficiency, it is preferable to remove and
disassemble only those components which need to
be addressed and to service only those components.
The technician should use discretion and sound
judgment.
NOTE: The engine/transmission does not have to
be removed from the frame for this procedure.
CAUTION
Failure to fully engage the splines with the kick-start
ratchet could cause false torque reading and crankshaft
damage.
AT THIS POINT
To service center crankcase components only, proceed
to Removing Right-Side Components.
AT THIS POINT
To service any one specific component, only limited dis-
assembly of components may be necessary. Note the
AT THIS POINT information in each sub-section.


