48
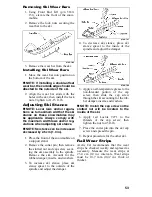
NOTE: On the RR models, this pro-
cedure should be done from the
right-side only.
0745-811
2. Check track alignment and continue
adjustment until proper alignment is
obtained.
NOTE: Make sure correct track
tension is maintained after adjust-
ing track alignment (see Track Ten-
sion sub-section in this section).
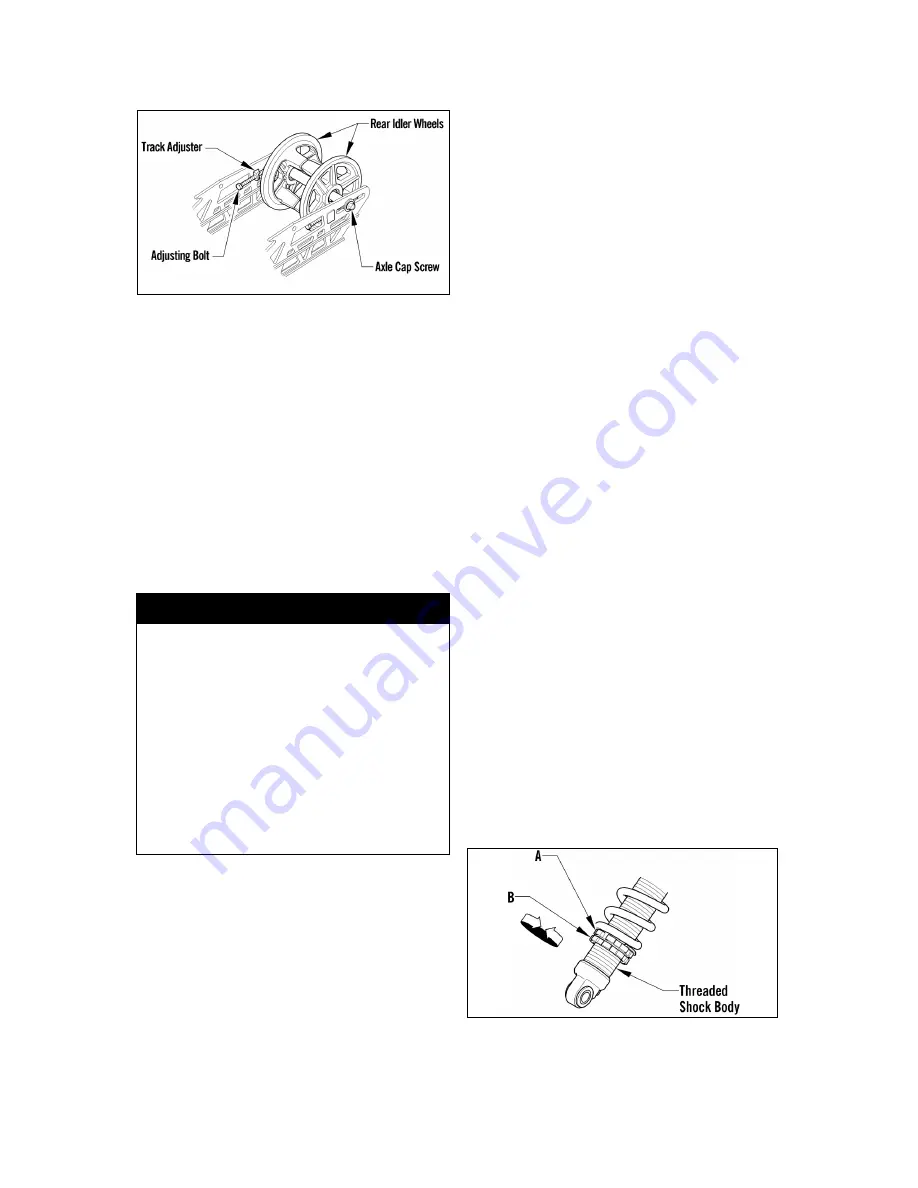
3. After proper track alignment is
obtained, tighten the idler wheel
axle cap screw to 34 ft-lb; then
tighten the adjusting bolts securely
against the axle.
4. Field test the track under actual con-
ditions.
5. After the field test, check the align-
ment of the track. If additional adjust-
ment is necessary, repeat Adjusting
Track Alignment procedure.
Suspension
The suspension should be adjusted for
the operational needs and riding prefer-
ence of the operator.
The front shock springs determine the
amount of ski pressure and the reaction
of the front suspension to rough terrain.
The amount of ski pressure can also be
changed by adjusting the length of the
skid frame front arm limiter straps.
On standard models, the rear arm shock
absorber spring influences the load carry-
ing capability of the snowmobile and
should be adjusted for the weight and rid-
ing preference of the operator.
NOTE: On Sno Pro models with a
rear arm float shock, this adjustment
is achieved by increaseing or
decreasing the air pressure in the
rear arm air shock absorber.
Adjusting Front (Ski)
Shock Springs
The front (ski) shock springs are individu-
ally adjustable for the terrain conditions and
driving style of the operator. The spring
adjuster nut has been set at the factory so
the correct amount of threads are exposed
between the adjuster nut and the threaded
shock body as an initial setting. Additional
ski pressure can be obtained by tightening
the spring tension; ski pressure can be
decreased by relaxing spring tension.
NOTE: Equal adjustments should
be maintained on both sides of the
snowmobile.
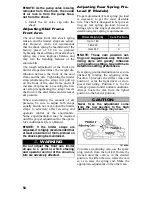
Front (ski) shock spring pre-load adjust-
ment is accomplished by loosening the
adjuster nut locking collar (B) from the
adjuster nut (A) and using the Spring
Adjuster Tool from the tool kit, rotating
the adjuster nut in whichever direction is
desired. Tighten the locking collar
against the adjuster nut.
0745-159
! WARNING
Always make sure the adjusting bolts
are snug against the axle and the
idler wheel cap screws and the right-
side axle nut on the RR are tightened
to specifications. Failure to do so
could cause the track to become
extremely loose and, under some
operating conditions, allow the idler
wheels to climb over the track lugs
forcing the track against the tunnel
causing the track to “lock.” If a track
“locks” during operation, severe per-
sonal injury could result.
Summary of Contents for F 1100 series
Page 7: ...3 Snowmobile Safety Rules...


