128
WC266A
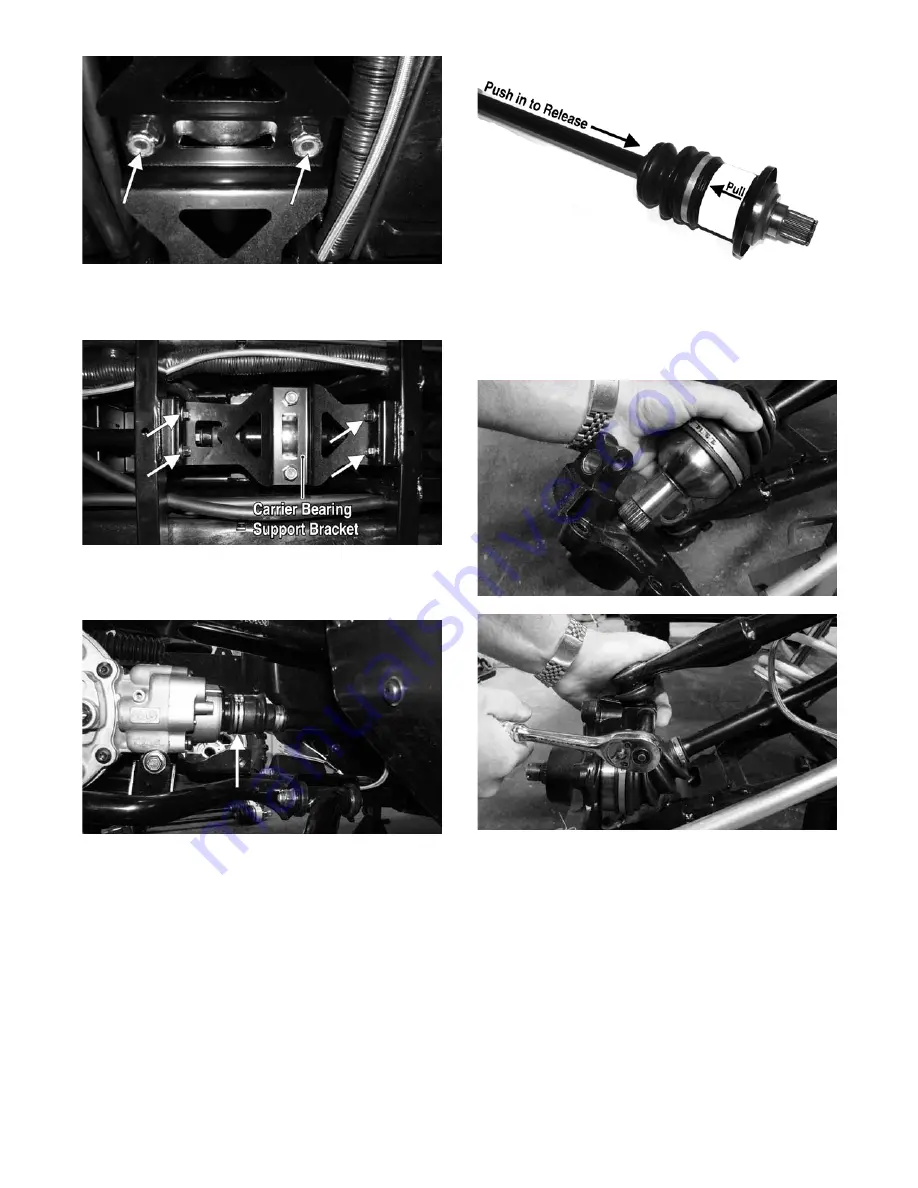
5. On the X, secure the carrier bearing support bracket
to the frame with four cap screws and tighten to 20
ft-lb.
WC265A
6. Make sure the drive coupler boot is fully in place on
the differential drive coupler; then secure with the
clamp.
WC275A
NOTE: To secure the clamp, use Hose Clamp Pliers.
7. Using new O-rings with clean grease applied, install
the front drive actuator on the differential and tighten
the three mounting screws securely. Connect the
front drive actuator connector.
8. Apply fresh multi-purpose grease to the splines; then
install the front axles into the differential pushing in
on the axle shafts to seat the splines into the differen-
tial.
PR729C
9. Install the axles into the knuckles; then swing the
knuckles vertical and engage the ball joint shanks
into the knuckles. While holding the ball joint
securely in the knuckle, secure with a new
“patch-lock” cap screw. Tighten to 35 ft-lb.
WC272
WC271
10. Install the hub assemblies onto the axles; then apply
Loctite primer and red Loctite #277 to the axle
threads.
11. Engage the hub nut into the Belleville washer on the
convex side; then with the concave side of the
washer directed toward the hub, install the nut and
washer. Keeping the nut and washer engaged, tighten
the hub nut to 250 ft-lb.


