146
WC692
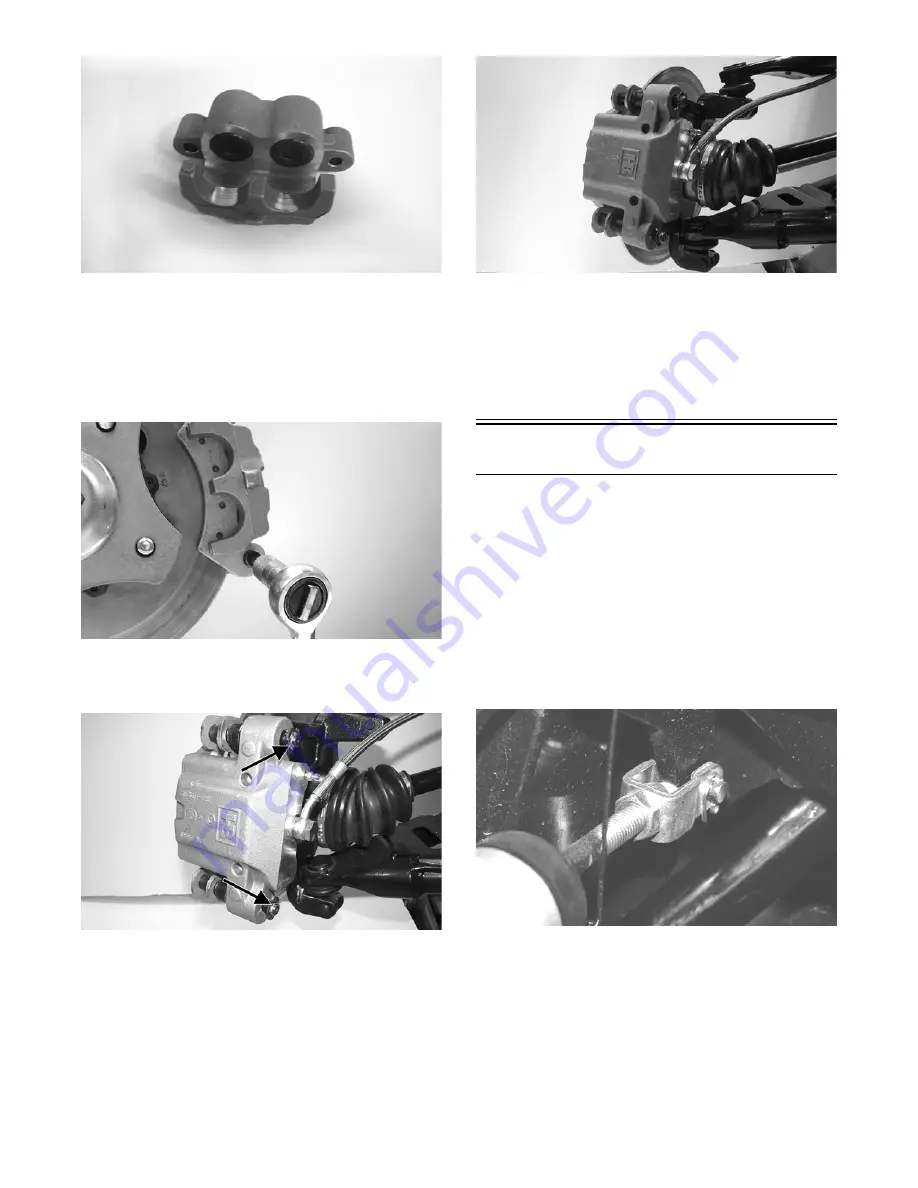
3. Using silicon grease, lubricate the O-rings and install
into the anchor bolt bores making sure the correct
size of O-rings are installed in the correct locations
(thicker O-rings on bleed screw end of calipers).
4. Install the caliper and brake pads onto the brake disc
and secure to the knuckle with the anchor bolts.
Tighten to 35 ft-lb.
WC606
5. Install the E-clips; then using new crush washers,
connect the brake banjo fitting to the caliper and
tighten to 20 ft-lb.
WC611A
WC609
6. Fill the reservoir; then bleed the brake system (see
Periodic Maintenance/Tune-Up.)
7. Install the wheels and using a crisscross pattern,
tighten the wheel nuts in 20 ft-lb increments to a final
torque of 40 ft-lb (steel wheel), 60 ft-lb (aluminum
wheel w/black nuts), or 80 ft-lb (aluminum wheel
w/chrome nuts).
Master Cylinder Assembly
NOTE: The master cylinder is a non-serviceable
component; it must be replaced as an assembly.
Removing
1. Slide a piece of flexible tubing over one of the brake
caliper bleeder valves and direct the other end into a
container. Remove the reservoir cover; then open the
bleeder valve. Allow the brake fluid to drain until the
reservoir is empty.
2. Remove the cotter pin and pivot pin from the yoke;
then remove two cap screws securing the master cyl-
inder assembly to the frame.
PR338


