155
7. Install the tie rod end and secure with the nut (coated
with red Loctite #271). Tighten to 55 ft-lb; then
install a new cotter pin and spread the pin to secure
the nut.
NOTE: During assembly, new cotter pins should be
installed.
8. Apply Loctite primer and red Loctite #277 to the
threads of the axle.
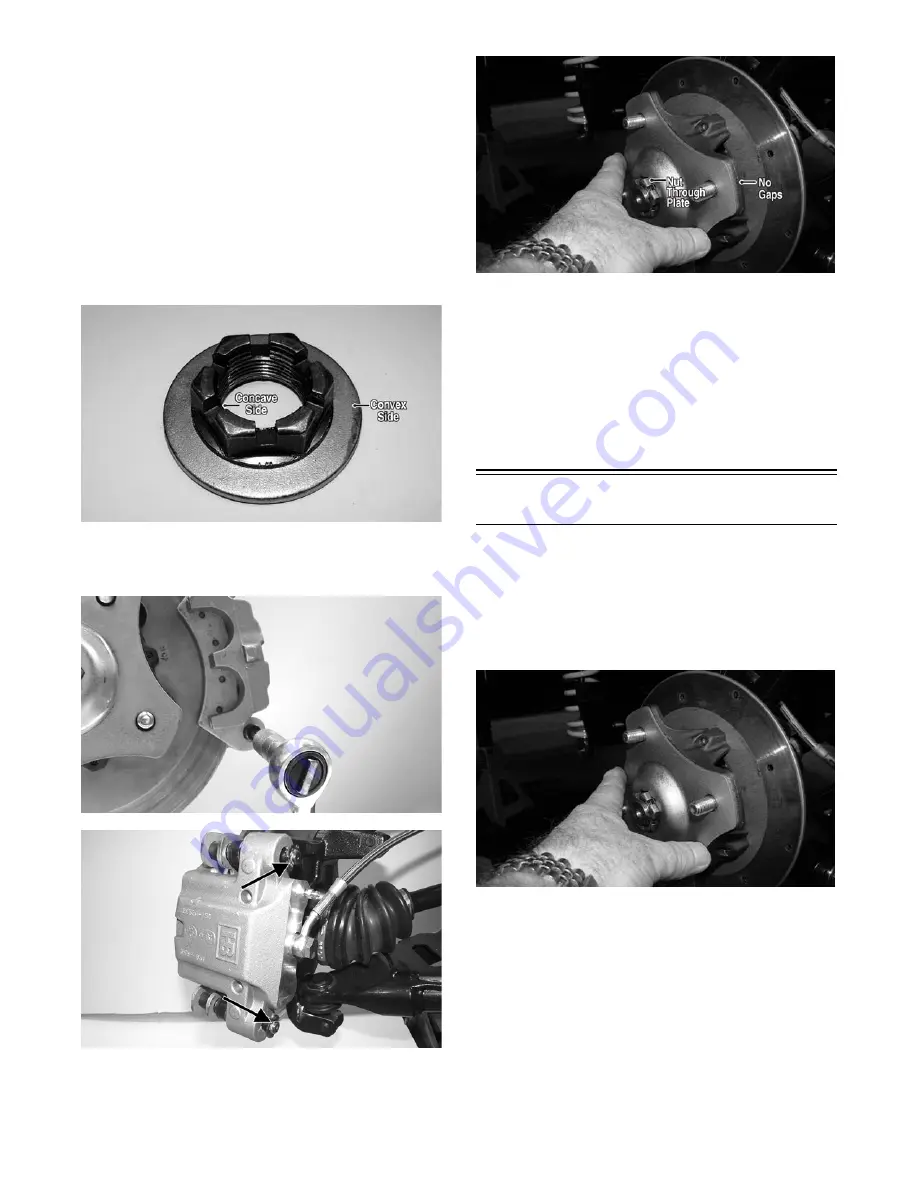
9. Engage the hub nut into the Belleville washer on the
convex side; then with the concave side of the
washer directed toward the hub, install the nut and
washer. Keeping the nut and washer engaged, tighten
the hub nut to 250 ft-lb.
WC303A
10. Secure the brake calipers to the knuckle with two
brake pad pins. Ensure the E-clips and anchor bolts
are in place. Tighten to 20 ft-lb.
WC606
WC611A
11. Install the hub plate making sure it fits completely
over the nut and lies flat against the hub.
WC317A
NOTE: If the hub plate cannot be fully installed due
to misalignment of the hub nut, tighten the nut until
properly aligned and plate is fully installed.
12. Install the wheels and using a crisscross pattern,
tighten the wheel nuts in 20 ft-lb increments to a final
torque of 40 ft-lb (steel wheel), 60 ft-lb (aluminum
wheel w/black nuts), or 80 ft-lb (aluminum wheel
w/chrome nuts).
Install the hub cap.
13. Remove the vehicle from the support stand.
Rear Trailing Arms
REMOVING
1. Lift and support the vehicle on support stands that
allow access to the rear suspension with the rear tires
off the floor.
2. Remove the lug nuts securing the wheel; then
remove the hub plate.
WC317
3. Place a jack stand or other support under the trailing
arm; then remove the cap screw securing the lower
shock eyelet to the arm. Account for a flat washer.
Front
Front


