18
WC347A
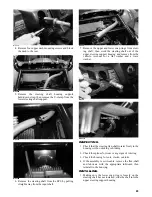
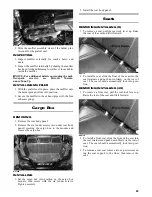
2. Remove the hose clamp from the gasoline filler neck
and disconnect the filler hose.
WC344A
3. Lift the rear body panel off and remove forward
between the ROPS uprights; then tape or plug the
filler hose to prevent contamination of fuel or vapor
escaping.
WC186
INSTALLING
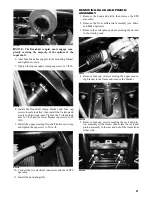
1. Place the rear body panel onto the vehicle making
sure the outer front mounting tabs are located behind
the splash panel.
WC342A
2. Secure with the machine screws and tighten securely.
3. Remove the plug or tape from the gas filler hose and
connect the hose to the gasoline filler neck and
secure with the hose clamp. Tighten securely.
4. Install the seats.
Steering Wheel
REMOVING
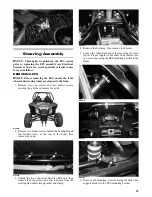
1. Remove the steering wheel cover; then match mark
the steering shaft and steering wheel.
NOTE: Any time steering components are disassem-
bled, all connecting components should be marked for
proper alignment during assembling.
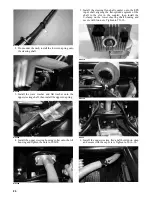
2. Remove the hairpin clip from the steering shaft; then
remove the nut securing the steering wheel and
remove the steering wheel.
INSPECTING
1. Inspect the steering wheel for cracks, missing pad-
ding, or broken spokes.
2. Inspect the splines for wear.
3. Check that the steering wheel is not bent.
INSTALLING
1. Install the steering wheel aligning the two match
marks; then apply a drop of red Loctite #271 to the
threads of the nut and secure the steering wheel.
Tighten to 25 ft-lb.
NOTE: If a new steering wheel is being installed,
mark the wheel as close as possible to the old wheel
mark; then check for proper positioning with the
front wheels straight forward (see Checking/Adjust-
ing Front Wheel Alignment).
2. Install the hairpin clip on the steering shaft.
NOTE: If the hole in the steering shaft does not
align with the slots in the nut, tighten the nut slightly
until the next slot aligns with the hole.


