25
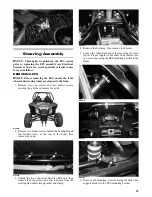
7. Install the upper tilt-steering link pivot bolt and
tighten to 10 ft-lb; then install the steering wheel.
8. Remove the block and secure the upper dash screws;
then install the hood and grille.
Steering Knuckles
REMOVING AND DISASSEMBLING
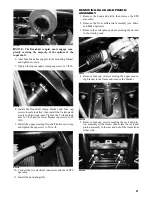
1. Secure the vehicle on a support stand to elevate the
wheel; then remove the wheel and account for the
hub plate.
2. Remove the nut and Belleville washer securing the
hub.
3. Remove the brake caliper.
4. Remove the hub assembly.
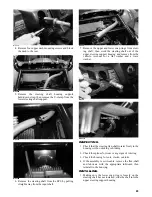
5. Remove the cotter pin from the tie rod end and
remove the tie rod end from the knuckle.
6. Remove the upper cap screw securing the ball joint
in the knuckle.
WC271
7. Tap the ball joint end out of the knuckle; then slide
the axle out of the knuckle.
8. Remove the cap screw securing the lower ball joint
to the knuckle and remove the knuckle.
9. Remove the snap ring securing the bearing in the
knuckle; then press the bearing out of the knuckle.
CLEANING AND INSPECTING
1. Clean all knuckle components.
2. Inspect the bearing for pits, scoring, rusting, or pre-
mature wear.
3. Inspect the knuckle for cracks, breaks, or galling of
the bearing surface.
ASSEMBLING AND INSTALLING
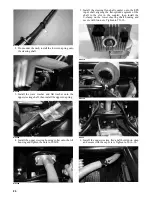
1. Using a suitable press and driver, press the bearing
into the knuckle until firmly seated; then install the
snap ring.
PR292A
PR289
2. Install the knuckle to the lower ball joint and secure
with a new “patch-lock” cap screw. Tighten to 35
ft-lb.
3. Slide the axle into the knuckle; then install the upper
ball joint and secure with a new “patch-lock” cap
screw. Tighten to 35 ft-lb.
WC272
WC271


