background image

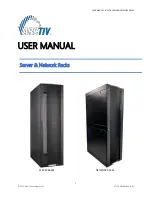
USER MANUAL:  ARCTIV SERVER & NETWORK RACKS 

© 2021 ArcTiv Technologies, LLC 


ATSVR-NWR-MANUAL-01 


USER MANUAL 


SERVER RACKS 

NETWORK RACKS 


Server & Network Racks 


Summary of Contents for Server Racks

Page 1: ...USER MANUAL ARCTIV SERVER NETWORK RACKS 1 2021 ArcTiv Technologies LLC ATSVR NWR MANUAL 01 USER MANUAL SERVER RACKS NETWORK RACKS Server Network Racks...

Page 2: ...CTIV SERVER NETWORK RACKS 2 2021 ArcTiv Technologies LLC ATSVR NWR MANUAL 01 TABLE OF CONTENTS PRODUCT OVERVIEW 3 SAFETY INSTRUCTIONS 4 COMPONENT IDENTIFICATION 5 PACKAGING 6 ASSEMBLY 7 CONFIGURATION...

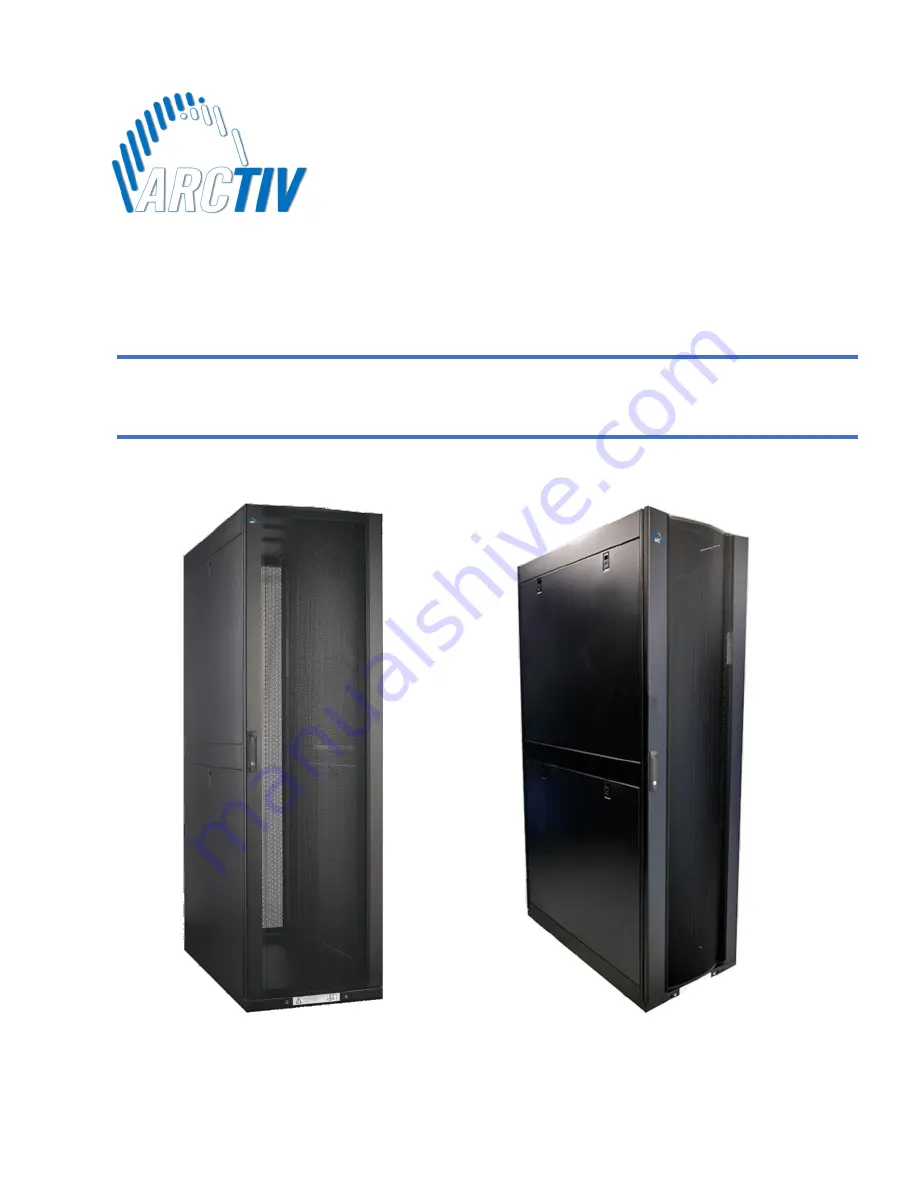
Page 3: ...atible with ArcTiv Aisle Containment and PDU s for fast installation and reliable operation The key features of the product line include Curved Door with 130 o Radius Heavy Duty Castors Leveling Feet...

Page 4: ...her enclosures and or equipment that will be installed nearby Use caution when cutting packing materials The enclosure could be scratched causing damage not covered by the warranty Save all packing ma...

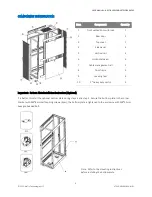
Page 5: ...Cable management rail 2 8 Door frame 2 9 Leveling feet 4 10 2 heavy duty castor 4 Important Bottom Plate Installation Instruction Optional It is better to install the optional bottom plate during ste...

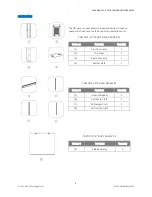
Page 6: ...iner and transportation costs CARTON A 19 FRONT REAR DOOR KITS Carton A Parts List Quantity 1 Front door assy 1 2 Top cover 1 3 Rear doory assy 1 4 Bottom plate 1 CARTON B 19 RAILS BEAM KITS Carton B...

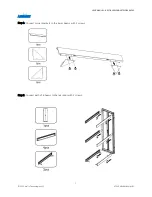
Page 7: ...RCTIV SERVER NETWORK RACKS 7 2021 ArcTiv Technologies LLC ATSVR NWR MANUAL 01 ASSEMBLY Step 1 Connect corner brackets to the lower beams with 2 screws Step 2 Connect each of 6 beams to the rear door w...

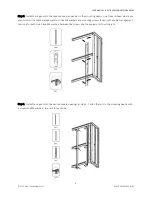
Page 8: ...CTIV SERVER NETWORK RACKS 8 2021 ArcTiv Technologies LLC ATSVR NWR MANUAL 01 Step 3 Fasten each of 6 beams in Step 2 to the front door with 2 screws Step 4 Fasten corner brackets in Step1 to the front...

Page 9: ...ach beam where you plan to install the cable management rails Use M6 washers and mounting screws to secure the cable management rails one for each side Place M6 washers between the screws and the equi...

Page 10: ...01 Step 7 While holding the top cover arrange the 2 pins near the rear of the top cover into the holes in the enclosure frame Pull the roof panel downward until it s close to the enclosure frame Step...

Page 11: ...ignated grounding locations two M6 threaded inserts on front rear door frame directly to your facility s earth ground connection with 8AWG wire Do not use the enclosure without a proper earth ground c...

Page 12: ...OR TO DAMAGE RESULTING FROM ACCIDENT MISUSE ABUSE OR NEGLECT SELLER MAKES NO EXPRESS WARRANTIES OTHER THAN THE WARRANTY EXPRESSLY SET FORTH HEREIN WARNING The individual user should take care to deter...

Reviews: