


User’s Manual
–
A
REBO
S Patio Heater 2000W
12
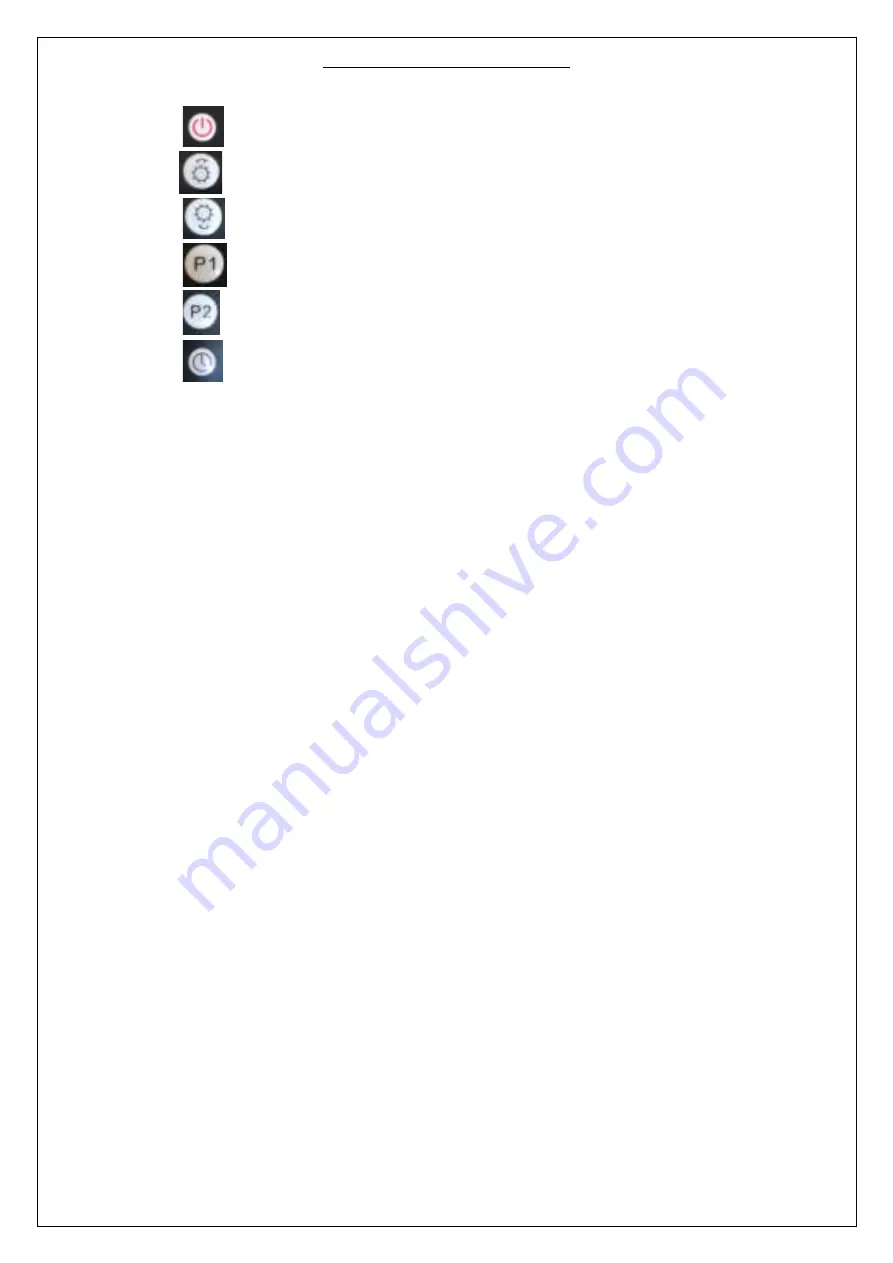
2.
Press
in the remote to make the heater standby.
3.
Press
to increase the power until F9.
4.
Press
to decrease the power until F1.
5.
Press
,the heater is in half of full power.
6.
Press
,the heater is in full power.
7.
Press
to set 24 hours power off
.
6.
Maintenance and Cleaning
6.1 Maintenance
•
Attention!
Careful and regular maintenance of infrared Heater is required to attain a long and
efficient operation of your appliance.
1.
Check the cleanliness of the reflector and IR-filament at least once a month. If necessary, apply
cleaning and maintenance instructions.
2.
The number of checks may be increased considering the amount of the dust in the environment.
3.
Check the deformation of the reflector, wire and frame visually while cleaning the appliance. In
case of any deformation, consult a qualified technician.
4.
Check the power cable and plug visually while cleaning the appliance. In case of any deformation,
consult a qualified technician.
5.
It is recommended to change the reflector every 2 years for more efficient operation.
6.2 Cleaning
•
Attention!
Regular and careful cleaning helps your heater operate for longer years and more
efficiently
.
1.
Unplug your power cable for your safety before cleaning your appliance.
2.
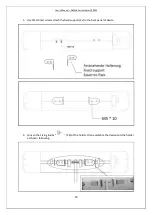
Take out the front grid wire through the inlets on the frame using a slotted screwdriver.
3.
Make sure that the power is off for your safety. Power cable plug must be unplugged.
4.
The reflector and filament must be cleaned with a soft cloth, a smooth brush or cool or dry air. The
cloth may be damp but never too wet and the cleaner should not include any chemical.
5.
Refrain from using cleaning material likely to damage the reflector (cleanser etc.).
6.
Insert the wire grid using a slotted screwdriver
.


