


93
Français
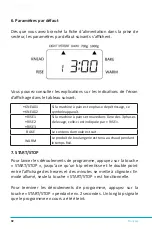
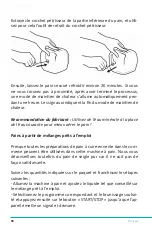
Vous pouvez mettre en pause les déroulements de programme pen
-
dant 10 minutes en appuyant brièvement sur la touche « START/
STOP » pendant le fonctionnement. L'heure commence à clignoter.
Ensuite, le programme est automatiquement relancé. Vous pouvez
poursuivre le programme en rappuyant sur la touche.
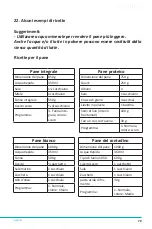
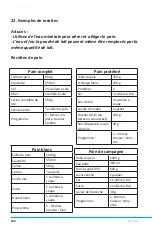
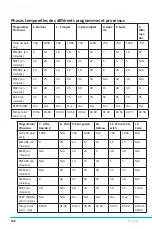
8. Programmes
Vous pouvez sélectionner le programme de votre choix en appuyant
sur la touche Menu. L'affichage du programme change après avoir
appuyé sur la touche MENU. Les différents programmes et les fonc
-
tions associées sont récapitulés comme suit.
Normal (1)
« Programme par défaut » : Pétrir, faire lever et cuire
Français (2)
Pétrir, faire lever et cuire le pain avec un plus long
temps de marche
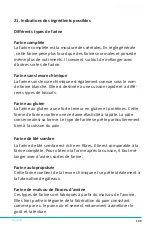
Farine complète (3)
Pétrir, faire lever et cuire le pain à base de farine com
-
plète
Rapide (4)
Pétrir, faire lever et cuire en moins de temps que le
programme par défaut
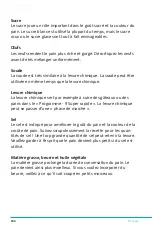
Sucré ( 5)
Pétrir, faire lever et cuire les pâtisseries
Super rapide 1, 2 (6,
7)
Pétrir, faire lever et cuire en moins de temps
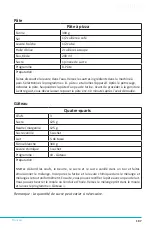
Pâte (8)
Pétrir et faire lever. Il n’y pas de processus de cuisson
dans ce programme. La pâte prête convient par ex. pour
les pizzas, les petits pains ou similaires.
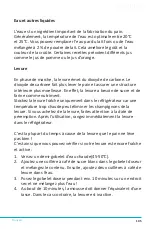
Sans gluten (9)
Pétrir, faire lever et cuire du pain sans gluten. Ce para
-
mètre a un temps de préchauffe plus long pour que les
céréales puissent absorber l’eau et s’étendre. Il est dé
-
conseillé d’utiliser la fonction temporisation sous peine
de mauvais résultats.
Gâteau (10)
Pétrir, faire lever et cuire le gâteau
Pain à sandwich ( 11) Pétrir, faire lever et cuire du pain clair (par ex. toast)
Cuire (12)
Seule la cuisson est possible dans ce programme. Le
programme peut servir à prolonger un certain temps
de cuisson. Appuyez sur la touche Temps pour régler le
temps de cuisson.
Summary of Contents for 303528
Page 1: ...BREADMAKER User Manual Mod Nr 303528 20190108FS002 ...
Page 138: ...138 Notes ...
Page 139: ...139 Notes ...
Page 140: ...WD Plus GmbH Wohlenbergstraße 16 D 30179 Hannover ...


