5.3.3 MacOS - Sierra / Windows 7:
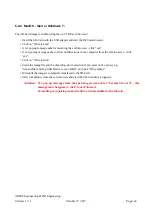
The SD-Card image is written using the tool “JM3 ext4-browser”.
• Insert the SD-Card with the USB adapter and start the JM3 ext4-browser.
• Click on “Write to disk”
• A 1st pop-up message asks for restarting the ext4-browser - click “yes”.
• A 2nd pop-up message asks to allow modifications on the computer from the ext4-browser - click
“yes”.
• Click on “Write to disk”.
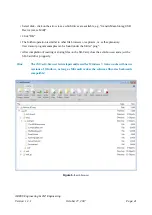
• Select the image file and the disk (drop-down selection if you press on the arrow) e.g.
“GenericMass-Storag USB Device (xxxxx MiB)” and click “Write Image”
• Wait until the image is completely transfered to the SD-Card.
• After completion, close the ext4-browser and eject the SD-Card drive propperly.
Attention: If a pop-up messages from the operating system ask for “Format SD-Card” - this
message must be ignored - click “cancel” instead.
Formatting or repairing makes the SD-Card unreadable for the Marvin.
AREXX Engineering & JM³ Engineering
Version: 1.3.1
October 27, 2017
Page: 43


