Electrical System Argo Service Manual
Ontario Drive & Gear Limited www.odg.com
PH.(519)- 662-2840 FAX (519)- 662-2421
ES-14
Installing the Starter (Conquest Models)
1.
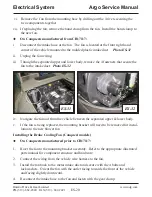
Maneuver the starter and solenoid assembly vertically between the engine and trans-
mission, turning horizontally to mount to the starter bracket.
2.
Align the holes of the starter motor with the threaded holes of the mounting bracket
and start the first mounting bolt. A socket on a long extension provides the extended
reach needed to start the bolt. Use a magnetic socket or apply a little silicon into the
socket head to hold the mounting bolt securely while reaching it into the required
area.
3.
Install the second mounting bolt and torque to specifications referring to the engine
service manual.
4.
Reconnect the starter cable and starter relay wire. Cover with the rubber boot.
5.
Position the brake cooling duct and secure to the power pack frame with the 2 fas-
teners.
6.
Perform the servicing procedure, Installing the Driven Clutch, in section CS.
7.
Perform the servicing procedure, Installing the Drive Belt, in section CS.
8.
Perform the servicing procedure, Installing the Firewall In section VB of this serv-
ice guide.
Removing the Starter (Response, Bigfoot, Vanguard2 & Vanguard Models)
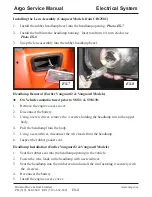
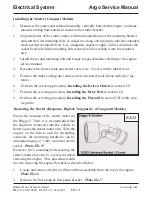
Due to the location of the starter motor on
the Briggs V Twin, it is recommended that
the engine be removed from the vehicle to
better access the starter motor area. With the
engine on the bench, and the shrouding
removed, the mounting hardware can be
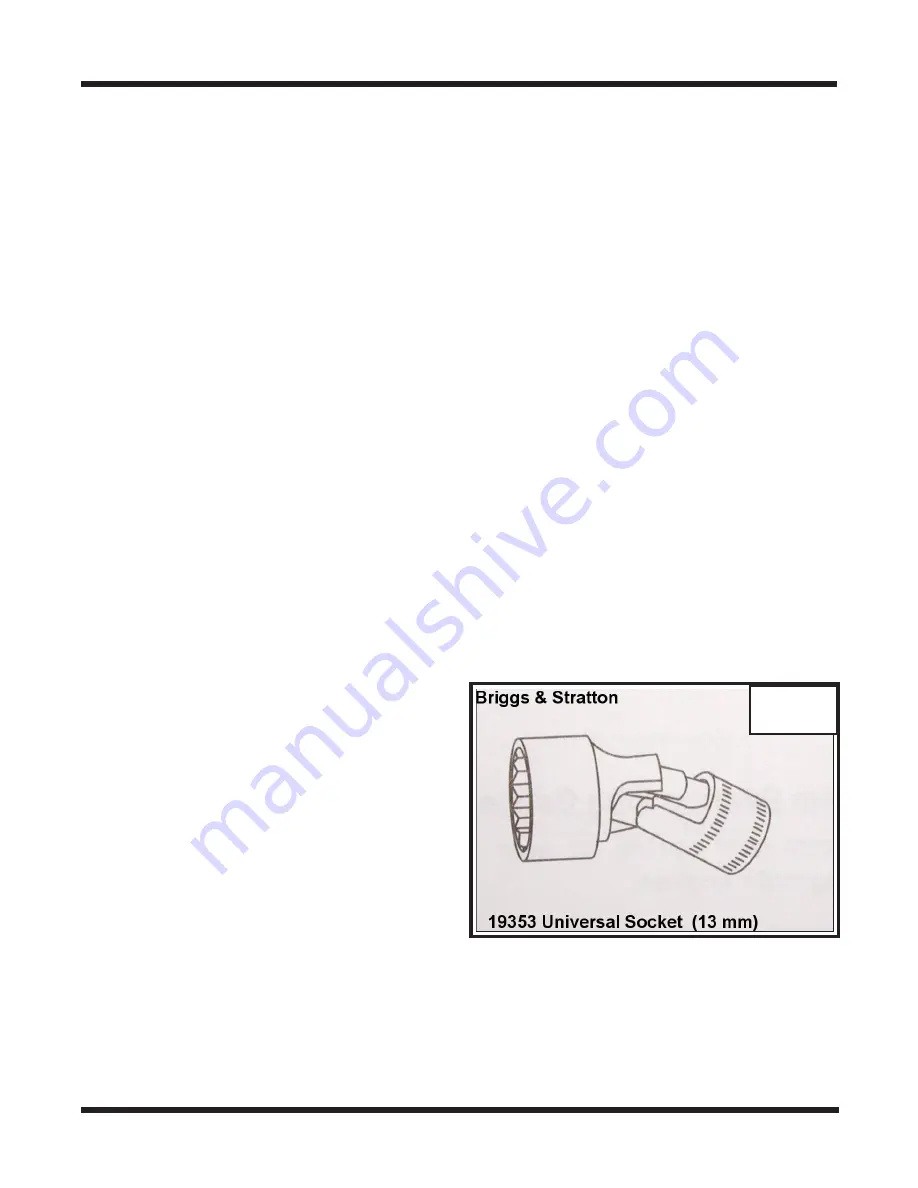
unfastened using a 13 mm universal swivel
socket. Photo ES-15.
However, the 2 mounting bolts securing the
starter motor may also be accessed without
removing the engine. This procedure would
involve removing the engine flywheel as described below.
1.
Locate and remove the the air filter and base assembly from the top of the engine.
Photo ES-16
2.
Remove the fuel pump & fuel pump bracket. Photo ES-17
ES-15


