Argo Service Manual Electrical System
Ontario Drive & Gear Limited www.odg.com
PH.(519)- 662-2840 FAX (519)- 662-2421
ES-9
3.
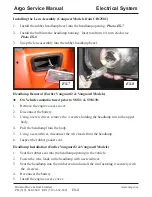
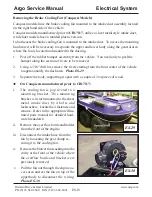
Pull the headlamp assembly from the vehicle. Unwrap the electrical tape from the
power wire and disconnect.
4.
Disconnect the ground wire at the headlamp mounting bracket.
5.
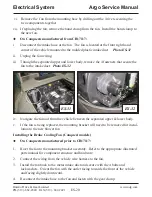
Remove the trim screws and separate the lens from the headlamp housing.
6.
Remove the bulb.
Installing the Headlamp Bulb (Earlier Conquest Models)
When installing the new bulb, avoid any contamination of the glass surface. Do not
touch the bulb with your fingers.
7.
Secure the bulb inside the housing and route the power wire through the rubber
grommet at the bottom of the assembly.
8.
Assemble the lens back to the housing. Ensure that the gasket is in place and not
damaged. Replace if necessary.
9.
Install the screws to the headlamp trim.
10. Plug the power wire leading from the new bulb, into the vehicle wire harness. Re-
tape the connection with electrical tape.
11. Place the headlamp assembly back into the upper body, aligning the hole of the
headlamp mounting bracket, with the hole in the top of the upper body.
12. Secure with the bolt and nut. Re-connect the battery.
On Vehicles manufactured from CB12581, RB12075, S8131, SN8138 BF9121 &
C12747:
1.
Remove the engine hood assembly.
2.
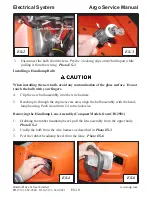
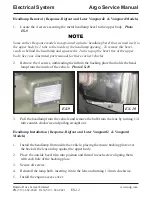
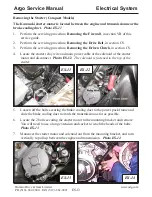
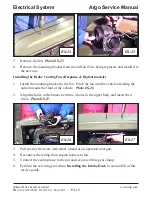
To remove the bulb from the lens, reach into the engine compartment and turn the
bulb 1/4 turn counter-clockwise. Pull straight out. Photo ES-2
Although replacement bulbs are still available for this headlamp, the lens and housing
assembly is not. If the entire assembly needs replacing, an update kit is available to adapt
the newer style headlamp to an older vehicle.
Removing a Headlamp Bulb


