Assembly Instructions
Assembly Instructions
Stage 1 –
Fitting the Pole Head
Stage 1 –
Fitting the Pole Head
BROWN or RED
BLUE or BLACK
GREEN / YELLOW
fig. 1
Fixing Screw
Top
fig. 2
Top
Wires
BROWN or RED
BLUE or BLACK
GREEN / YELLOW
Lamp
BROWN or RED
BLUE or BLACK
GREEN / YELLOW
Top
CAUTION:
Glass is very fragile. Handle it
carefully and keep away from
children.
fig. 3
fig. 4
fig. 6
fig. 5
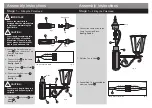
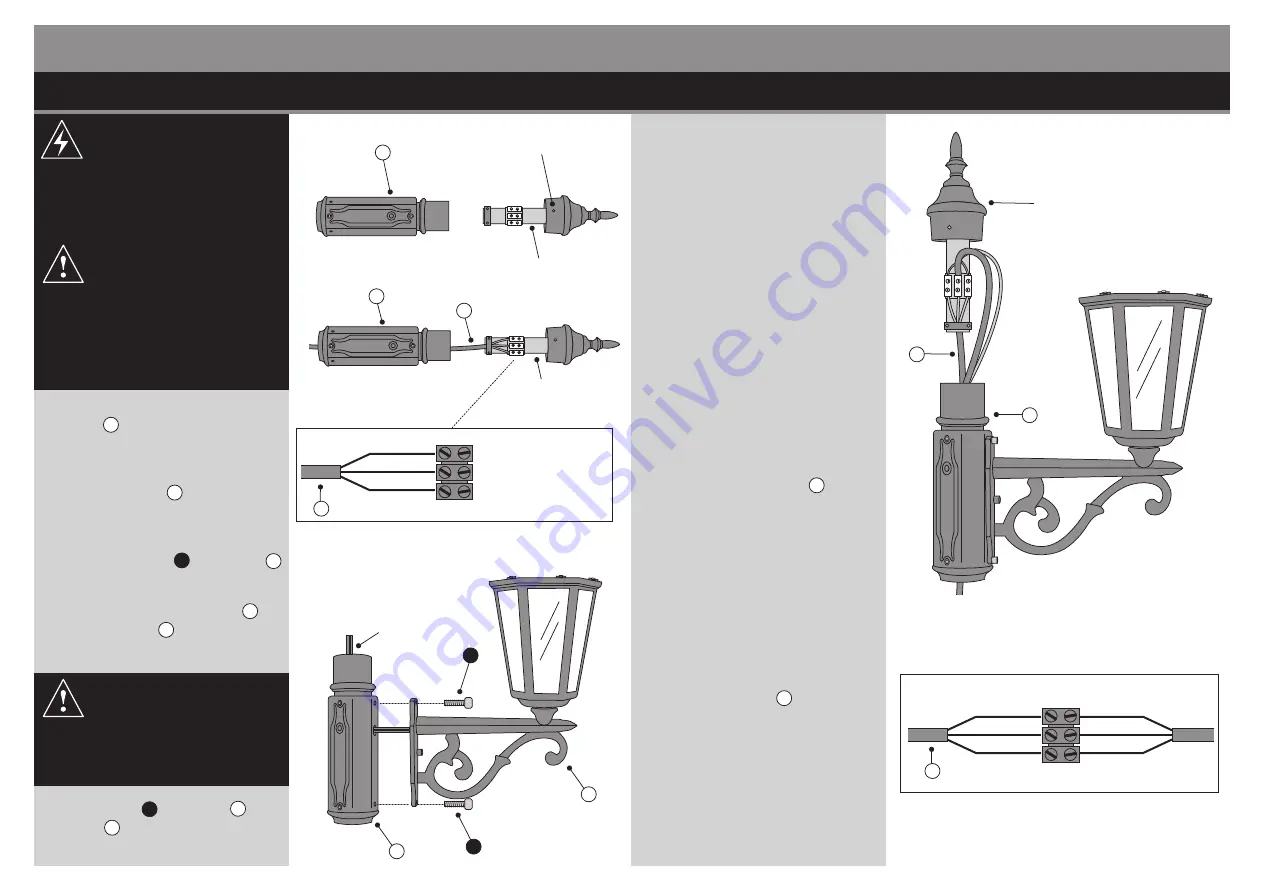
1. Loosen the Fixing Screws on
Head A . Then remove the Top
from the Pole Head.
See fig. 1.
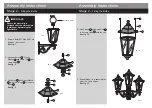
4. Feed the wires from Lamp E
through Head A .
See fig. 4.
3. Remove Screws
J
from Head A .
See fig. 4.
5. Use Screws
J
to fix Lamp E onto
Head A .
See fig. 4.
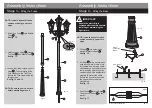
6. Connect the Lamp wires to the
Lamp Connection Block .
See fig. 5 and 6.
7. Refit the Top to Head A .
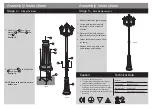
8. Repeat Step 1-9 to assemble the
other two Lamps E .
CAUTION:
We strongly recommend this
light is fitted by a Qualified
Electrician. If you are in any
doubt please ask the retailer
where you purchased this
2. Connect Wires G to the Lamp
Connection Block.
See fig. 2 and 3.
IMPORTANT:
Ensure the electricity is
switched off at the mains before
installing or maintaining the
light fixture.
A
A
G
G
A
E
J
J
G
G
A
Lamp Connection Block
Lamp Connection Block


