Assembly Instructions
Assembly Instructions
Stage 4 –
Fitting the Base
Stage 3 –
Fitting the Tubes
NOTE: It would be useful to ask
someone to help you at this
stage.
NOTE: Ensure the unit is secure
before attempting move it.
BROWN or RED
BLUE or BLACK
GREEN / YELLOW
Mains
BROWN or RED
BLUE or BLACK
GREEN / YELLOW
NOTE: It would be useful to ask
someone to help you at this
stage.
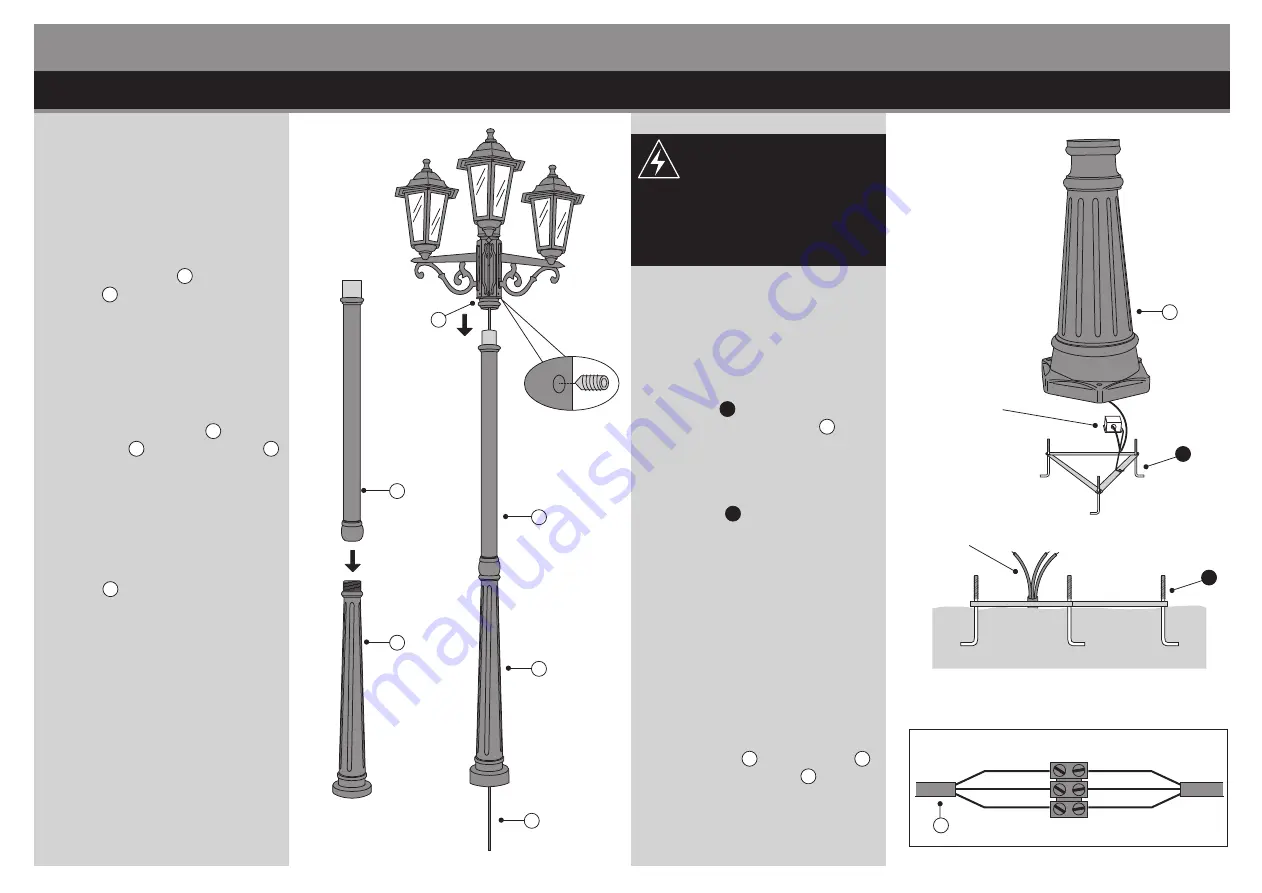
fig. 12
fig. 13
fig. 14
Fixing Screw
fig. 15
fig. 17
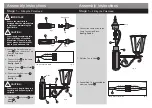
1. Screw Top Tube B onto Middle
Tube C .
See fig. 12.
2. Carefully pass Wires G through
Top Tube B and Middle Tube C .
See fig. 13.
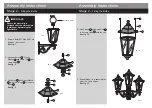
3. Loosen the Fixing Screws on Pole
Head A . Then carefully fit the
Pole Head onto the Top Tube.
Secure the Pole Head using the
fixing screws.
See fig. 13 and 14.
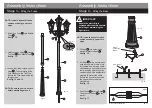
1. Fit Pegs
A
into holes in the
triangular plate in Base D .
See fig. 15.
2. Set Pegs
A
into a secure base
such as concrete, where it is to
be located. Run a mains cable
connected to a light switch to the
lamp, bringing it up though the
centre of pegs. Use appropriate
sleeving to protect the cable.
Ensure the concrete is set and
the pegs are secure before
proceeding.
See fig. 16.
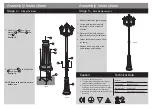
3. Pass Wires G through Base D .
Then connect Wires G to the
mains.
See fig. 17.
G
B
C
A
D
A
G
IMPORTANT:
Ensure the electricity is
switched off at the mains before
installing or maintaining the
light fixture.
Mains Connection Block
Mains
Connection
Block
fig. 16
Main Wires
A
B
C


