E T V I S I O N M A N U A L
31
6.7.1.2
Record data and video
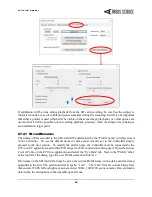
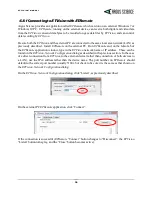
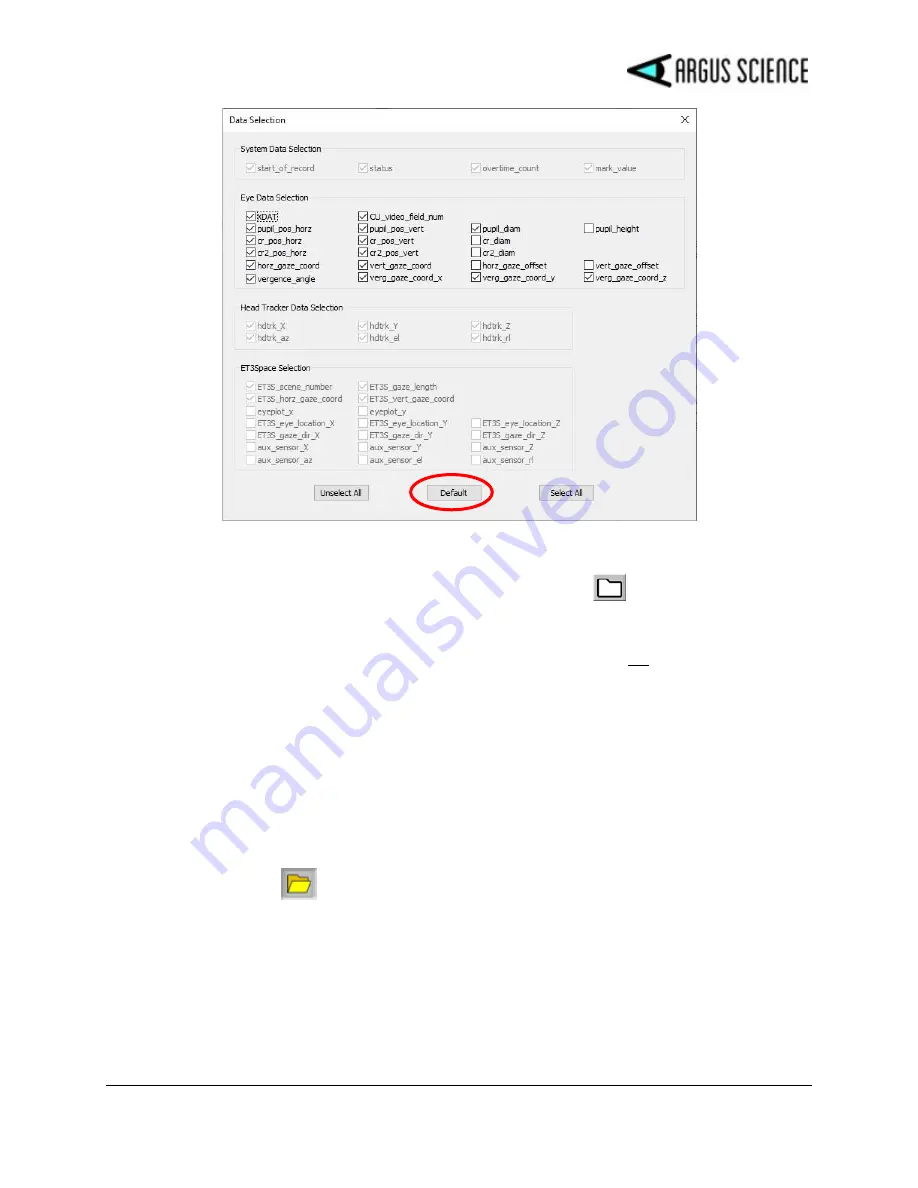
Click the File button, under “Record Data File (or click the file icon
on the main menu bar) to
bring up a standard browser window and navigate to the desired destination directory if different from
the folder shown. Click “Save” to use the default file name shown, or type in a modified file name
before clicking
“Save”
.
Assuming the optional
ET3Space
feature is not enabled, the file will
automatically be given a “.eyd” extension. (
ET3Space
files have a “.ehd” extension and are discussed
in a separate
ET3space
manual).
A
File
Description
window will pop up. Type in a description if desired, or just leave this blank, and
click “OK” to close the window. Any description entered will be included in the digital file header.
Note that if the subject calibration mode is opened (calibrate symbol on subject calibration icon
appears red) opening a data file will automatically close the calibration mode.
Once the data file is opened, the “File” button will change to a “Close” button and a button with a red
“Record” symbol will appear to the right of the file name. The menu bar file icon will also change to
an “opened file” symbol
and a red “Record” symbol will appear just to the right of the “opened
file” symbol. To start recording data simply click the “Record” button on either the “Eye Data” dialog
or the main menu bar. The button will change to show a “Pause” symbol. If any of the video Auto-
Record boxes are checked, the corresponding video files will begin recording at the same time. Video
files will have the same file name as the digital data file, but with “_Leye”, “_Reye”, or “_Scene”
appended to the end of the name, and a “.wmv” file extension.
To pause recording, click the “Pause” button on either the “Eye Data” dialog or the main menu bar.
Recording of the digital as well video files will stop and the button will once again show the “Record”


