E T V I S I O N M A N U A L
35
6.7.2.2
Start and stop SD card recording
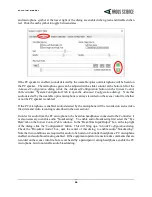
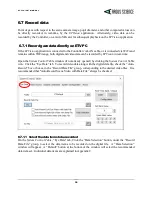
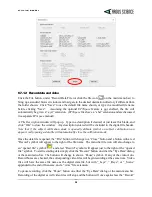
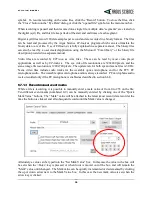
Insert a micro SD card in the SD card slot on the Controller. Be sure fully inserted. When the SD
card is detected, the record LED will turn green if the SD card is less than 90% full, or will turn
yellow if the SD card is already more than 90% full. In the later case, it is suggested that a different
SD card be used or that files be deleted from the current card before use.
To start recording press and hold the record button for 1 second and release. The record LED will
blink red for a brief period as the system prepares to record, and should then turn solid red to indicate
that recording has begun. If the
ETVision
PC application is connected, the eye and scene video
windows will freeze and no longer show live data; however, the status indicators on the tool bar will
continue to operate as long as the Controller is in range.
To stop recording, press the record button again and hold for 1 second. If the ETV PC is in range and
ETVision
is running, the video displays will once again be live within 1 to 5 seconds. The record light
will change to green (or yellow if more than 90% of the SD card if full), however it may take several
additional seconds for the LED color to change.
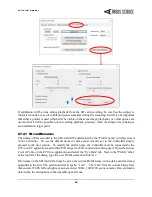
Alternately, if the ETV PC remains within WiFi range of the Controller, SD card recording may be
stated and stopped from the
ETVision
application. Open the
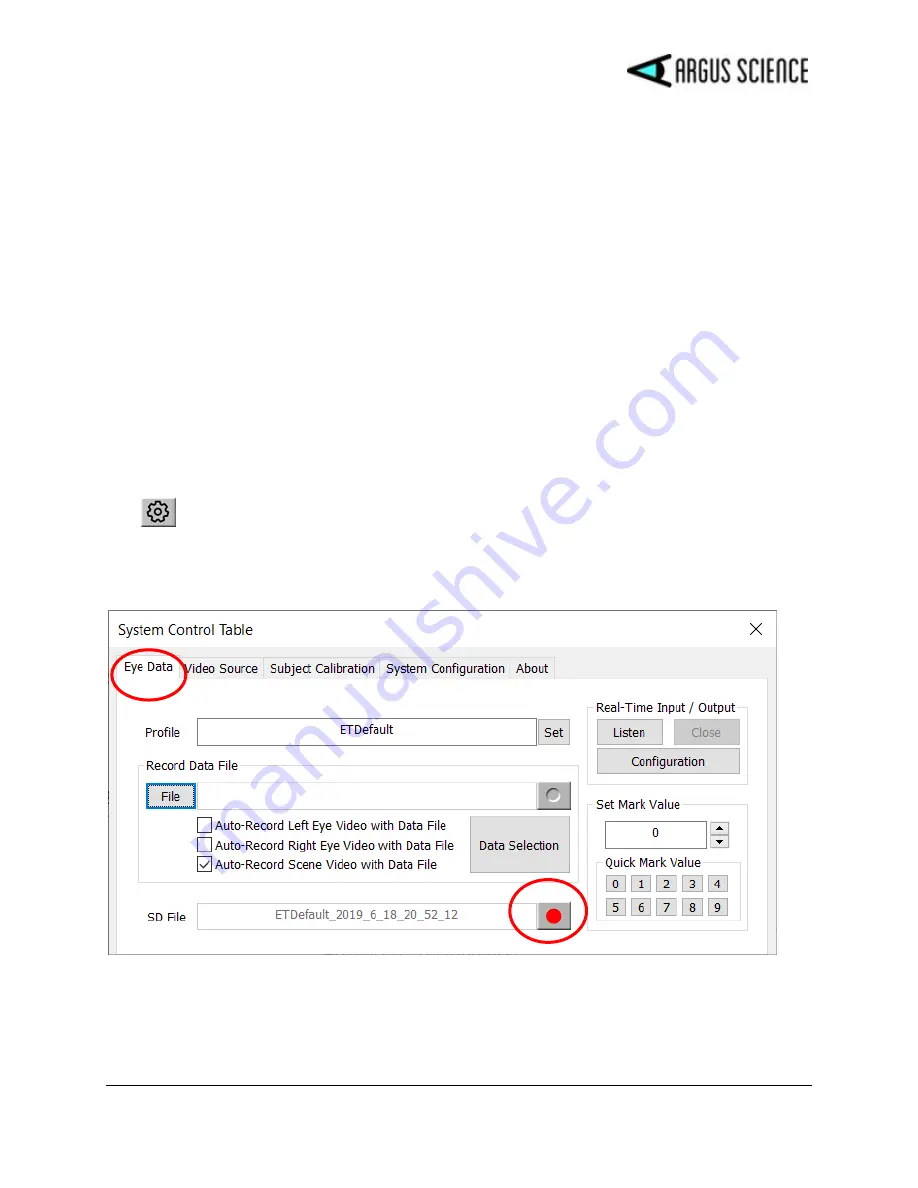
System Control Table
(click the settings
icon
) on the
ETVision
application and select the “Eye Data” tab. If an SD card is detected by the
Controller, the record symbol, next to the "SD File" label, will be red. Click the record symbol to start
SD card recording. When recording starts the symbol will change to a pause symbol. Click the pause
symbol to stop recording.

