E T V I S I O N M A N U A L
42
7
Using
ETVision s
ystem outdoors
At night, outdoor use of
ETVision
should be no different from indoor use. In daylight conditions the
following procedure modifications are suggested.
1.
It is strongly suggested that the darkened visor be clipped to the wearable optics frames. This
will minimize the tendency of the participant to squint and occlude eye camera view of the
pupils.
2.
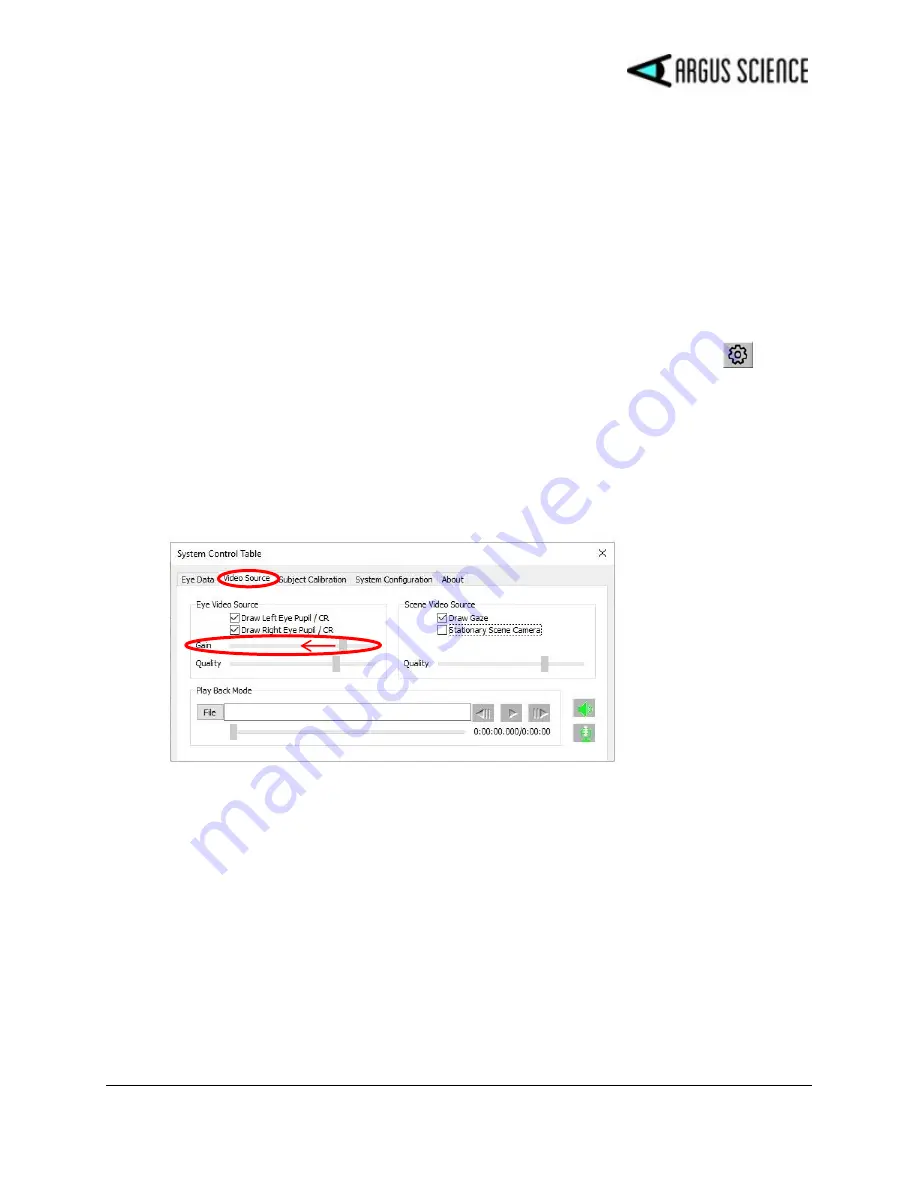
It is suggested that eye camera gain be set to a lower value than the normal indoor setting. If
the
System Control Table
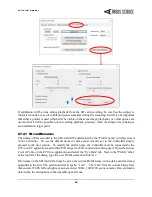
window is not already open, click the “Settings” icon
to open
System Control Table
and select the “Video Source” tab. The “Gain” slider, under “Video
Source” is usually set to “10” for indoor use. Drag the slider to the left, to approximately the
5-7 range for outdoor use. Note that the pupil and CRs should still be recognized by the
system when indoors (red ellipse around pupil outline, green cross at pupil center, blue crosses
on CRs), although the entire eye image will appear significantly darker and may be more
difficult for the equipment operator to see when indoors. Outdoors, in bright daylight, the eye
images with lower camera gain will appear much as they did indoors with the normal gain
setting.
3.
Be aware that in daylight, even with the darkened visor in place, the eye pupils will likely
appear significantly smaller than when indoors. This is perfectly OK as long as the pupils are
properly recognized by the
ETVision
system.
4.
After lowering eye camera gain (as previously described) it should still be OK to calibrate
indoors and then have the participant walk outside; but be aware that pupil diameter may
change very significantly when the participant first walks outside, and this may cause a small
offset in the point of gaze data. For example, the point of gaze cursor may suddenly appear to
be always slightly above the point the participant is fixating (or slightly offset in some other
direction). In this case, ask the participant to fixate a visible target in the environment, and
use the manual offset correction (see section 6.6.6) to adjust the POG cursor.

