15
GB
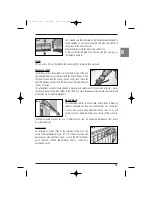
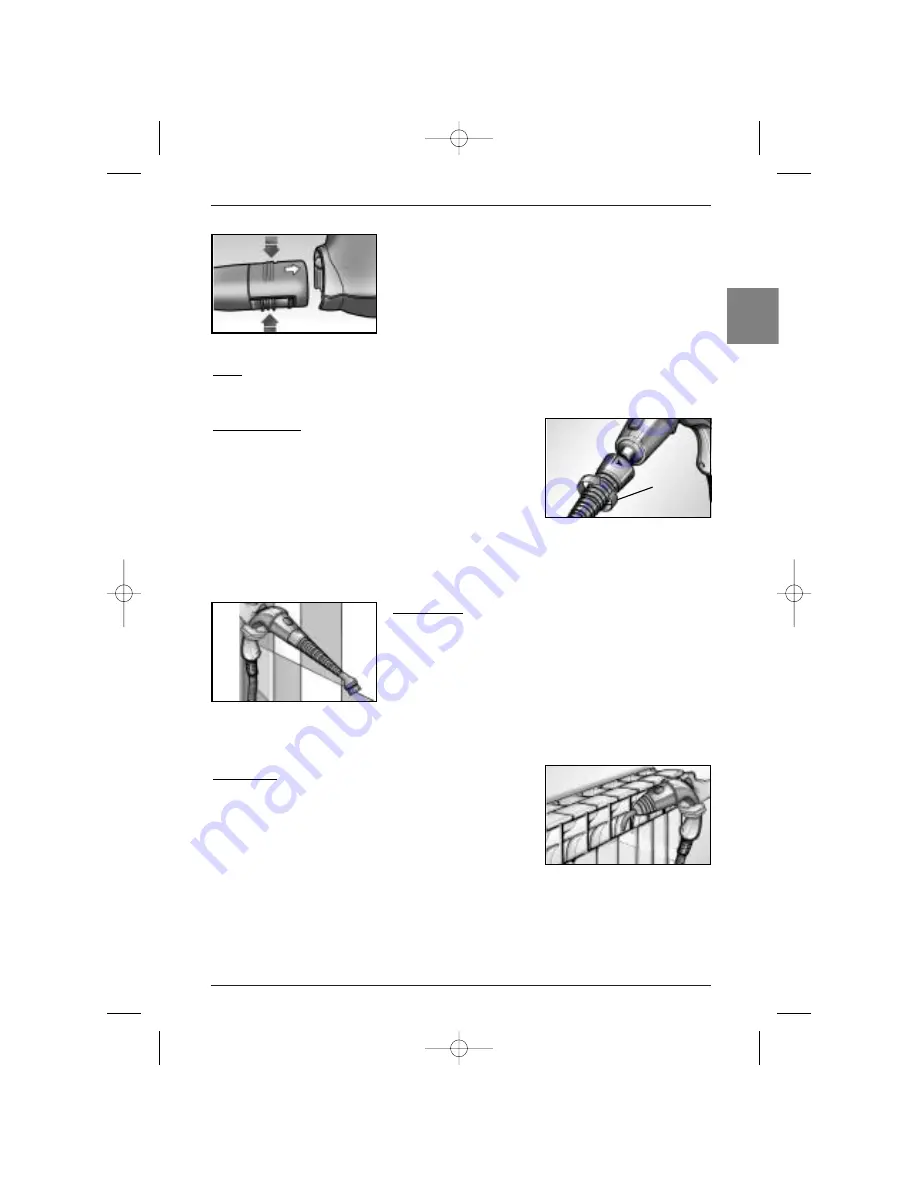
(31), making sure that the arrow on the flexible pipe attachment is
facing upwards, as illustrated in figure C and pressing slightly on
the springs to the side of the inlet.
Plug the appliance into the mains and switch it on.
To remove the flexible pipe, press the two side tabs and pull, as
illustrated in figure D.
Hood
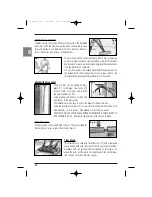
This accessory (13) can be fitted to the gun nozzle (20) to protect the nozzle end.
Extension spout
Insert the accessory by pushing it into the fixed section of the gun
and aligning the groove in the spout with the line on the gun. Align
the spout groove with the line on the gun (fig.E), then rotate the
spout 90 degrees (clockwise) in the direction of the arrow (B) until
it locks into place.
This attachment is used for rapid cleaning in places where stubborn dirt is more likely to collect - places
like around cooker tops where, thanks to the steam, you can melt away any greasy build up naturally and
without the use of chemical detergents.
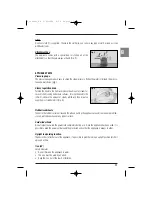
Round brush
This attachment, which fits to the steam nozzle, helps to break up
stubborn encrusted dirt, such as around the rings on a cooker top.
It can also be used to clean bathroom fittings, sinks, grills, and
showers or baths, where it will remove all traces of lime scale (fig.
F).
(Different-coloured brushes for use in different areas can be purchased individually from Ariete
Assistance Centres).
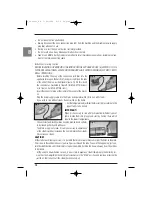
Bent nozzle
This attachment can be fitted on the extension nozzle or on the
nozzle of the handheld pistol (fig. G). It is useful in reaching and
hygienically cleansing difficult spots - such as the dirt that builds
up on radiators, shutters, and bathroom fittings - removing it
quickly and easily.
Fig. D
Fig. E
Fig. F
Fig. G
B
2_interno_GB 3-06-2004 8:58 Pagina 15
Summary of Contents for 4210
Page 13: ...11 GB INSTRUCTIONS FOR USE 2_interno_GB 3 06 2004 8 58 Pagina 11 ...
Page 23: ...21 D GEBRAUCHSANLEITUNG 3_interno_D 3 06 2004 18 25 Pagina 21 ...
Page 33: ...31 F MODE D EMPLOI 4_interno_F 3 06 2004 9 03 Pagina 31 ...
Page 43: ...41 NL GEBRUIKSAANWIJZINGEN 5_interno_NL 3 06 2004 9 05 Pagina 41 ...
Page 53: ...51 E INSTRUCCIONES DE USO 6_interno_E 3 06 2004 9 07 Pagina 51 ...
Page 63: ...61 P INSTRUÇÕES DE UTILIZAÇÃO 7_interno_P 3 06 2004 9 09 Pagina 61 ...
Page 73: ...71 GR 8_interno_GR 3 06 2004 9 29 Pagina 71 ...
Page 83: ...81 KULLANMA KILAVUZU TR 9_interno_TR 3 06 2004 18 29 Pagina 81 ...
Page 84: ...82 TR 9_interno_TR 3 06 2004 18 29 Pagina 82 ...
Page 85: ...83 TR 9_interno_TR 3 06 2004 18 29 Pagina 83 ...
Page 86: ...84 A TR B 9_interno_TR 3 06 2004 18 29 Pagina 84 ...
Page 87: ...85 B TR C D E F 9_interno_TR 3 06 2004 18 29 Pagina 85 ...
Page 88: ...86 L1 L2 TR G H I M L N 9_interno_TR 3 06 2004 18 29 Pagina 86 ...
Page 89: ...87 G1 G1 TR O P Q 9_interno_TR 3 06 2004 18 29 Pagina 87 ...
Page 90: ...88 TR R S T 35 9_interno_TR 3 06 2004 18 29 Pagina 88 ...
Page 91: ...89 TR U 9_interno_TR 3 06 2004 18 29 Pagina 89 ...
Page 92: ...90 TR V Z 9_interno_TR 3 06 2004 18 29 Pagina 90 ...
Page 93: ...91 RUS 10_interno_RU 3 06 2004 18 31 Pagina 91 ...
Page 94: ...92 RUS 10_interno_RU 3 06 2004 18 31 Pagina 92 ...
Page 95: ...93 RUS 10_interno_RU 3 06 2004 18 31 Pagina 93 ...
Page 96: ...94 A RUS B 10_interno_RU 3 06 2004 18 31 Pagina 94 ...
Page 97: ...95 B RUS C D E F 10_interno_RU 3 06 2004 18 31 Pagina 95 ...
Page 98: ...96 L1 L2 RUS G H I M L N 10_interno_RU 3 06 2004 18 31 Pagina 96 ...
Page 99: ...97 G1 G1 RUS O P Q 10_interno_RU 3 06 2004 18 31 Pagina 97 ...
Page 100: ...98 RUS R S T 35 10_interno_RU 3 06 2004 18 31 Pagina 98 ...
Page 101: ...99 RUS U 10_interno_RU 3 06 2004 18 31 Pagina 99 ...
Page 102: ...100 RUS V Z 10_interno_RU 3 06 2004 18 31 Pagina 100 ...


