


12
en
When the iron reaches the selected temperature, the lamp (E) turns off (the temperature lamp turns off and on while ironing,
indicating that the iron is maintaining the right temperature).
Follow the instructions on the care label of the garment to be ironed so that the dots
shown on the iron correspond to those shown on the label.
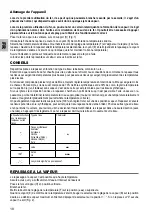
suggesTIOns
Divide the articles to be ironed according to the types of material: wool with wool, cotton with cotton, etc…
Because the iron heats up much more quickly than it cools down, it is advisable to start with those fabrics which require
lower temperatures and move on to those which require progressively higher temperatures.
If the material is made up of more than one type of fibre, always set the temperature to the fibre which requires less heat.
For example, if the material is made up of 70% synthetics and 30% cotton, set the temperature control to position (
•
) (see
table) without steam, that is, the temperature for synthetic fabrics.
If you do not know the composition of the article to be ironed, choose a part of the article which will not be seen. Do a test
ironing on this part to establish the appropriate temperature (always start with a relatively low temperature and work up until
the ideal temperature is reached).
Pure (100%) wool articles can be ironed with the iron set to one of the steam positions. To avoid pure wool, silk and synthetic
materials becoming shiny, it makes good sense to iron them on the reverse side. For other materials, especially velvet,
which can become shiny very easily, cover them with a cloth and iron in one direction only, using light pressure. The iron
must be kept constantly moving over the fabric.
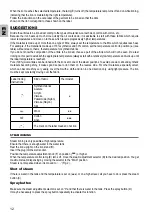
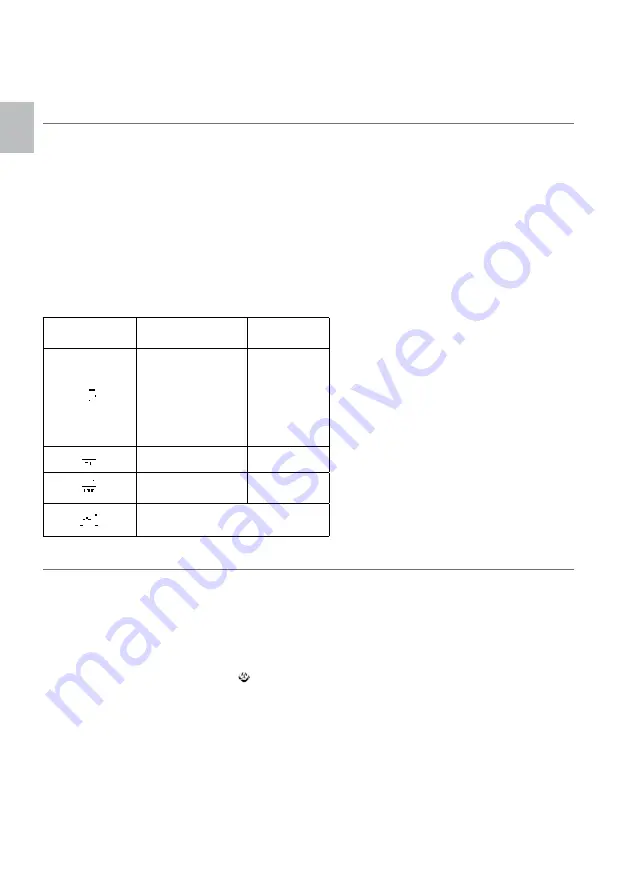
Label Ironing
instructions
Kind of fabric
Thermostat
Synthetic fabrics
Acetate
Acrylic
Viscose
Poliammide (Nylon)
Viscose (Rayon)
Silk
•
Wool
••
Cotton
Linen
•••
The mark on the label means do not iron
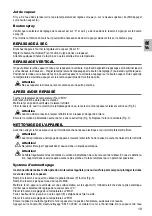
sTeAM IrOnIng
Steam ironing is only possible at high temperature.
Ensure that there is enough water in the water tank.
Rest the iron upright on the iron stand (H).
Insert the plug into the wall socket.
Position the temperature adjustment knob (F) on position (
•••
) or higher.
When the temperature control lamp (E) turns off, move the steam adjustment selector (B) to the desired position. You get
maximum steam dispensing by moving the selector to the “MAX” position.
Steam is not dispensed when it is moved to “ ” (Fig. 2).
shot of steam
If there is water in the tank and the temperature is set on (
•••
) or on a higher level, all you have to do is press the steam
button (C).
spray button
Make sure the steam adjustment selector is set on “0” and that there is water in the tank. Press the spray button (D).
It may be necessary to press the spray button repeatedly to activate this function.
Summary of Contents for eco power 6233
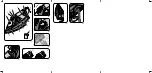
Page 2: ...Fig 1 Fig 2 Fig 4 Fig 3 Fig 6 Fig 5 Fig 7 Fig 8 A B C D E F G H I L M N O 0 P...
Page 45: ...45 EL 2006 95 2004 108 8 8...
Page 46: ...46 EL Arie te P Ariete...
Page 47: ...47 EL MIN 2009 96 A B C D E F G H I L M SELF CLEAN N O P Eco ECO B 0 2 A P 5 A MAX...
Page 48: ...48 EL H 7 E F I E 70 30 100...
Page 49: ...49 EL H F E B 0 2 C 0 D B 0 F F F MIN A 8 6 7...
Page 50: ...50 EL P 5 MAX H 0 MAX E MIN M SELF CLEAN 0...
Page 51: ...51 RU 2006 95 EC MC 2004 108 EC 8 8...
Page 52: ...52 RU Ariete P Ariete...
Page 53: ...53 RU MIN 2009 96 CE A B C D E F G H I L M self clean N O P ECO ECO ECO...
Page 54: ...54 RU B 0 2 A P 5 A H 7 E F I E 70 30 100...
Page 55: ...55 RU H F E B 0 2 C 0 D B 0 F F F MIN A 8 6 7...
Page 56: ...56 RU P 5 MAX H 0 MAX E MIN M self clean 0...
Page 57: ...57 AR EMC 2004 108 EC 2006 95 EC 8 8...
Page 58: ...58 AR Ariete Ariete P Ariete...
Page 59: ...59 AR MIN CE 2009 96 A B C D E F G H I L SELF CLEAN M N O P Eco Eco Eco...
Page 60: ...60 AR 2 0 B A P 5 A MAX 7 H E F E I 30 70...
Page 61: ...61 AR 100 H F B E 0 2 C...


