Arista ARP-2200AP User Manual
53
|
P a g e
Chapter 4 ACP Enabled ARP-2200AP Setup
This chapter provides information on ACP enabled ARP-2200AP setup and adding Thin Client hardware.
4.1.
The Boot Process
There are two methods that an ACP Enabled thin client can use to boot. The standard method is to connect to a ThinManager Server
and download the firmware and its configuration across the network. This allows for an easy update of the firmware and ensures that
all the terminals share the same firmware. Embedded ThinManager Ready thin clients have the firmware embedded in them on a
compact flash or disk-on-chip and boot locally then connect to a ThinManager Server to download its configuration. See Firmware
Update (Disk on Chip / Compact Flash) Update Module for details. A ThinManager Ready thin client goes through a number of steps
from the initial power on to the complete connection to a terminal server. Understanding this process will aid in terminal configuration
and troubleshooting.
The steps are:
POST: Once a ThinManager Ready thin client is turned on it begins the Power On Self-Test to examine the hardware and to
test the memory.
IP Address Assignment: The terminal needs an IP address to connect to the network. By default, it receives an IP Address
from a DHCP server, but this can be changed to use an assigned static IP. See IP Address Assignment for details.
ThinManager Server Connection: After receiving an IP address the terminal will connect to the ThinManager Server. This is
the Boot Server Host as defined in the DHCP scope Option 066 or the Primary ThinManager Server defined in the static IP
address configuration.
Firmware Loading: Next the terminal will download the firmware from the ThinManager Server.
Terminal Configuration Download: Established terminals will receive their configuration and proceed. New terminals will
need to be defined on the ThinManager Server, either through the Terminal Configuration Wizard or the Create New
Terminal method.
ACP ThinManager Logo Screen: After the terminal receives its configuration, it will display an ACP splash screen with the
ThinManager logo.
Client Communication Connection: Next the terminal will launch its Client Communication protocol
Terminal Server Connection: The thin client will connect to the terminal server(s) that it is assigned to in its configuration.
Windows Login: Next the terminal will display the Windows Login dialog box, prompting for a valid username and
password. If these have been entered into the username and password fields on the Terminal Configuration Wizard of
ThinManager, the terminal will login automatically and display the Windows desktop or a defined initial program.
Note: Windows 2000 prevents auto-login with RDP by default. To allow auto-login see RDP-TCP Login Settings for details.
Windows Session: The terminal logs onto a session on terminal server. The terminal will pass mouse clicks and keystrokes to
the session on the terminal server. The terminal server will process the data and send the graphics back to the terminal for
display, giving a full Windows experience to the user.
Summary of Contents for ARP-2200AP SERIES
Page 1: ...USER MANUAL ...
Page 26: ...Arista ARP 2200AP User Manual 26 P a g e ...
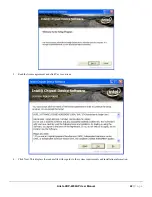
Page 32: ...Arista ARP 2200AP User Manual 32 P a g e 3 Double click Setup to continue ...
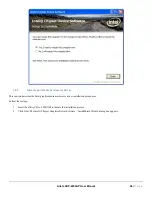
Page 33: ...Arista ARP 2200AP User Manual 33 P a g e 4 Click Finish to complete the setup ...
Page 35: ...Arista ARP 2200AP User Manual 35 P a g e 4 Click Finish to complete the setup ...
Page 37: ...Arista ARP 2200AP User Manual 37 P a g e 3 Double click Setup ...
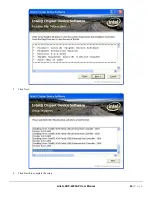
Page 38: ...Arista ARP 2200AP User Manual 38 P a g e 4 Click Next ...
Page 39: ...Arista ARP 2200AP User Manual 39 P a g e 5 Click Install to begin the installation ...
Page 40: ...Arista ARP 2200AP User Manual 40 P a g e 6 Click Finish to complete the installation ...
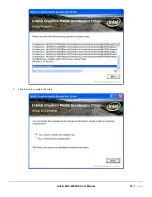
Page 43: ...Arista ARP 2200AP User Manual 43 P a g e 5 Click Next 6 Click Finish to complete the setup ...
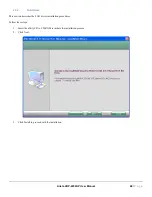
Page 47: ...Arista ARP 2200AP User Manual 47 P a g e 8 Click Finish to complete the setup ...
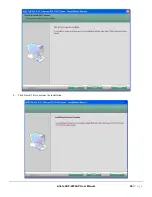
Page 49: ...Arista ARP 2200AP User Manual 49 P a g e 4 Click Finish This completes the installation ...
Page 51: ...Arista ARP 2200AP User Manual 51 P a g e ...


