Arista ARP-2200AP User Manual
55
|
P a g e
1.
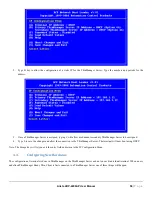
Press the A key to allow a change to DHCP and enter D key to set the configuration to DHCP.
2.
Press the Enter key to return to main menu.
3.
Press the S key to save the configuration and continue with the boot process. The terminal will connect to the ThinManager
Server and download the firmware.
4.2.2.
Static IP
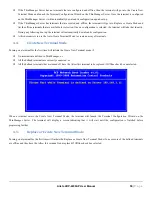
Most models of ThinManager Ready thin clients allow the usage of static IPs. These are set by interrupting the boot process to launch
the IP Configuration Menu and adding the static IPs.
Summary of Contents for ARP-2200AP SERIES
Page 1: ...USER MANUAL ...
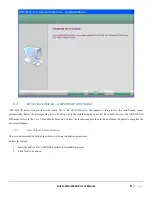
Page 26: ...Arista ARP 2200AP User Manual 26 P a g e ...
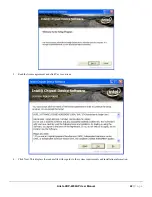
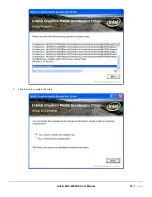
Page 32: ...Arista ARP 2200AP User Manual 32 P a g e 3 Double click Setup to continue ...
Page 33: ...Arista ARP 2200AP User Manual 33 P a g e 4 Click Finish to complete the setup ...
Page 35: ...Arista ARP 2200AP User Manual 35 P a g e 4 Click Finish to complete the setup ...
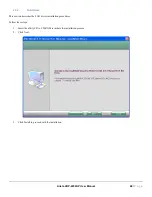
Page 37: ...Arista ARP 2200AP User Manual 37 P a g e 3 Double click Setup ...
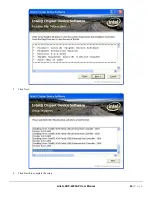
Page 38: ...Arista ARP 2200AP User Manual 38 P a g e 4 Click Next ...
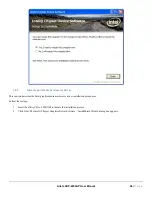
Page 39: ...Arista ARP 2200AP User Manual 39 P a g e 5 Click Install to begin the installation ...
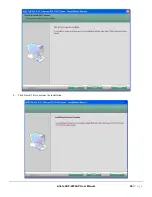
Page 40: ...Arista ARP 2200AP User Manual 40 P a g e 6 Click Finish to complete the installation ...
Page 43: ...Arista ARP 2200AP User Manual 43 P a g e 5 Click Next 6 Click Finish to complete the setup ...
Page 47: ...Arista ARP 2200AP User Manual 47 P a g e 8 Click Finish to complete the setup ...
Page 49: ...Arista ARP 2200AP User Manual 49 P a g e 4 Click Finish This completes the installation ...
Page 51: ...Arista ARP 2200AP User Manual 51 P a g e ...

