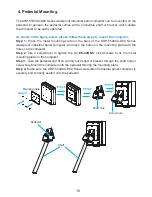
18
I
5. Ceiling Mounting
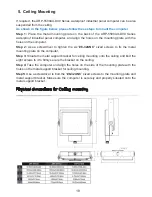
If required, the ARP-5500AX-D00 Series waterproof industrial panel computer can be also
suspended from the ceiling.
As shown in the figure below, please follow these steps to mount the computer.
Step 1:
Place the metal mounting plate on the back of the ARP-5500AX-D00 Series
waterproof industrial panel computer, and align the holes on the mounting plate with the
holes on the computer.
Step 2:
Use a screwdriver to tighten the six “
#8-32UNC
” sized screws to fix the metal
mounting plate on the computer.
Step 3:
Situate the metal support bracket for ceiling mounting onto the ceiling and bolt the
eight screws to it to firmly secure the bracket on the ceiling.
Step 4:
Take the computer and align the holes on the side of the mounting plate with the
holes on the metal support bracket for ceiling mounting.
Step5:
Use a screwdriver to bolt the “
#8-32UNC
” sized screws to the mounting plate and
metal support bracket. Make sure the computer is securely and properly situated onto the
metal support bracket.
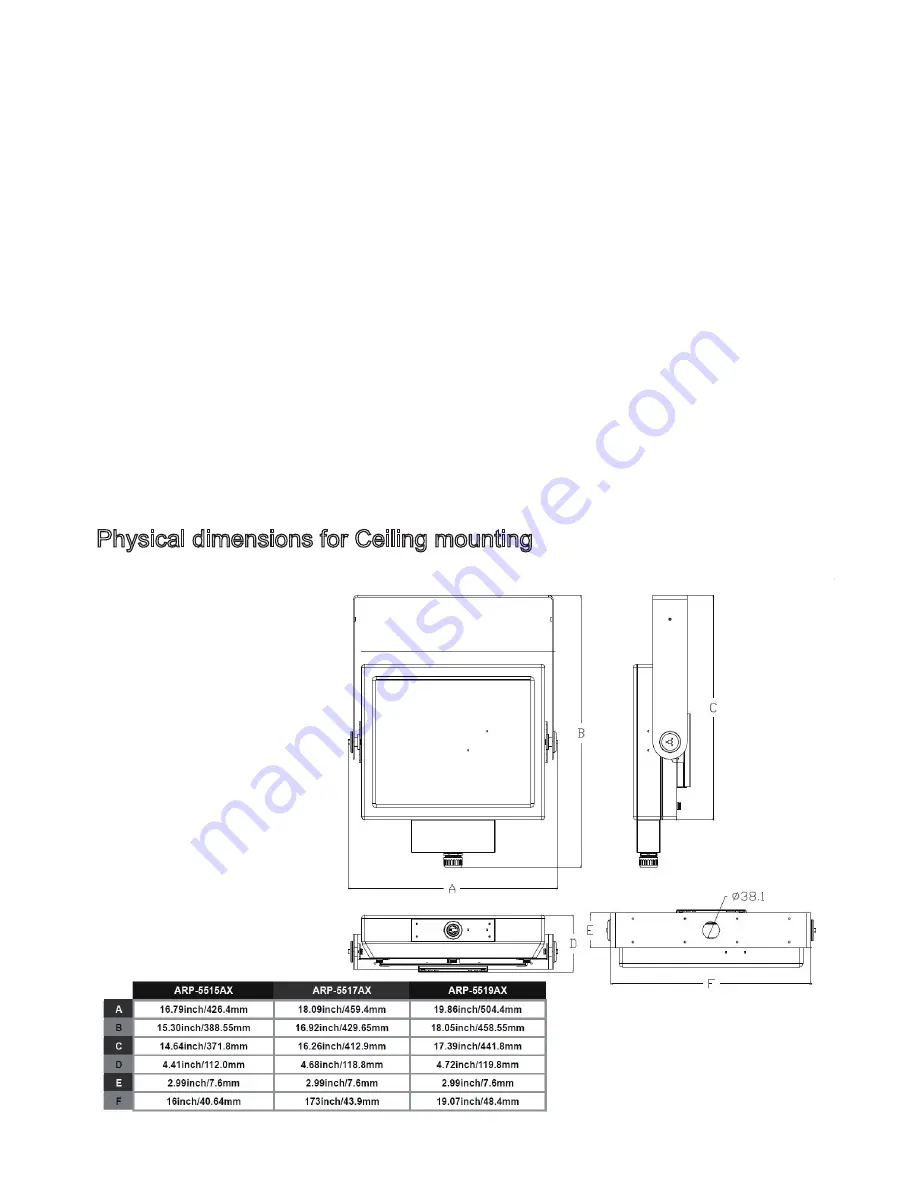
Physical dimensions for Ceiling mounting
Summary of Contents for ARP-5515AX-D00
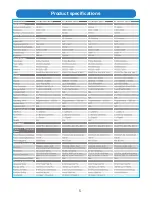
Page 5: ...5 Product specifications ...
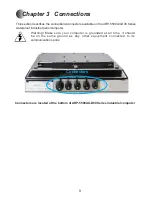
Page 7: ...7 Product Overview Chapter 2 Basics ...
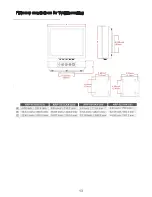
Page 11: ...11 Physical dimensions for VESA mounting ...
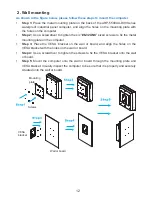
Page 13: ...13 Physical dimensions for Wall mounting ...
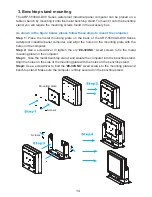
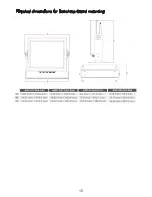
Page 15: ...15 Physical dimensions for Benchtop Stand mounting ...
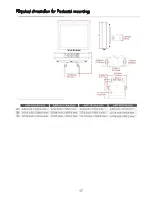
Page 17: ...17 Physical dimension for Pedestal mounting ...
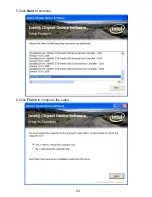
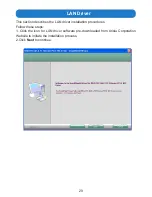
Page 24: ...24 5 Click Next to continue 6 Click Finish to complete the setup ...
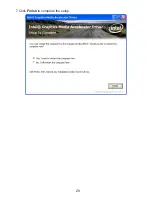
Page 28: ...28 7 Click Finish to complete the setup ...
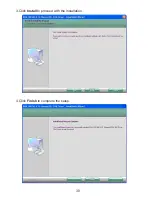
Page 30: ...30 3 Click Install to proceed with the installation 4 Click Finish to complete the setup ...
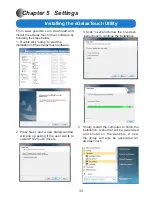
Page 32: ...32 3 Click Finish to complete the setup ...
Page 35: ...35 6 About Tab 4 Edge Compensation Tab 3 Display Tab 5 Hardware Tab ...
Page 47: ...47 USB Device Setting Press Enter to select USB device configuration ...
Page 48: ...48 Power Management Setup ...


