36
Chapter 6 BIOS Setup
Introduction
The computer uses the latest “American Megatrends Inc. ” BIOS with support for Windows
Plug and Play. The CMOS chip on the motherboard contains the ROM setup instructions for
configuring the built-in motherboard BIOS.
The BIOS (Basic Input and Output System) Setup Utility displays the system’s configuration
status and provides you with options to set system parameters. The parameters are stored in
battery-backed-up CMOS RAM that saves this information when the power is turned off. When
the system is turned back on, the system is configured with the values you stored in CMOS.
The BIOS Setup Utility enables you to configure:
•
Hard drives, diskette drives and peripherals
•
Video display type and display options
•
Password protection from unauthorized use
•
Power Management features
The settings made in the Setup Utility affect how the computer performs. Before using the
Setup Utility, ensure that you understand the Setup Utility options.
The Standard configuration
A standard configuration has already been set in the Setup Utility. However, we recommend
that you read this chapter in case you need to make any changes in the future.
This Setup Utility should be used:
•
when changing the system configuration
•
when a configuration error is detected and you are prompted to make changes to
the Setup Utility
•
when trying to resolve IRQ conflicts
•
when making changes to the Power Management configuration
•
when changing the password or making other changes to the Security Setup
Summary of Contents for ARP-5515AX-D00
Page 5: ...5 Product specifications ...
Page 7: ...7 Product Overview Chapter 2 Basics ...
Page 11: ...11 Physical dimensions for VESA mounting ...
Page 13: ...13 Physical dimensions for Wall mounting ...
Page 15: ...15 Physical dimensions for Benchtop Stand mounting ...
Page 17: ...17 Physical dimension for Pedestal mounting ...
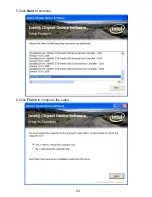
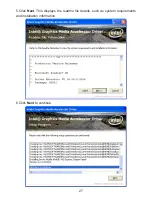
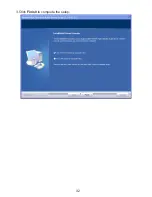
Page 24: ...24 5 Click Next to continue 6 Click Finish to complete the setup ...
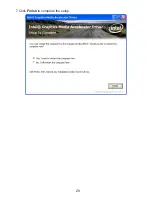
Page 28: ...28 7 Click Finish to complete the setup ...
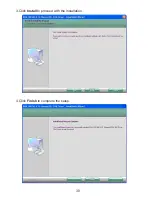
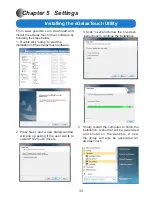
Page 30: ...30 3 Click Install to proceed with the installation 4 Click Finish to complete the setup ...
Page 32: ...32 3 Click Finish to complete the setup ...
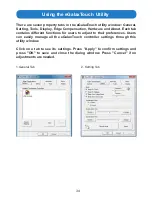
Page 35: ...35 6 About Tab 4 Edge Compensation Tab 3 Display Tab 5 Hardware Tab ...
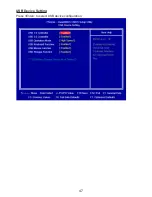
Page 47: ...47 USB Device Setting Press Enter to select USB device configuration ...
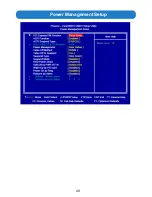
Page 48: ...48 Power Management Setup ...


