20
NOTE:
To use the remote control, the Recorder DT must be turned on.
To configure video settings, use the on-screen menu. This section describes
how to use the set-up menu.
B. SET UP MENU
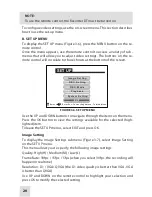
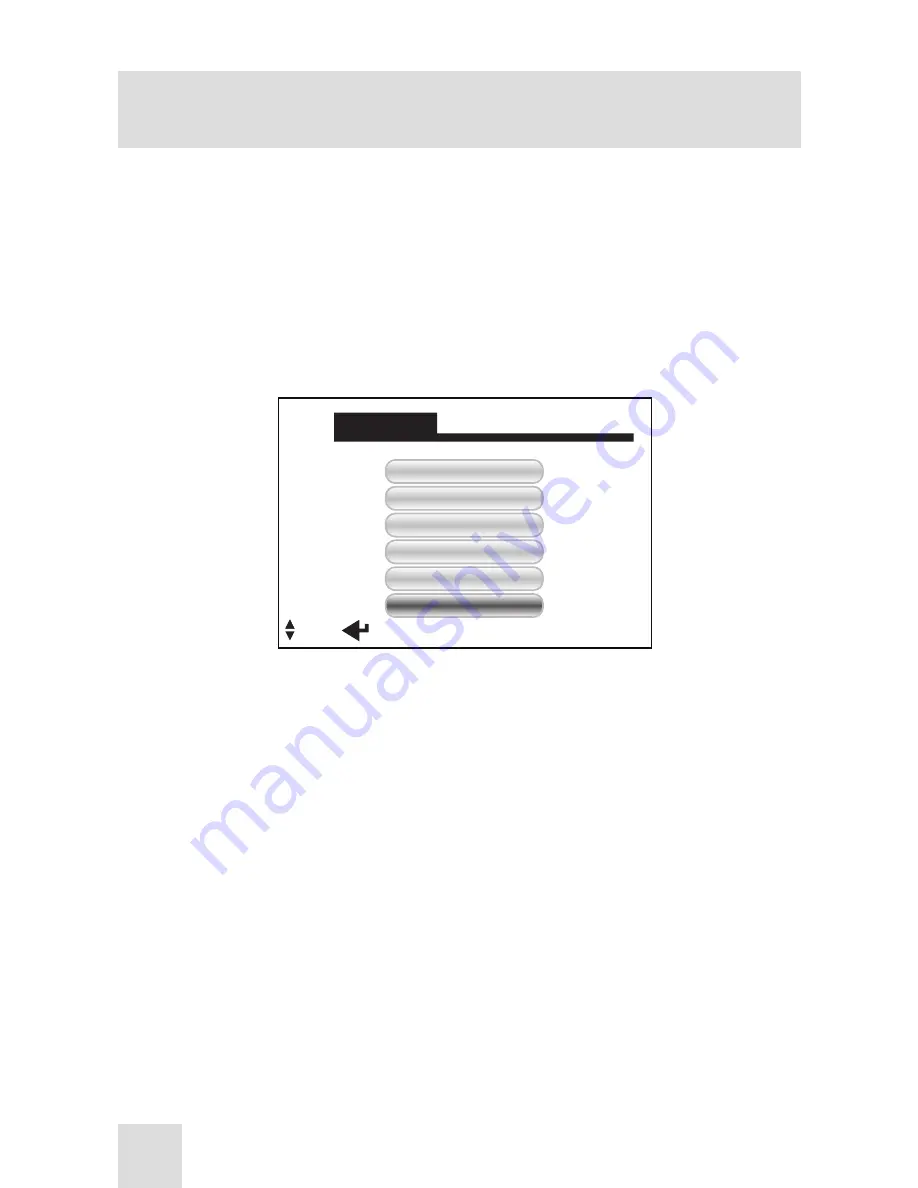
To display the SET UP menu (Figure 3-6), press the MENU button on the re-
mote control.
Once the menu appears, use the remote control to access a variety of sub-
menus that will allow you to adjust video settings. The buttons on the re-
mote control will correlate to those shown at the bottom of the screen.
SET UP
Image Setting
REC. Setting
REC. Mode
Playback
System Setting
EXIT
S e l e c t
Enter Esc: To Last Page Menu: To Main Menu
FIGURE 3-6. SET UP MENU
Use the UP and DOWN buttons to navigate through the items on the menu.
Press the OK button to view the settings available for the selected (high-
lighted) item.
To leave the SET UP menus, select EXIT and press OK.
Image Setting
To display the Image Settings submenu (Figure 3-7), select Image Setting
on the SET UP menu.
This menu allows you to specify the following image settings:
Quality: High (H) / Medium (M) / Low (L)
Frame Rate: 30fps / 15fps / 5fps (when you select 30fps, the recording will
happen in real time)
Resolution: D1 / VGA/ QVGA (the D1 video quality is better than VGA, VGA
is better than QVGA)
Use UP and DOWN on the remote control to highlight your selection and
press OK to modify the selected setting.


