ARMIGA User Guide v0.8
5.6.3.
From USB
Plug a USB pendrive or hard disk with ADFs and follow the instructions on section
From a USB
drive
to launch your games.
5.6.4.
Making a floppy image (ADF)
For best compatibility, the FDD controller is calibrated on each track, so disk dumping
can take around 2 minutes.
With your
Armiga turned on and after the Armiga OS has loaded
, insert a DD Amiga disk (for
HD disks, please cover the hole). The disk will automatically be dumped into a ADF disk image.
While making the image, you may hear the head going from track to track, making a
characteristic “tack” sound.
Once the disk image is done, you’ll hear the FDD head going back to the beginning of the disk
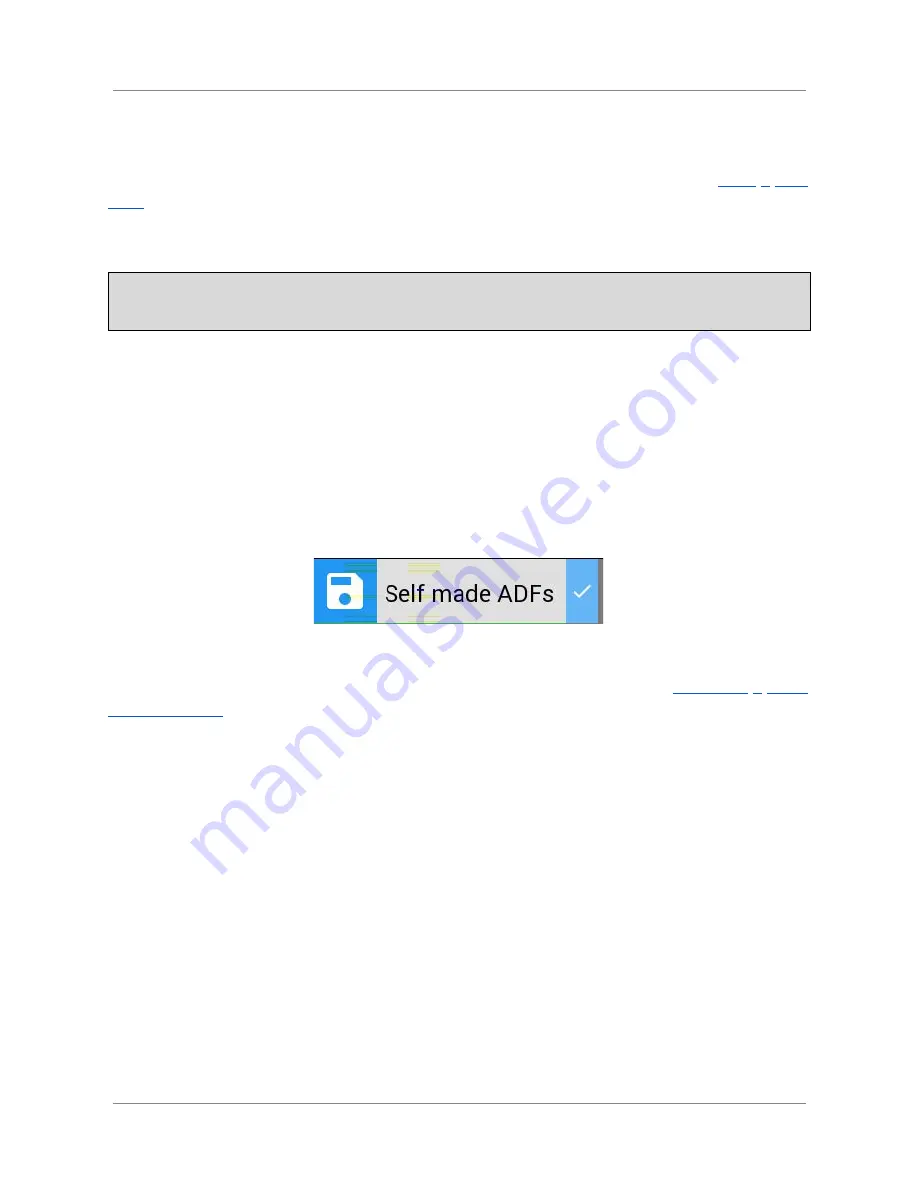
for about one second and a visual indicator will be shown in the main menu:
The new ADF will be automatically named with the year, month, day, hour, minutes and
seconds when it finished, but you can rename it as described in the section
Renaming a game
or savestate file
.
You can manage the ADF images by following the previous sections.
5.6.5.
Adding game covers on SD card (Not recommended)
Extract the microSD card by pushing it until you hear a “click” and then release it,
with your
Armiga turned off
. Insert it in the supplied SD adapter if needed and use a SD reader to
connect it to your computer.
A new unit called ARMIGA will appear in your file browser. Inside the drive, game covers are
stored in the amiga/Covers folder. You can add/remove files to and from this folder and rename
them. Some instructions for covers:
● Cover must be in
JPEG format
.
● For best visualization, follow these conventions:
○
Height must be no greater than 420px
. 420px is recommended.
○
Width must be no greater than 380px
. 360px is recommended.
28


