background image

5

USING YOUR RICE COOKER
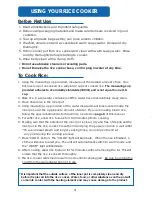
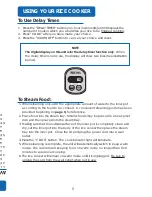
To Use Delay Timer:

1. Press the “DELAY TIMER” button (in 1-hour increments) until it displays the

number of hours in which you would like your rice to be finished cooking.

2. Press “COOK” after you have made your choice.

3. Press the “WARM/OFF” button to cancel your choice and reset.
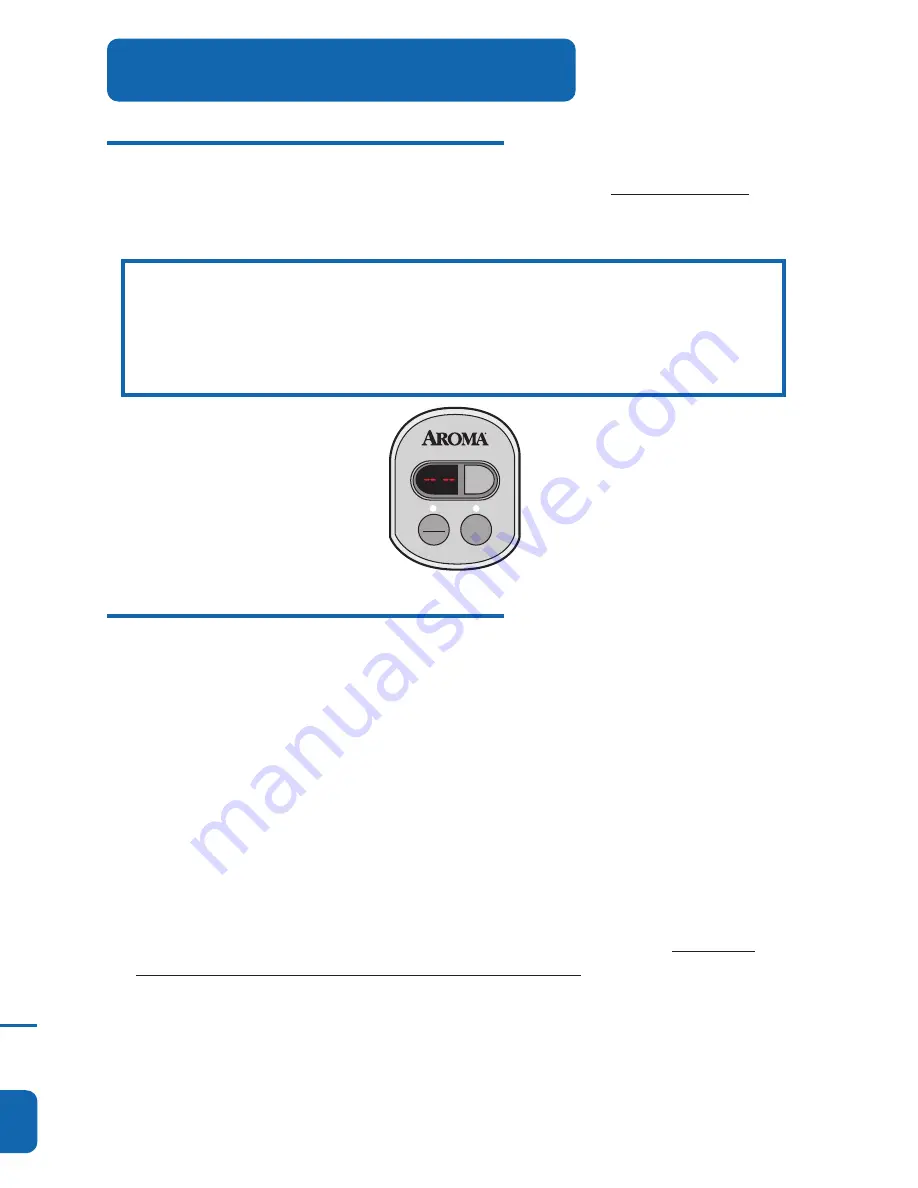
NOTE

The digital display on this unit is for the delay timer function only. When

the delay timer is not in use, the display will show two lines (See illustration

below).

To Steam Food:

1. When steaming only, add the appropriate amount of water to the inner pot

according to the food to be cooked. A convenient steaming guide has been

provided beginning on page 9, for reference.

2. Place food into the steam tray. Smaller foods may be placed in a heat-proof

dish and then placed into the steam tray.

3. Making sure that the outside surface of the inner pot is completely clean and

dry, set the inner pot into the body of the rice cooker then place the steam

tray into the inner pot. Close the lid and plug the power cord into a wall

outlet.

4. Press the “COOK” button. The cook indicator light will illuminate.

5. When steaming is complete, the unit will automatically switch to keep warm

mode. We recommend keeping food on warm mode no longer than 5-10

minutes to avoid over cooking.

6. The rice cooker will remain on warm mode until it is unplugged. Be sure to

unplug the cord from the wall outlet when not in use.

DELAY
TIMER

WARM

OFF

COOK

5

1.L

ise

zto

ute

sle

sin

stru

ctio

nse

tm

esu

res

de

pré

cau

tio

n

2.E

nle

vez

tou

sle

sm

até

ria

ux

d'e

mba

lla

ge

etv

érif

iez

que

les

arti

cle

sso

ntr

eçu

se

n

bon

éta

t.

3.D

éch

ire

zto

usl

ess

acs

en

pla

stiq

ue,

car

ils

peu

ven

tp

rés

ent

eru

nd

ang

erp

our

les

enf

ant

s.

4.L

ave

zle

cou

ver

cle

,l'é

ven

vap

eur

etl

esa

cce

sso

ire

sd

ans

de

l'e

au

cha

ude

sav

onn

eus

e.R

inc

ez-

les

ete

ssu

yez

-le

sju

squ

ce

qu'

ils

soi

ent

com

plè

tem

ent

sec

s.

5.E

nle

vez

le

bol

int

ern

ed

uc

uise

urà

riz

etl

ave

z-le

ave

cd

el'e

au

cha

ude

sav

onn

eus

e.R

inc

ez-

le

ete

ssu

yez

-le

jus

qu'

àc

eq

u'il

soi

tc

om

plè

tem

ent

sec

ava

ntd

ele

rem

ettr

ed

ans

le

cui

seu

r.

6.E

ssu

yez

le

cor

psd

el'a

ppa

rei

la

vec

un

chi

ffo

nh

um

ide

pou

rle

net

toy

er.

•N

'ut

ilis

ez

pas

d'a

gen

ts

net

toy

ant

sa

bra

sifs

ou

de

tam

pon

réc

ure

r.

•N

'im

mer

gez

jam

ais

le

soc

le

du

cui

seu

riz,

le

fil

ou

la

fic

he

dan

sl'

eau

.

UTILISATIONDE

VOTRECUISEUR

ÀRIZ

AVA

NTL

AP

REM

IÈR

EU

TILI

SA

TIO

N:

Summary of Contents for ARC-830CA

Page 1: ...10 Cup Digital Rice Cooker Food Steamer Instruction Manual ARC 830CA www AromaCo com ...

Page 2: ...well balanced meals steaming locks in food s natural flavor moisture and nutrients without the use of added oils or fats Included in this instruction manual is a handy steaming reference to guide you through the preparation of nearly all your favorite vegetables and meats Steam vegetables or meat and cook rice simultaneously all in one easy to use appliance This manual contains instructions for th...

Page 3: ...er or in a heated oven 12 Do not use the appliance for other than its intended use 13 Extreme caution must be used when moving the appliance containing hot water or other liquids 14 Do not touch cover or obstruct the steam valve on the top of the rice cooker as it is extremely hot and may cause burns 15 Use only with a 120V AC power outlet 16 Always unplug from the base of the wall outlet Never pu...

Page 4: ...p where it can be pulled by children or tripped over unintentionally 2 This appliance has a polarized plug one blade is wider than the other follow the instructions below To reduce the risk of electric shock this plug is intended to fit into a polarized outlet only one way If the plug does not fit fully into the outlet reverse the plug If it still does not fit contact a qualified electrician Do no...

Page 5: ... Condensation Collector 6 Delay Timer Button 7 Cook Indicator Light 8 Cook Button 9 Digital Delay Timer Display 10 Warm Indicator Light 11 Warm Off Button 12 Inner Pot 13 Rice Measurement Cup 14 Rice Paddle 15 Soup Ladle 16 Steam Tray 6 7 8 9 10 11 1 l 2 3 S C les Po pri fic s i N Si l so q Ce uni I ...

Page 6: ... located inside the inner pot add the appropriate amount of water If you are making brown rice follow the special instructions for brown rice located on page 8 of this manual 5 For softer rice allow rice to soak for 10 20 minutes prior to cooking 6 Making sure that the exterior of the inner pot is clean dry and free of debris set the inner pot in the rice cooker Close the lid and plug the power co...

Page 7: ...n provided beginning on page 9 for reference 2 Place food into the steam tray Smaller foods may be placed in a heat proof dish and then placed into the steam tray 3 Making sure that the outside surface of the inner pot is completely clean and dry set the inner pot into the body of the rice cooker then place the steam tray into the inner pot Close the lid and plug the power cord into a wall outlet ...

Page 8: ... so that your meal is fresh and warm all at once 4 Place your choice of vegetables or meat into the steam tray Open the lid using caution as steam escaping will be extremely hot and place the steam tray into the rice cooker 5 Close the lid and allow the cooker to resume cooking 6 Once food has been steamed for the appropriate time open the lid Use caution when opening lid as steam escaping will be...

Page 9: ...xt use Do not use harsh abrasive cleaners scouring pads or products that are not considered safe to use on non stick coatings This appliance is NOT dishwasher safe Inner pot and accessories are NOT dishwasher safe 7 HOW TO CLEAN HELPFUL HINTS 1 Rinse rice before placing it into the inner pot to remove excess bran and starch This will help reduce browning and sticking to the bottom of the pot 2 If ...

Page 10: ... 4 Cups 6 Cups 4 Cups 5 1 2 Cups 8 Cups 5 Cups 6 3 4 Cups 10 Cups 6 Cups 8 Cups 12 Cups 7 Cups 9 1 4 Cups 14 Cups 8 Cups 10 1 2 Cups 16 Cups Brown Rice Water Measurement Chart SPECIAL INSTRUCTIONS Brown rice wild rice and rice mixes vary in their make up Some variations may require longer cooking times and or additional water in order to achieve optimum results Refer to the individual package inst...

Page 11: ...aming and cooking rice simultaneously follow the instructions for cooking rice on pages 6 and 8 Place the steam tray over the rice as it cooks for the amount of time needed checking foods every so often for doneness Do not cook more than 8 cups uncooked rice while steaming or the steam tray will not fit into the rice cooker 3 When possible keep the lid closed during the entire steaming process Ope...

Page 12: ... 1 2 Cups Medium 15 Min Medium Well 20 Min Well 23 Min 160º NOTE 1 Steaming times may vary depending on the cut of meat being used 2 To ensure meat tastes its best and to prevent possible illness check that meat is completely cooked prior to serving If it is not simply place more water in the inner pot and repeat the cooking process until meat is adequately cooked 10 RIZ TIF ...

Page 13: ...ic Short Grain Rice Short grain is characteristically soft sticky and chewy This is the rice used to make sushi California Rice is soft Sweet Rice often called pearl rice for its round shape is extra sticky and is excellent for making rice pudding Brown Rice Brown rice is often considered the most healthy variety It has bran layers on the rice grains and contains more B complex vitamins iron calci...

Page 14: ... and stir through Close the lid and press the COOK button When rice cooker switches to warm mode open the lid and stir the rice to check the consistency Repeat as necessary until rice is soft and moist Rice is too moist soggy after cooking If your rice is still too wet or soggy when the rice cooker switches to warm mode use the rice paddle to stir the rice This will redistribute the bottom moistes...

Page 15: ...wares Company Before returning an item please call the toll free number below for a return authorization number Allow 2 4 weeks for return shipping This warranty does not cover improper installation misuse abuse or neglect on the part of the owner Warranty is also invalid in any case that the product is taken apart or serviced by an unauthorized service station This warranty gives you specific leg...

Page 16: ...éré iz la sont et il s B et e riz ains nce en sons ngé r sa qui e riz rce cuit de ...

Page 17: ...rés qu co ...

Page 18: ...ny s 2 à s ...

Reviews: