Camera Preparation
33
Installing a Lens Mount
2
1
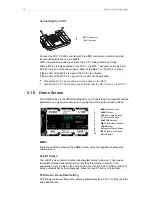
1. Properly align the two guiding pins (1) for cor-
rect lens mount fit (2).
1
1
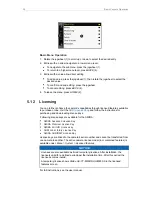
2. Crosswise, hand-tighten all four screws (1).
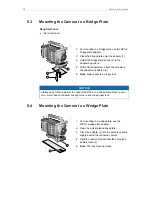
3. Only then, tighten all screws crosswise with
the Allen key.
Note:
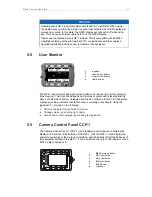
Always store the camera with a lens mount properly installed and capped.
WARNING!
Condensation! Risk of electric shock and damage!
Humidity may ingress due to misinstalled lens mounts!
When installing a lens mount, always align and attach properly; never apply force.
Hand-tighten all screws crosswise before final tightening.
Always tighten crosswise with the prescribed tool.
DANGER!
High voltage! Risk of electric shock and fire!
Short circuits may entail lethal injury and damage!
Use original ALEXA-Mini or AMIRA lens mounts only.
Before each lens mount change, always switch the camera off and disconnect all
power sources.
Changing the lens mount while the camera is powered may permanently damage
the camera and lens mount.
Protect sensor and electrical system: Always store the camera with a lens mount
properly installed and capped.
Immediately replace each lens mount after removal.
Change lens mounts in dust-free environment only.
NOTICE
After each lens mount change, always check the back focus of the camera.
Have the back focus always corrected by properly skilled personnel.
Back focus correction requires special tools and training that meet ARRI guidelines.
For all back focus issues, contact a qualified ARRI Service Center.


