129
Do not place your hand in the running magazine!
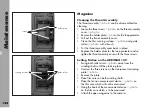
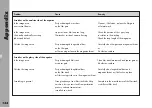
• To set the take-up shaft, run the camera at 24 fps. For
setting the tension of the feed shaft, the camera must run
at 24 fps reverse.
The tension measurement device should be showing
ring “5”.
• If the tension measurement device is not showing “5”,
stop the camera.
• Switch off the camera’s main switch and disconnect
the camera from the power supply.
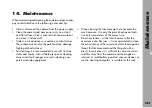
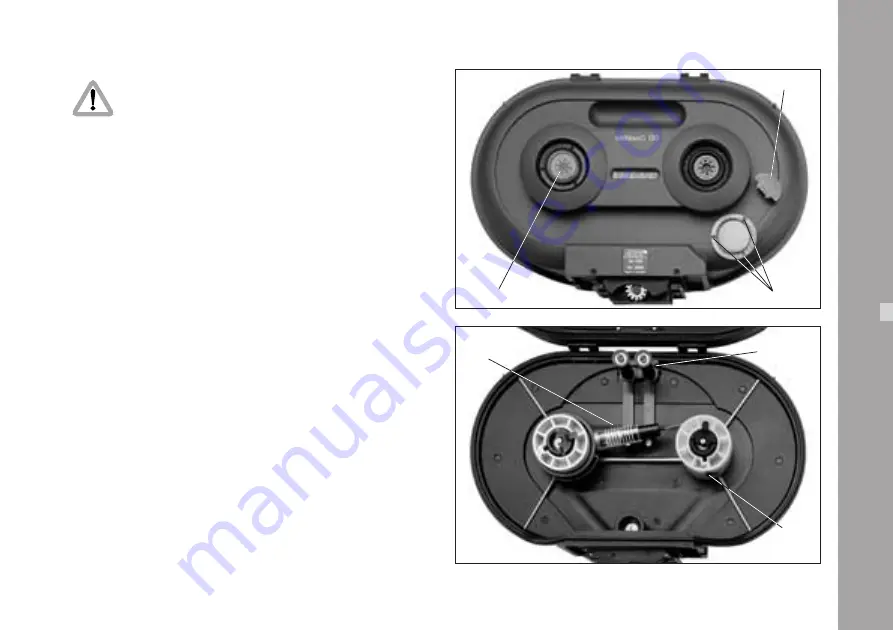
• Place the special key
➪
photo
in the holes of the
friction adjustment and turn in steps. The adjustment
must lock in at each step. When setting friction, the
corresponding winding shaft must be held firmly.
• Turn clockwise to increase friction, counter-clockwise
to decrease friction.
• Connect the camera to the power supply and switch on.
• Run the camera at 24 fps.
• Check the tension.
Note:
Repeat this procedure until ring “5” is shown.
• After setting the friction, replace the tensioning plate.
• Fasten the plate with the three screws.
Maintenance
screws
measurement
device
hook
roller arms
transparent tensioning plate
special key
Summary of Contents for Arriflex 435 Advanced
Page 8: ...8 Contents...
Page 12: ...12 Installation magazine opening cover movement in locked position loop protector...
Page 18: ...18 Installation shoulder set S 4 shoulder cushion base plate...
Page 26: ...26 Magazines...
Page 54: ...54 Optics...
Page 78: ...78 Accessories...
Page 100: ...100 Accessories...
Page 130: ...130 Maintenance...
Page 137: ...137 Appendix...
Page 138: ...138 Appendix...
Page 144: ...144 Index...
Page 156: ...Technical data are subject to change without notice Printed in Germany Ident Nr 5 58231 0...

