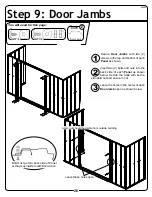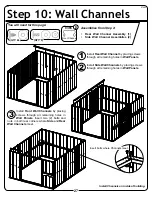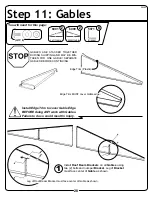
22
Place washers on all bolts and screws used
on painted parts.
Wall Panel
2
6627
Front Panel
2
9374
Corner Panel
4
6633
(QTY: 38)
(QTY: 4)
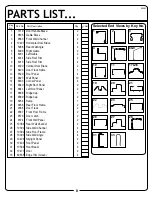
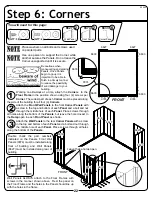
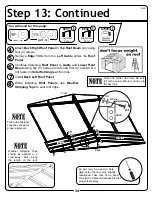
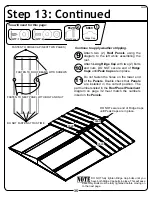
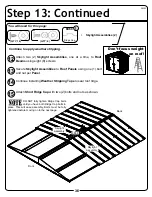
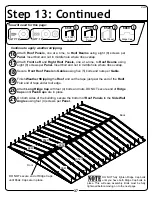
You will need for this page:
Step 6: Corners
Working one
Corner
at a time, attach the
Corners
to the
Floor Frame
in the position shown using four (4) screws per
Corner
. The widest part of each
Corner
must be placed along
the side of the building for all four (4)
Corners
.
1
22AW
FRONT
6633
6633
6633
6633
6627
6627
9374
9374
6633
9374
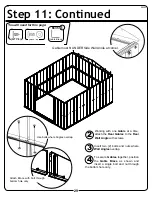
Wall Panels ALWAYS attach to the Floor Frames with
screws in the manner shown above. Rest the panel on
the Floor Frame and the holes in the Panel should line up
with the holes in the frame.
Use one person to support the Corner while
another secures the Panels. Do not leave the
Corner unsupported until it is secure.
Be cautious when
maneuvering and placing
Panels. Once Panels
begin to go up it is
important to be able to
fi nish in a timely manner
to reduce the possibility
of wind damage to your
building.
Bolt
FRONT
Leave these holes open.
9374
9374
6633
6633
6633
6633
6627
6627
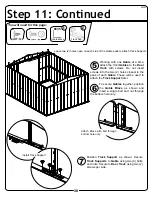
Double check the part numbers
indicated on the Panels. Front Wall
Panels (9374) must be installed along
front of building and Wall Panels
(6627) must be installed along rear of
building.
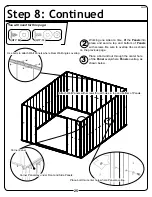
Attach the
Front Wall Panels
to the front
Corner Panels
with
a screw in the top and bottom of each
Panel
and a bolt and nut
through the middle hole of each
Panel
. Place screws through
all holes along the bottom of the
Panels
, but leave the hole closest to
the
Ramp
open in each
Front Panel
as shown.
2
Attach the
Wall Panels
to the rear
Corner Panels
with a screw
in the top and bottom of each
Panel
and a bolt and nut through
the middle hole of each
Panel
. Place screws through all holes
along the bottom of the
Panels
.
3

