ASSEMBLY
OPERATION
5
BACK TO
INDEX
1 MAKE SURE YOU HAVE READ ALL SAFETY INSTRUCTIONS.
2 This tool comes completely assembled. There is no assembly required.
Loading Staples
1
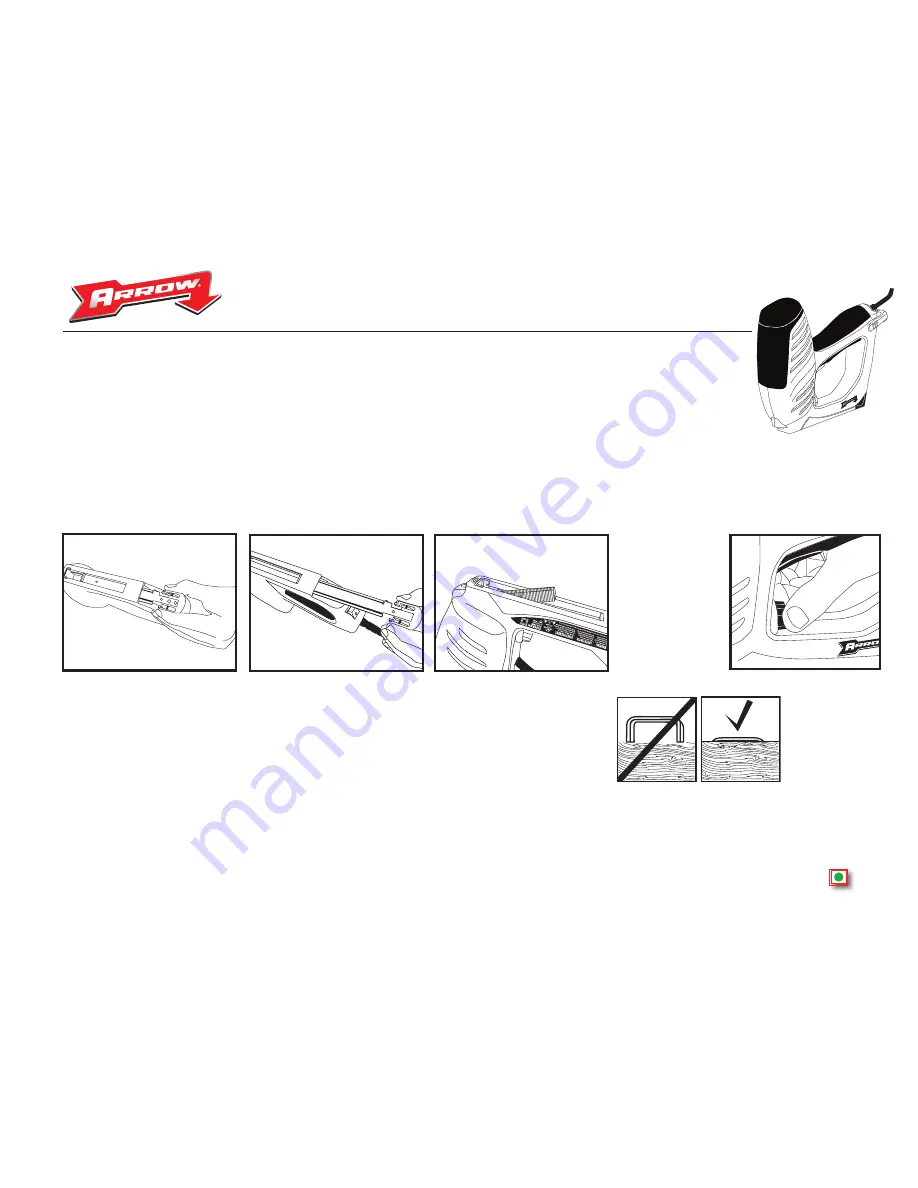
. Unplug the tool. The ET50R.E.D.™ has a bottom load staple magazine. Turn tool upside down and squeeze pusher assembly (
Fig 1
).
2
. Pull pusher assembly out until it stops to reveal the staple magazine (
Fig 2
).
3
. Place staples into magazine with the points facing up and out of the tool (
Fig 3
).
Never Attempt to completely remove pusher assembly as this may damage the tool and void the warranty.
Close pusher assembly until it snaps into place.
HOW TO DETERMINE PROPER STAPLE LEG SIZE
In choosing the proper staple leg length for a job there are two basic things to consider:
1. Thickness of material to be stapled.
2. Hardness of the wood.
As a general rule, in hardwood, approximately 3/16" to 1/4" penetration into the wood is sufficient...and for softwood – up to
approximately 3/8" should be sufficient. However, if the staple used “stands away” from the work – this means that too long a
leg length has been used. In that case we recommend the next shorter leg length for desired results.
A WORD ABOUT ARROW
®
STAPLES
Only Arrow
®
knows the proper staple tolerances required for best performance of the ET50R.E.D.™ Electric Staple Gun. Only genuine Arrow
®
T50
®
staples are
made to these exact tolerances to insure top fastening performance. Accept no substitutes. Always insist on genuine Arrow
®
staples.
EXTENSION CORDS
Replace or repair damaged cords.
• For extension cord use #14 wire.
fig 1
fig 2
fig 3
STAPLES
Turn power ad-
justment knob to
drive staples flush
into surface.


