


Hardware Preparation and Installation
RTM-ATCA-7350 Installation and Use (6806800H30G
)
30
–
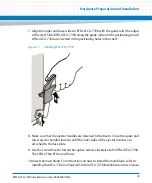
Prepare the cross screwdriver, screws, plastic supports, cooling gel, and ESD-
preventive wrist strap.
The supplier provides a list of tools and negotiates with you to decide the tool
provider.
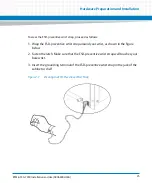
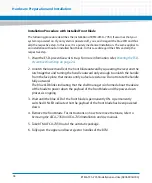
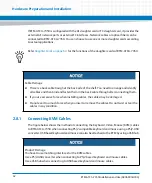
Confirming installation or changing positions
Confirm the positions of the cabinet, the shelf, and the slot where RTM-ATCA-7350 is
installed. Then, stick a label on the face plate of RTM-ATCA-7350 to avoid wrong
operation.
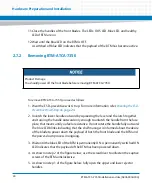
Others
If a serious problem occurs and cannot be solved when you install or replace the
component, contact Artesyn for technical support.
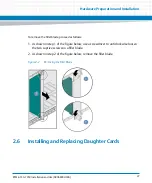
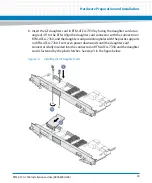
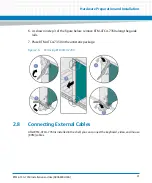
2.6.3
GE Daughter Card
This manual considers the GE daughter card providing two external Ethernet interfaces as an
example, and describes how to install the daughter card on and remove it from RTM-ATCA-
7350.
Summary of Contents for RTM-ATCA-7350
Page 1: ...RTM ATCA 7350 Installation and Use P N 6806800H30G September 2014 ...
Page 6: ...RTM ATCA 7350 Installation and Use 6806800H30G 6 List of Tables ...
Page 8: ...RTM ATCA 7350 Installation and Use 6806800H30G 8 List of Figures ...
Page 14: ...RTM ATCA 7350 Installation and Use 6806800H30G About this Manual 14 About this Manual ...
Page 18: ...Introduction RTM ATCA 7350 Installation and Use 6806800H30G 18 ...
Page 46: ...Hardware Preparation and Installation RTM ATCA 7350 Installation and Use 6806800H30G 46 ...
Page 60: ...Controls LEDs and Connectors RTM ATCA 7350 Installation and Use 6806800H30G 60 ...
Page 66: ...Functional Description RTM ATCA 7350 Installation and Use 6806800H30G 66 ...
Page 69: ......


